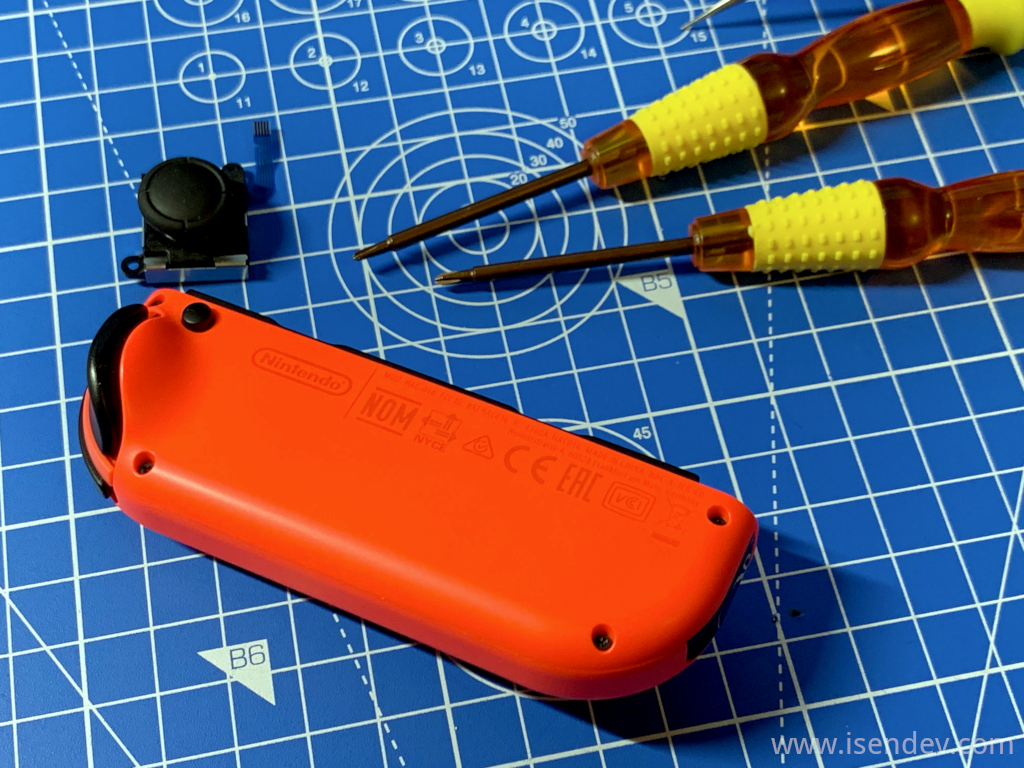
Nintendo Switch Joy-Con stick replacement.
By isendev.
Posted on 2019/10/14 23:10.
Tagged as: videogames, diy.
This is a small photo walkthrough about how to replace a Nintendo Switch Joy-Con stick. Seems to be a kind of a necessary thing when you step on your Switch's Joy-Con unintentionally and break the damn small thing... ;)
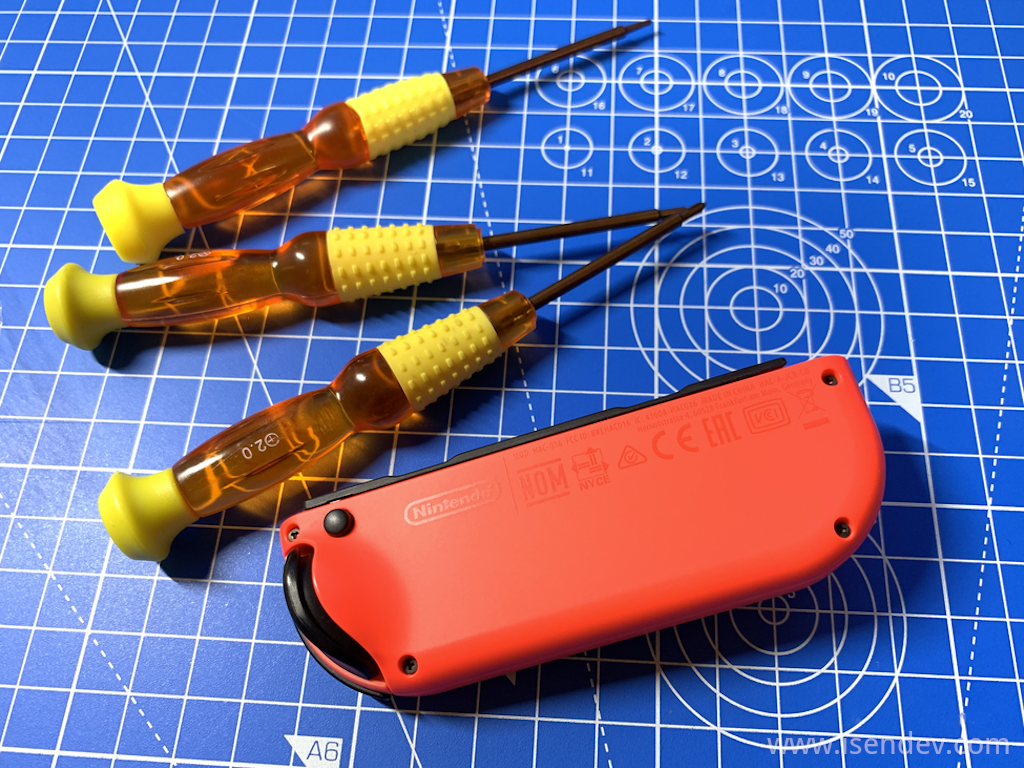
First of all, I bought a Joy-Con stick repair kit from Amazon. It comes with two new "non OEM but OK" sticks and an assortment of good quality tools to make the Joy-Con disassembly process an easy affair.
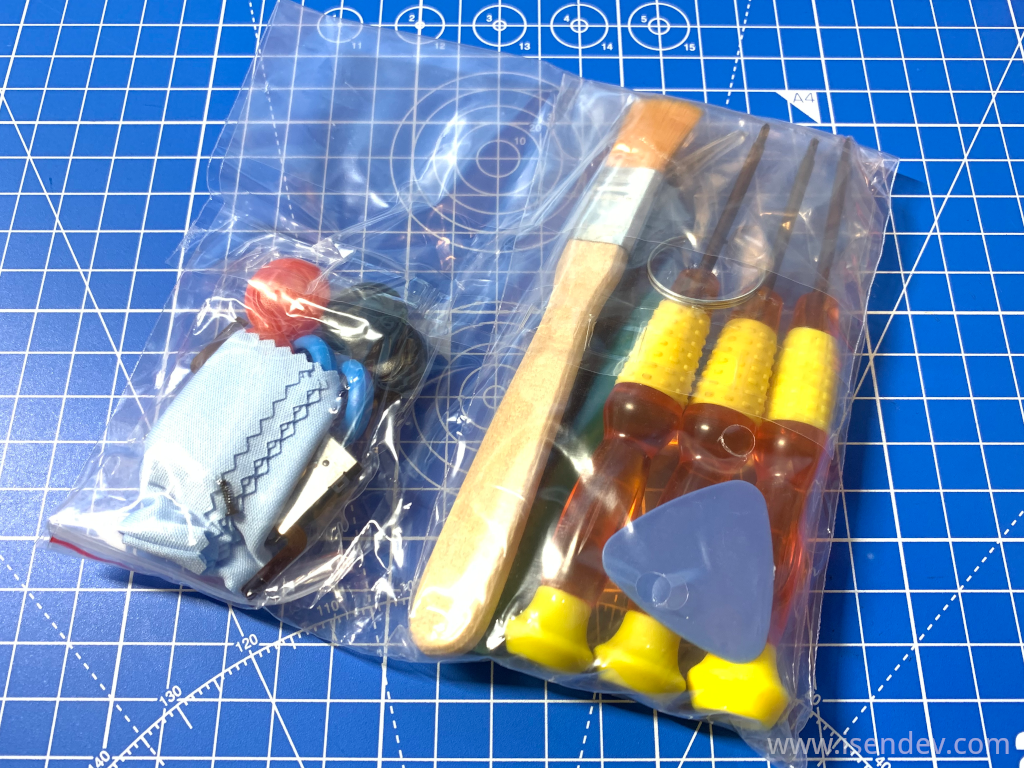
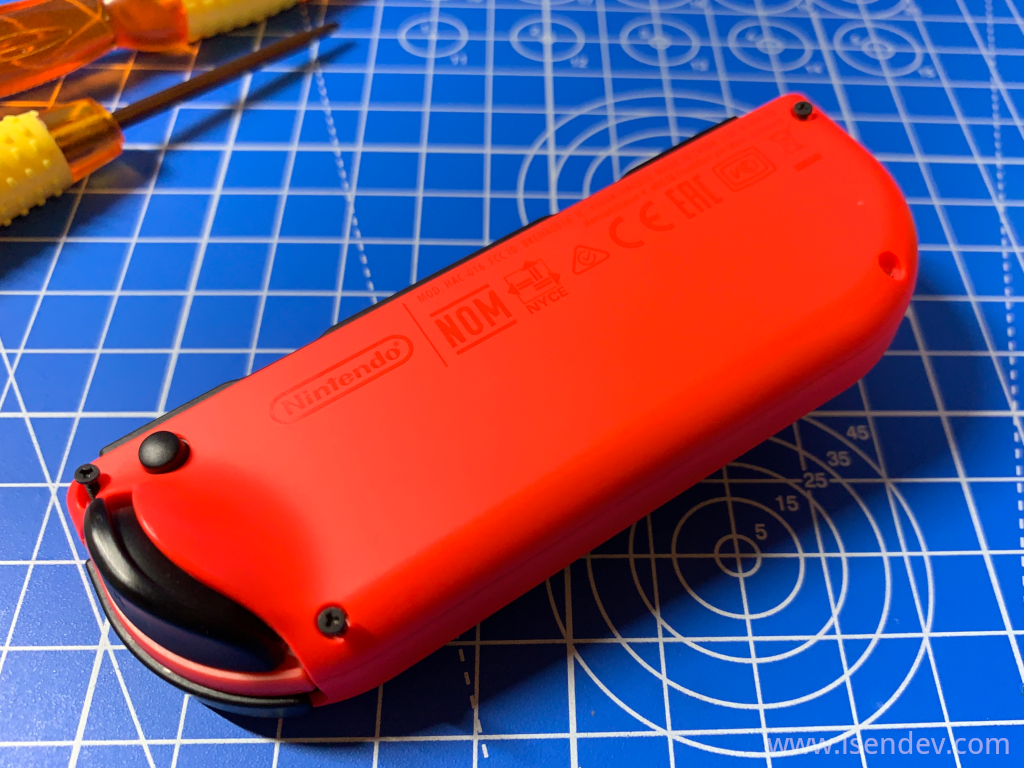
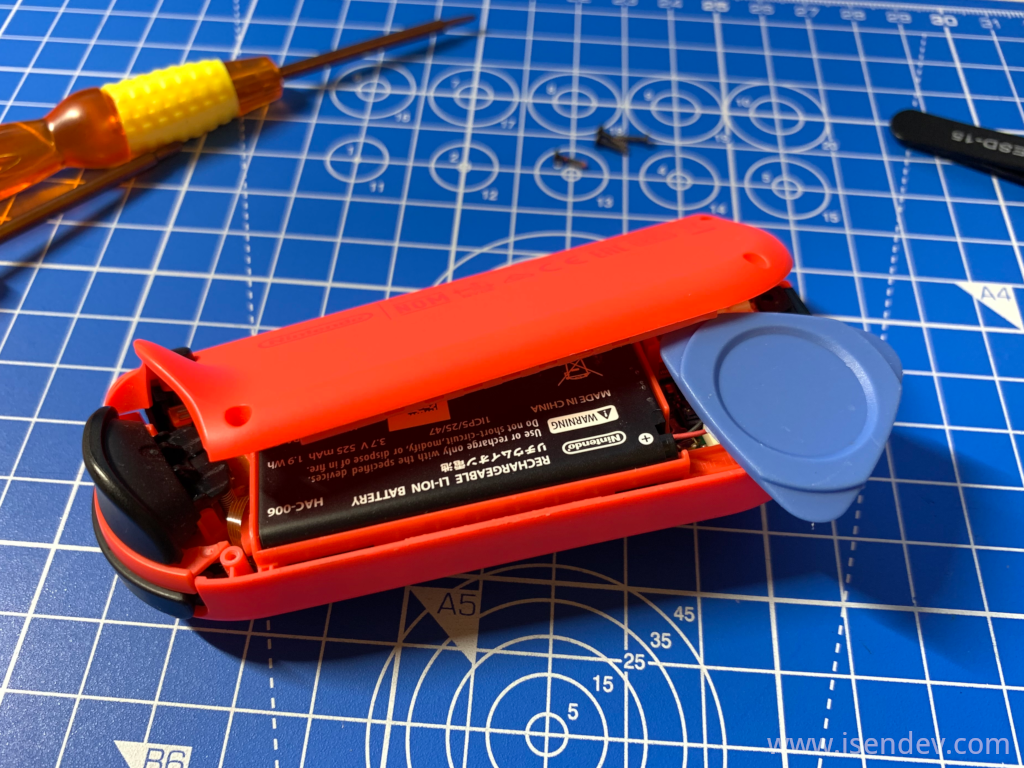
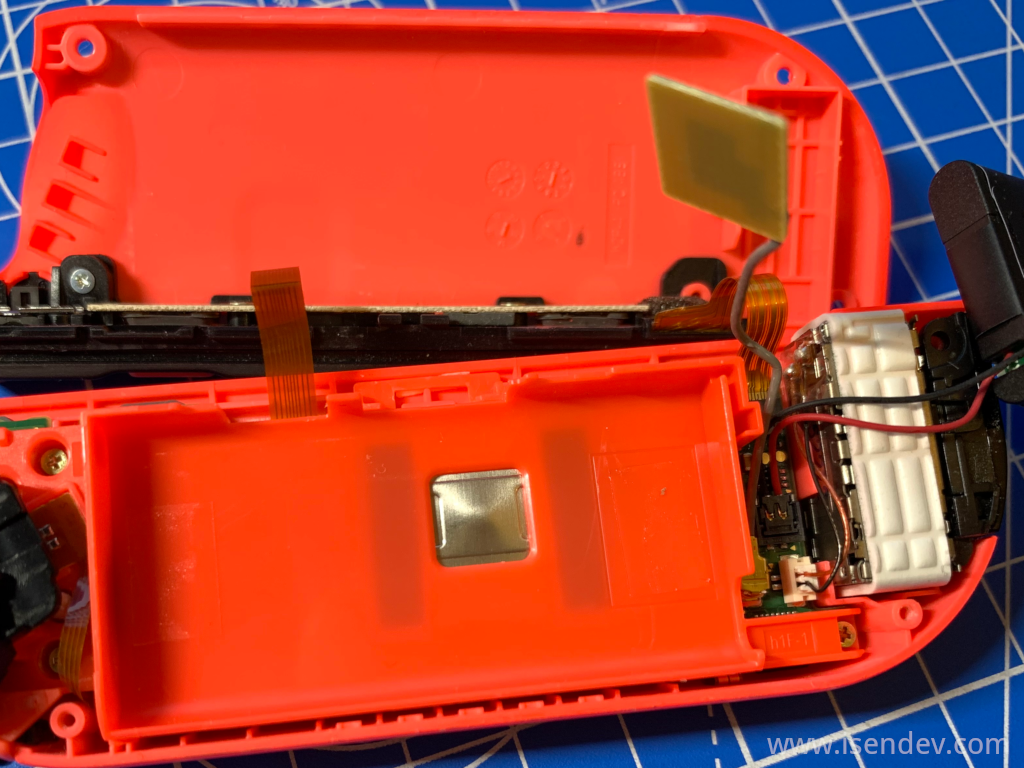
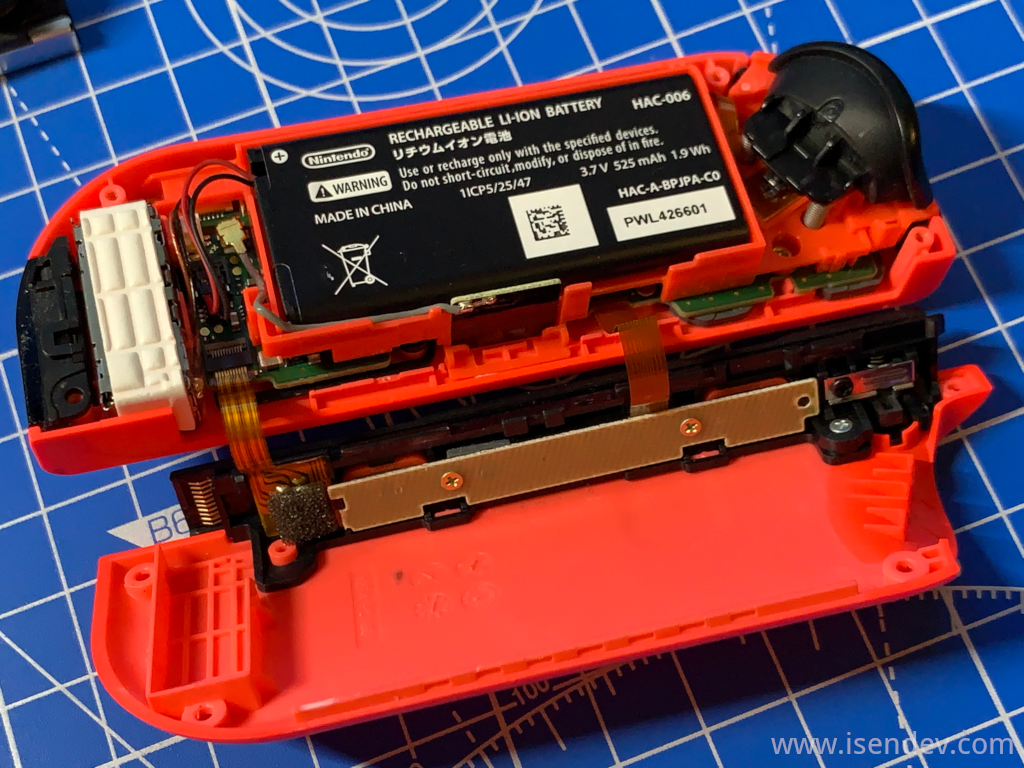
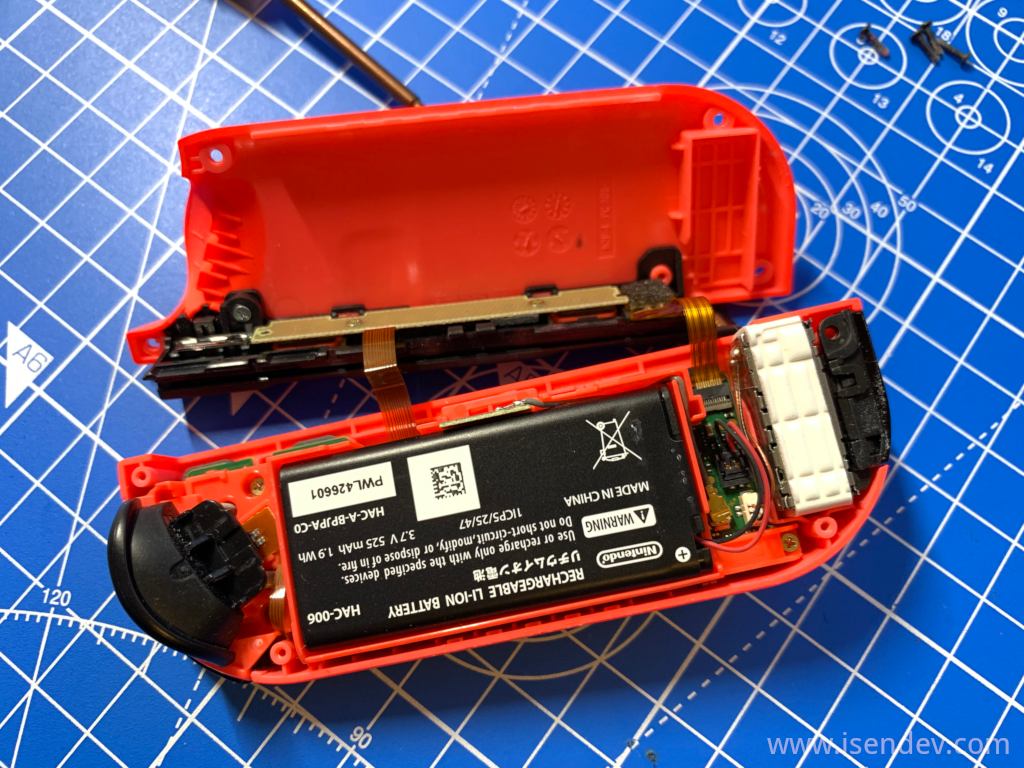
We have to open the Joy-Con and remove the four screws on the Joy-Con's back using the tri-wing bit. Then pry open the Joy-Con with the help of the plastic nail tool. Be extremely careful with the small ribbon cables that run from one side to another.
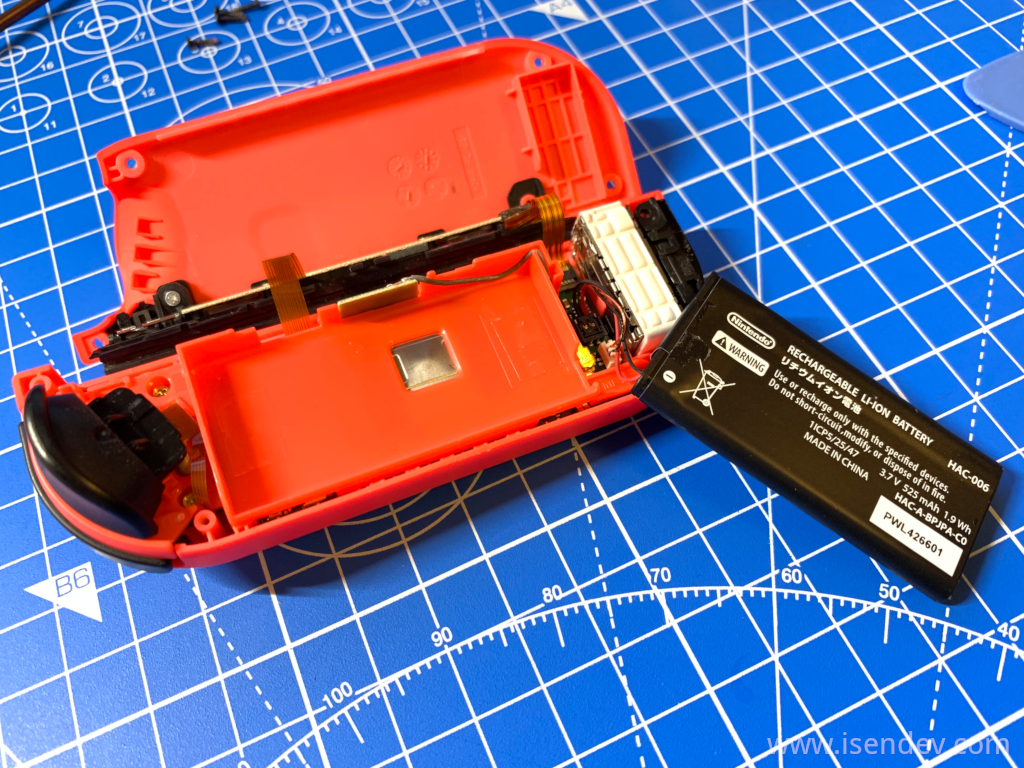
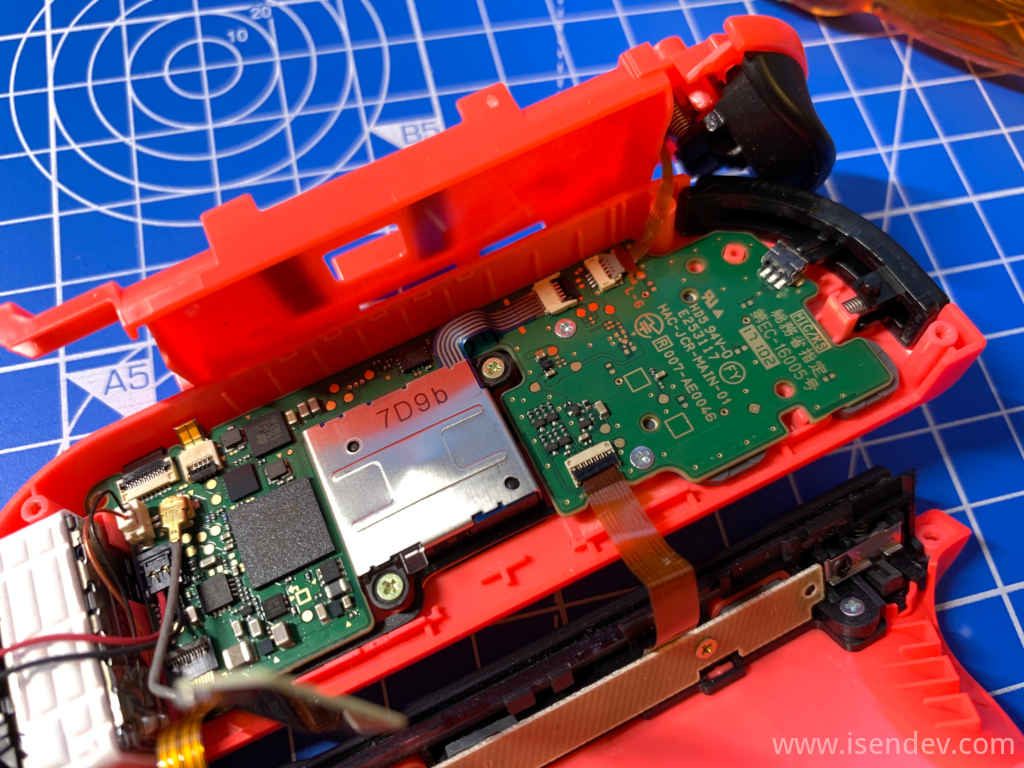
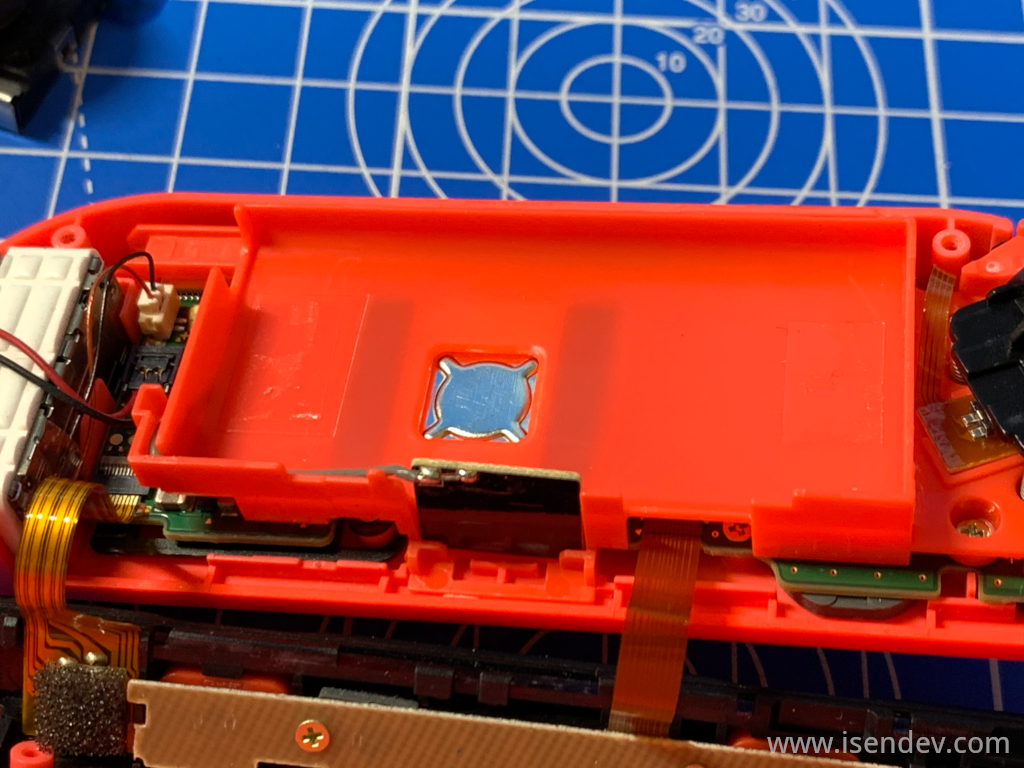
Once the Joy-Con is opened, we have to move apart the battery (attached to chassis using a small adhesive pad) and the antenna board. Next step is to lift the battery chassis by removing two screws located at each side of it. After that, we 're able to reach the backside of the damaged stick.
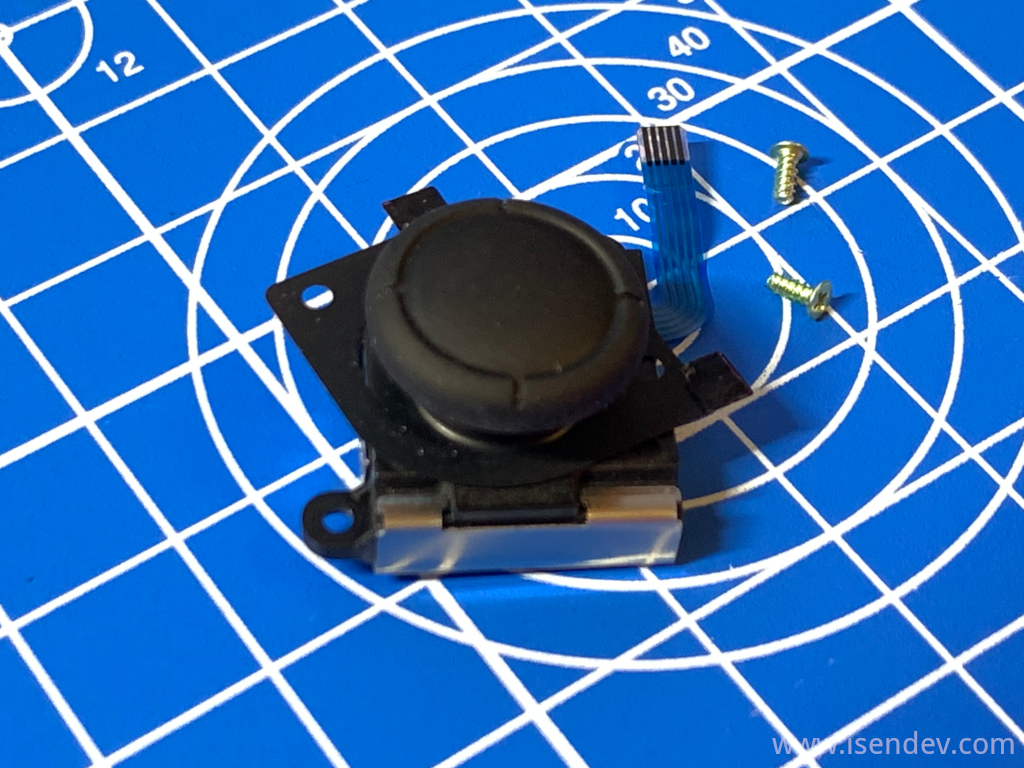
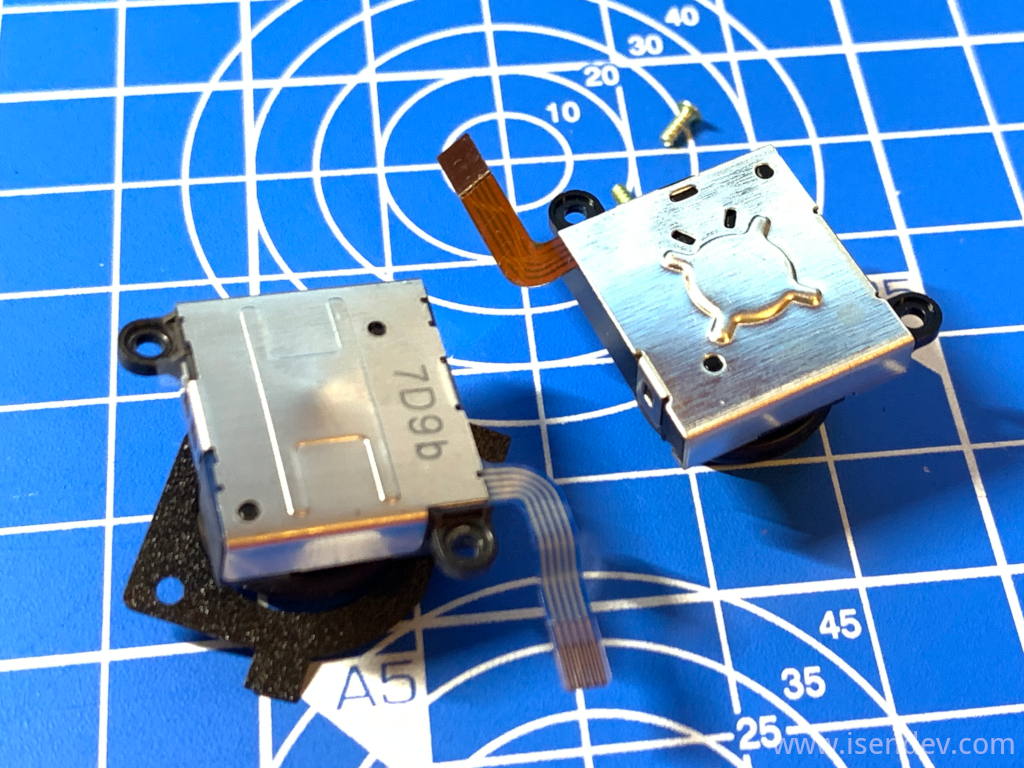
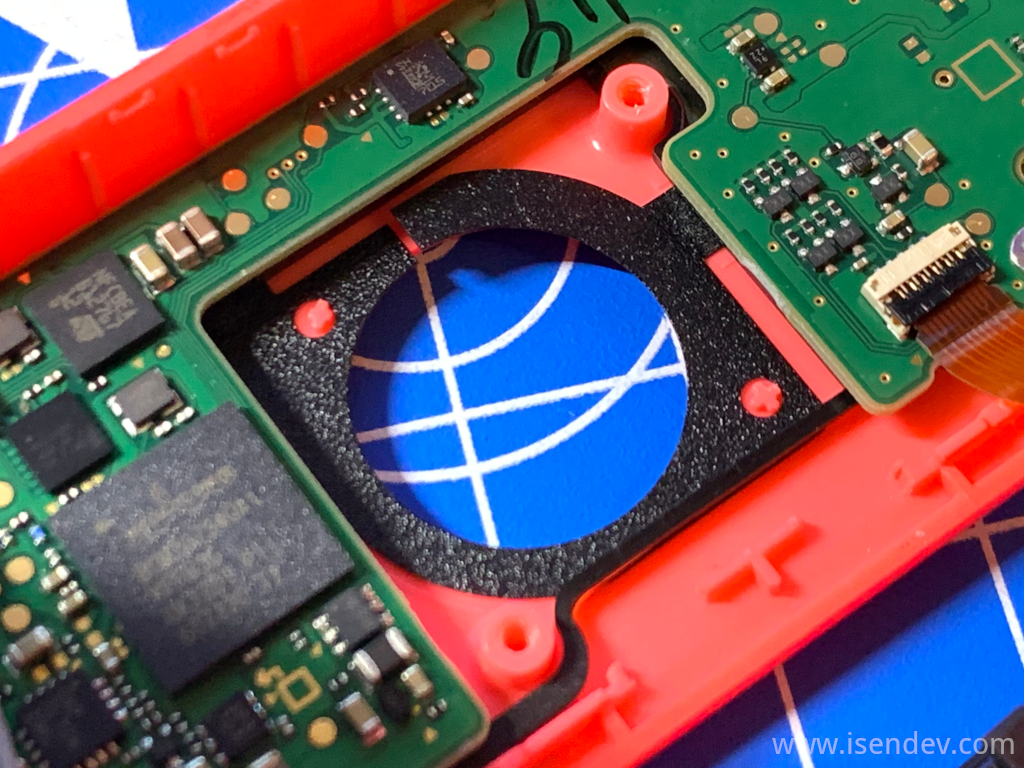
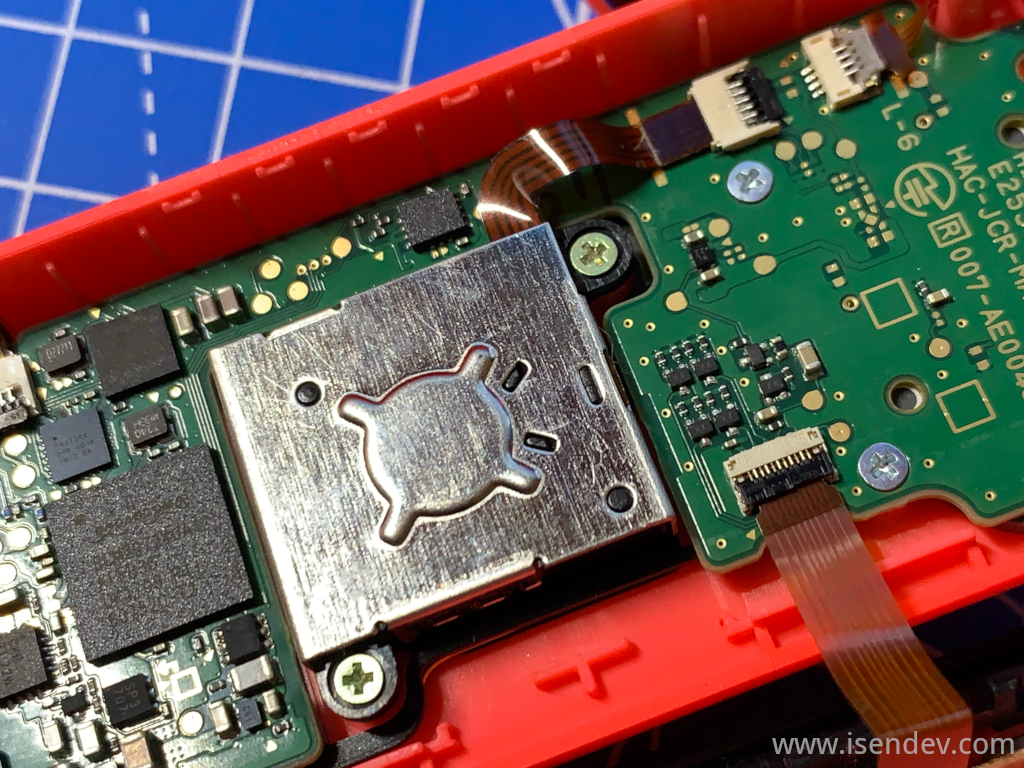
Now, to extract the stick we have only to remove two screws more and release the small ribbon data cable from its connector (using a pair of electronics tweezers). The sticks can now be swapped. It's necessary to reattach the small plastic shield from the old stick to the new one.
Remount the Joy-Con following all steps in backwards order.
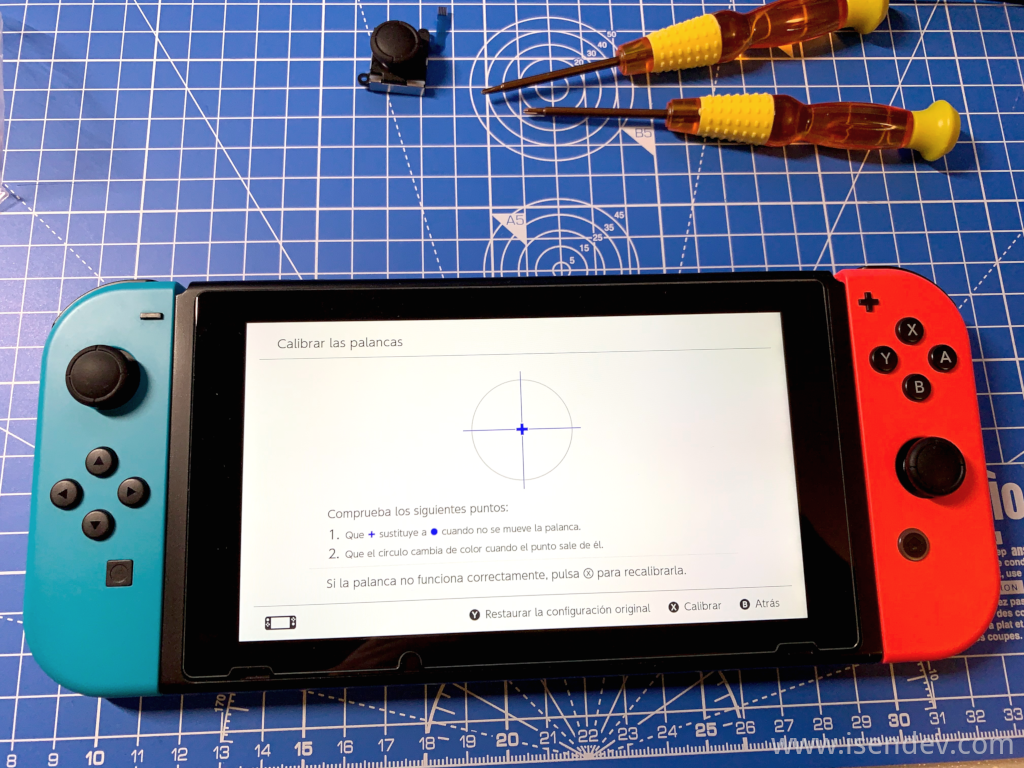
To finish, check that the new stick works properly. It may be necessary to recalibrate the stick using the Nintendo Switch system menu.
Lesson learned today: Do not leave your Nintendo Switch Joy-Cons laying on the floor.
