Nikko RC 6V battery pack rebuild.
By isendev.
Posted on 2017/12/10 13:13.
Tagged as: diy.
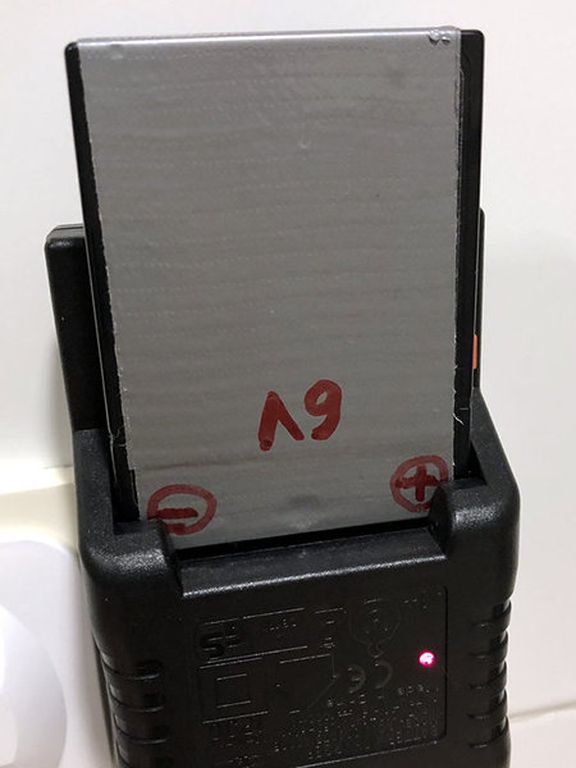
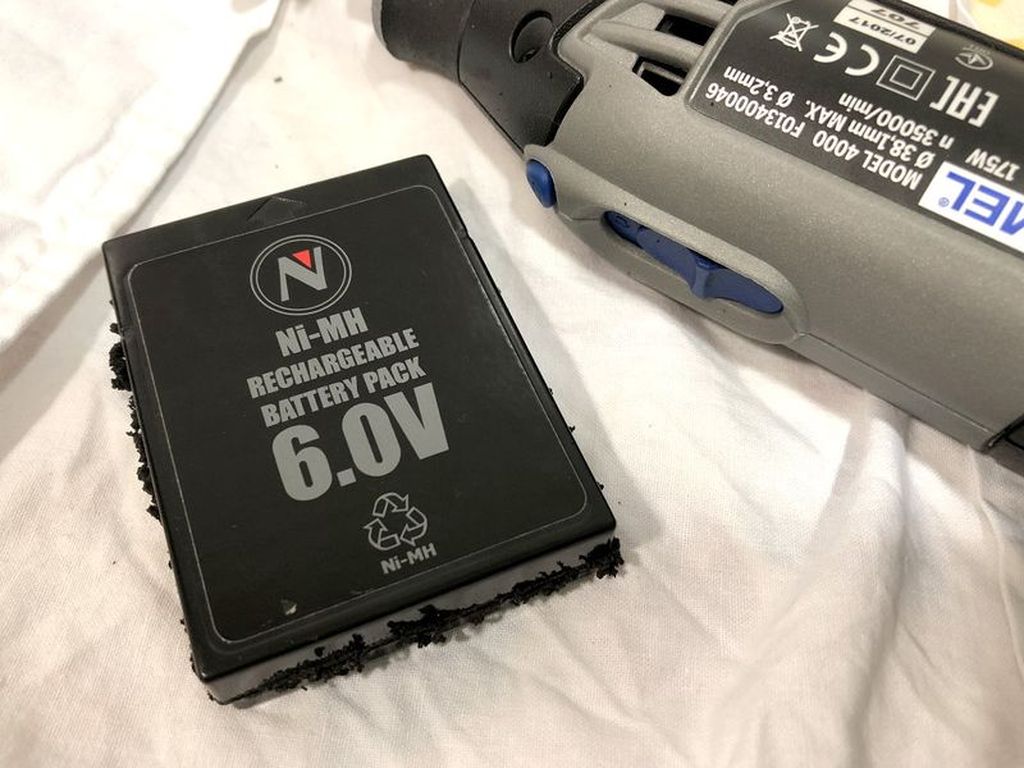
Here are some photos and tips of the rebuild process of a Nikko RC 6V battery pack.
Beware! Do not try to do this if you don't know what you're doing. Batteries are not a joke. Wrong polarity mistakes and short circuits can lead to a fire or an explosion. Take the following information at your own risk.
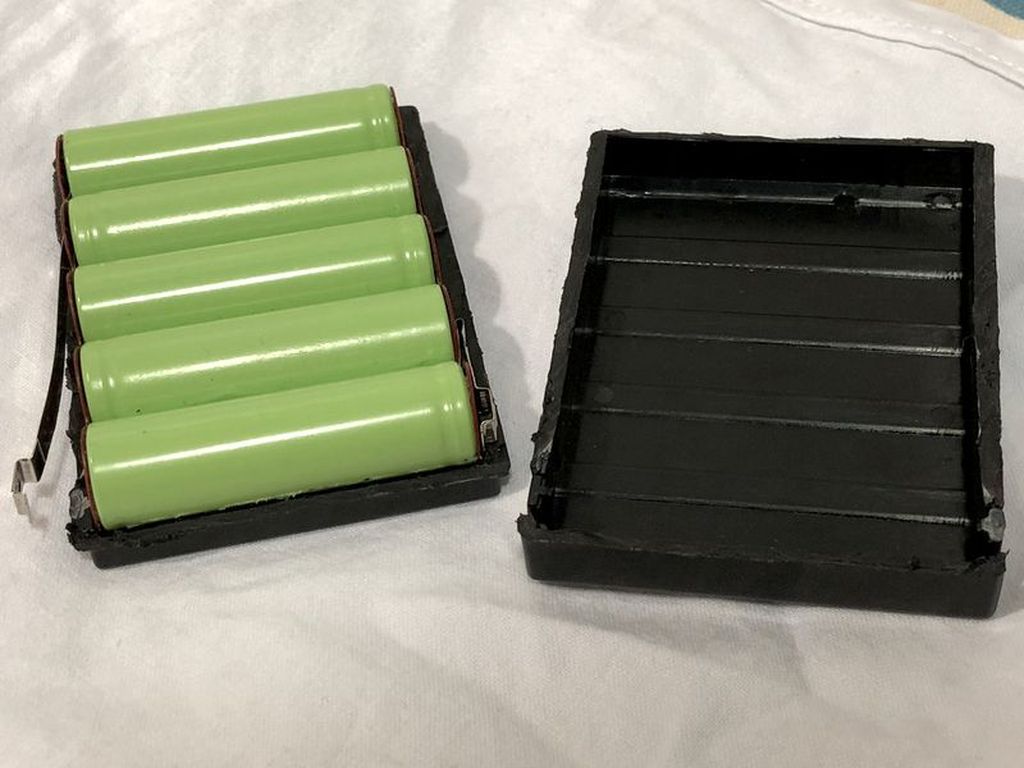
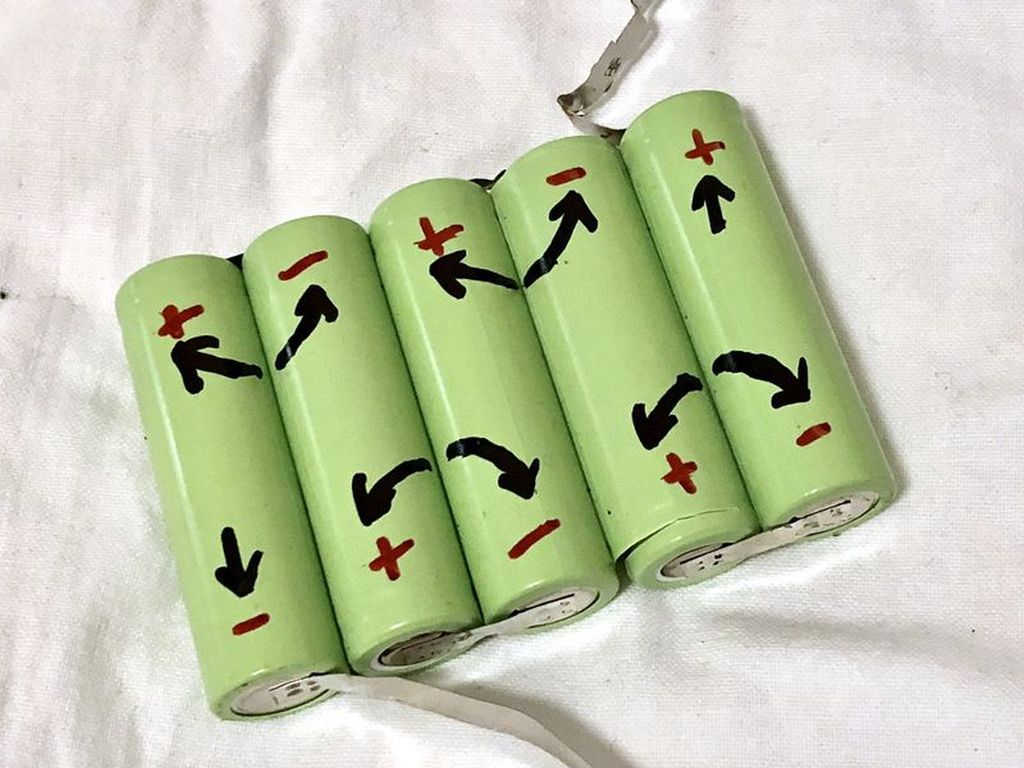
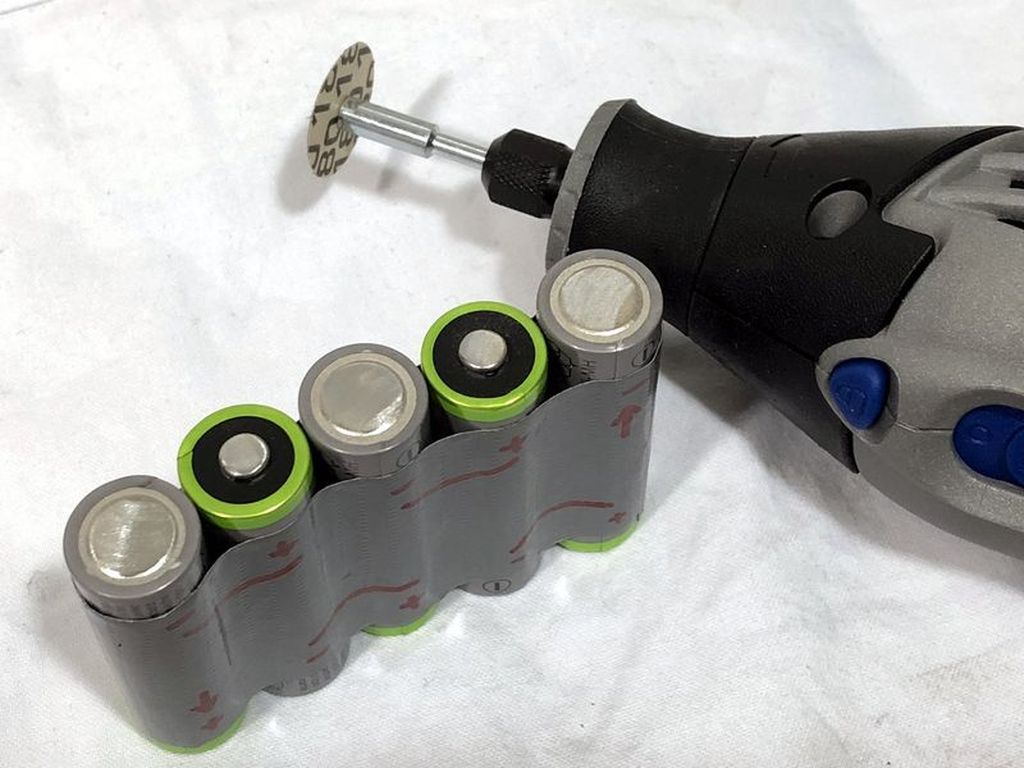
I've opened the sealed battery case with the help of a Dremel multitool and a cutting disc. It is necessary to be very careful not to damage the battery cells when cutting the sides of the sealed battery case. Inside whe can found five 1.2V AA NiMh regular batteries tied together in series to get the required 6V.
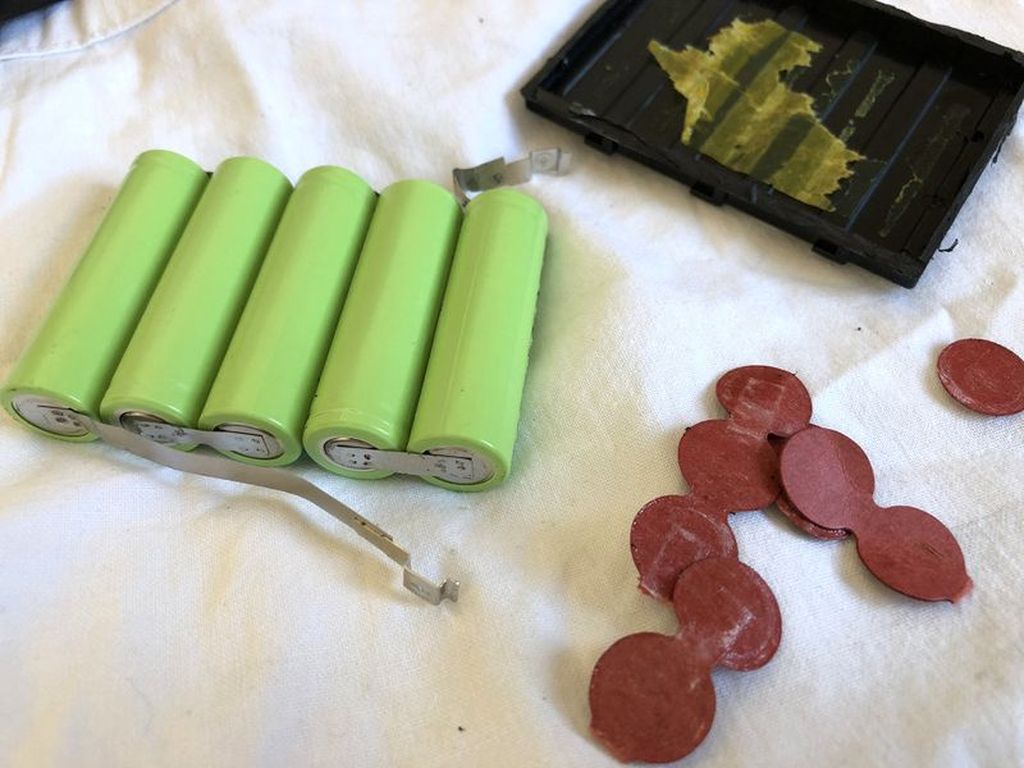
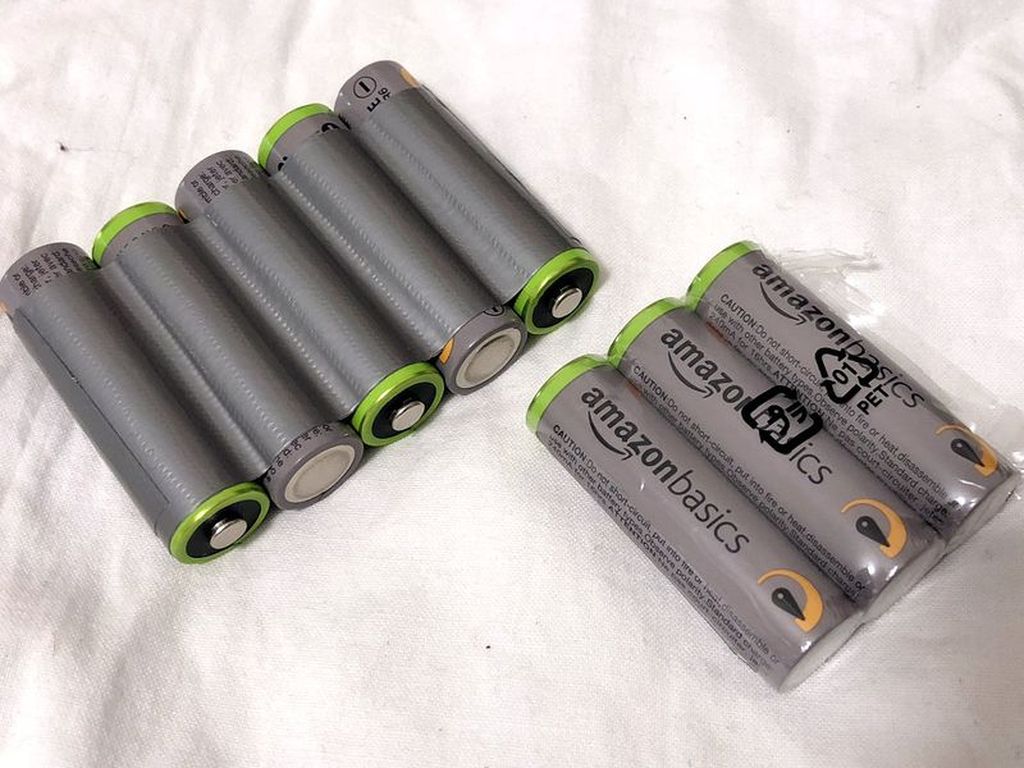
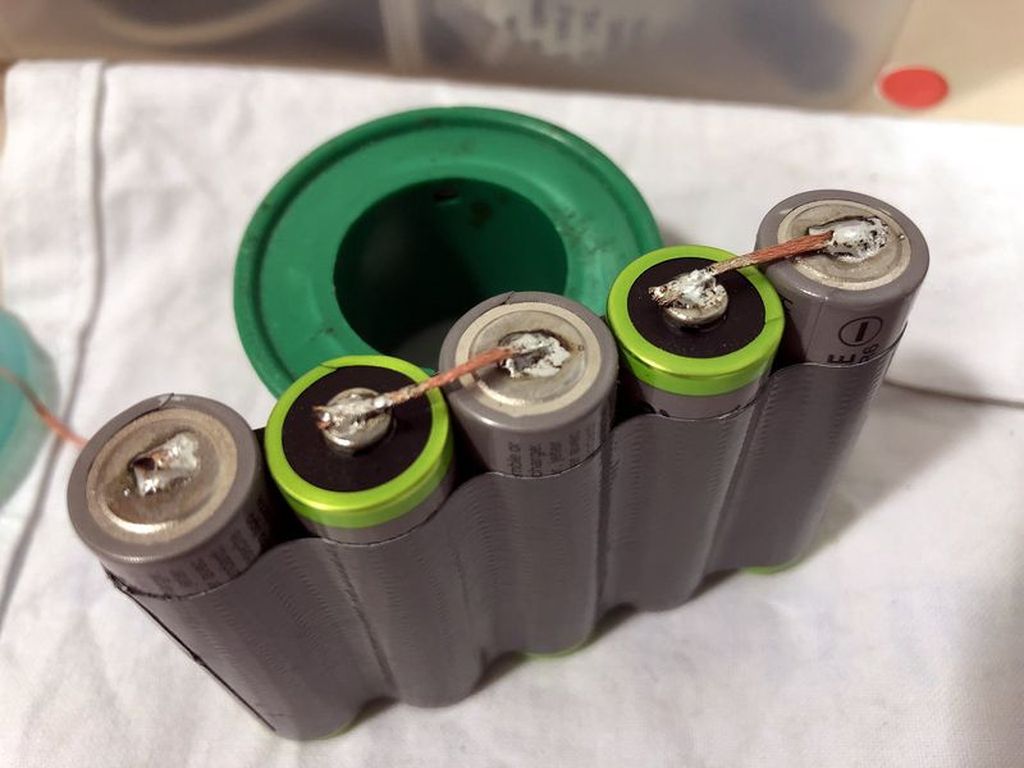
Using strong tape and 5 brand new Amazon's 1.2V AA NiMh 2500mAh rechargeable batteries, I've set up the new battery pack (carefully taking account of original cell's polarity).
To make the cell links, I've used copper braid. Before welding the new links, I've prepared the surface of the poles by gently sanding and tinning them.
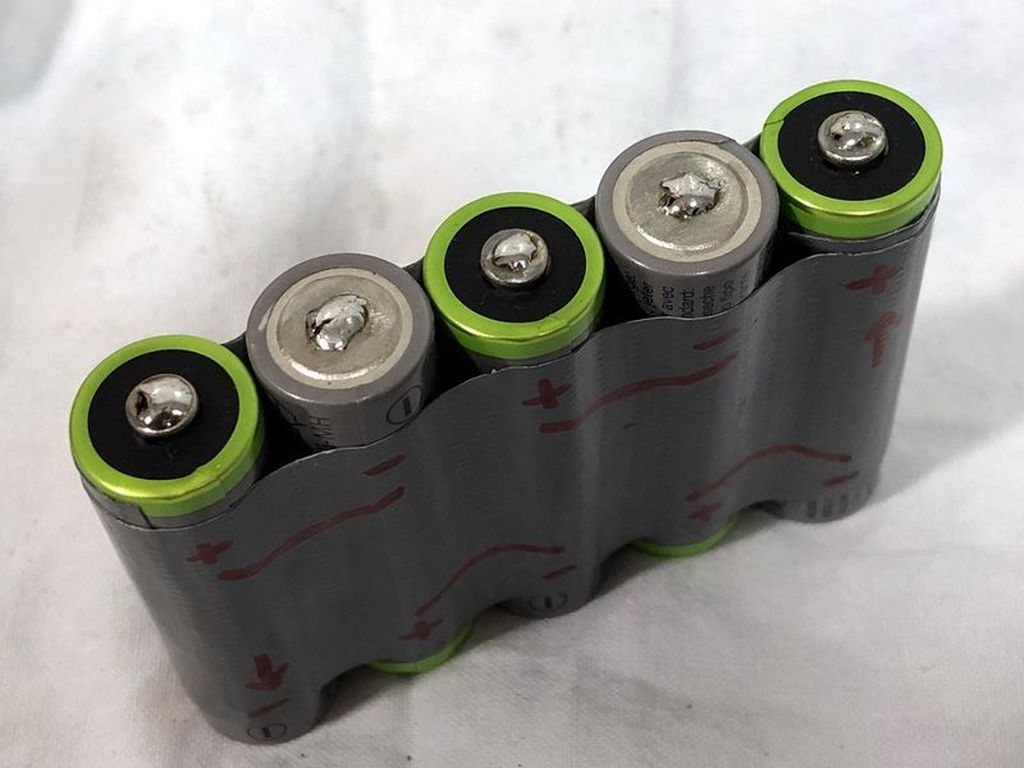
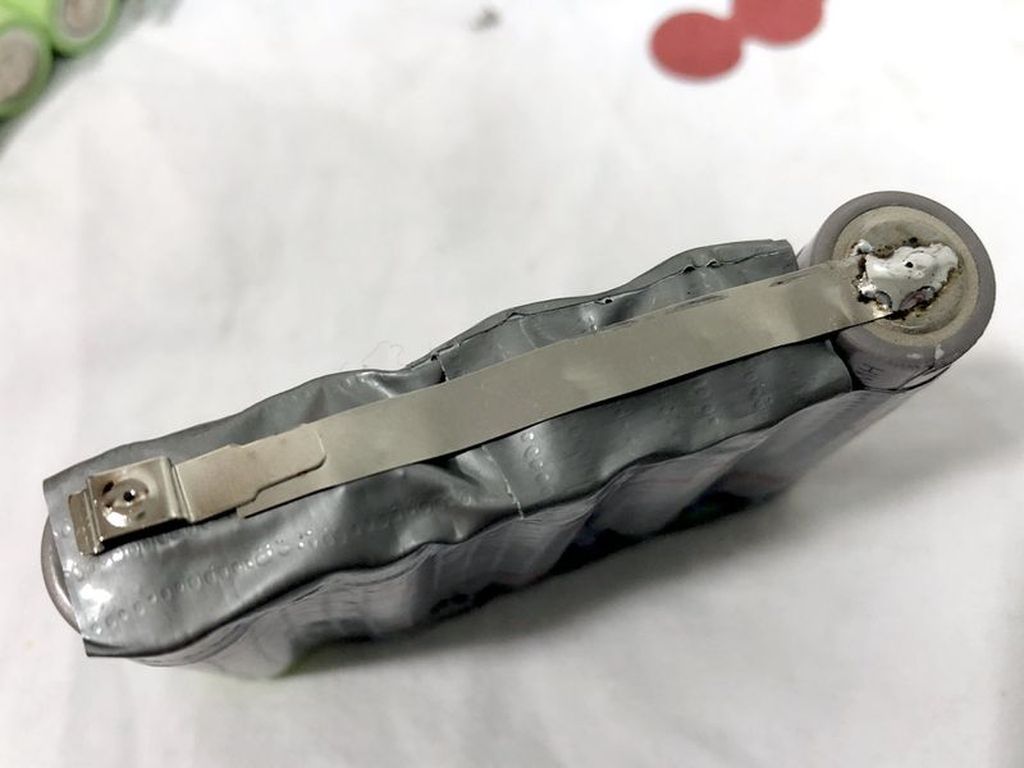
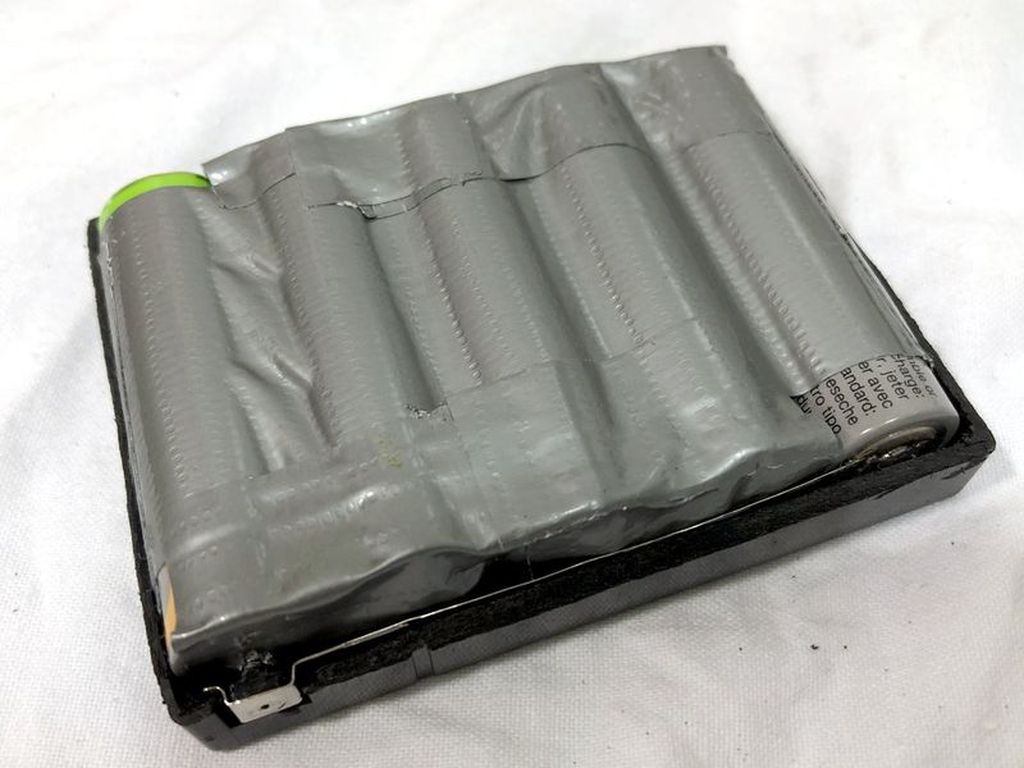
Protect the cell links with tape and weld the battery pads from the original pack. Be careful to not make shorts with other cell poles. Remount all in the original battery pack case. I've used more tape to secure all.
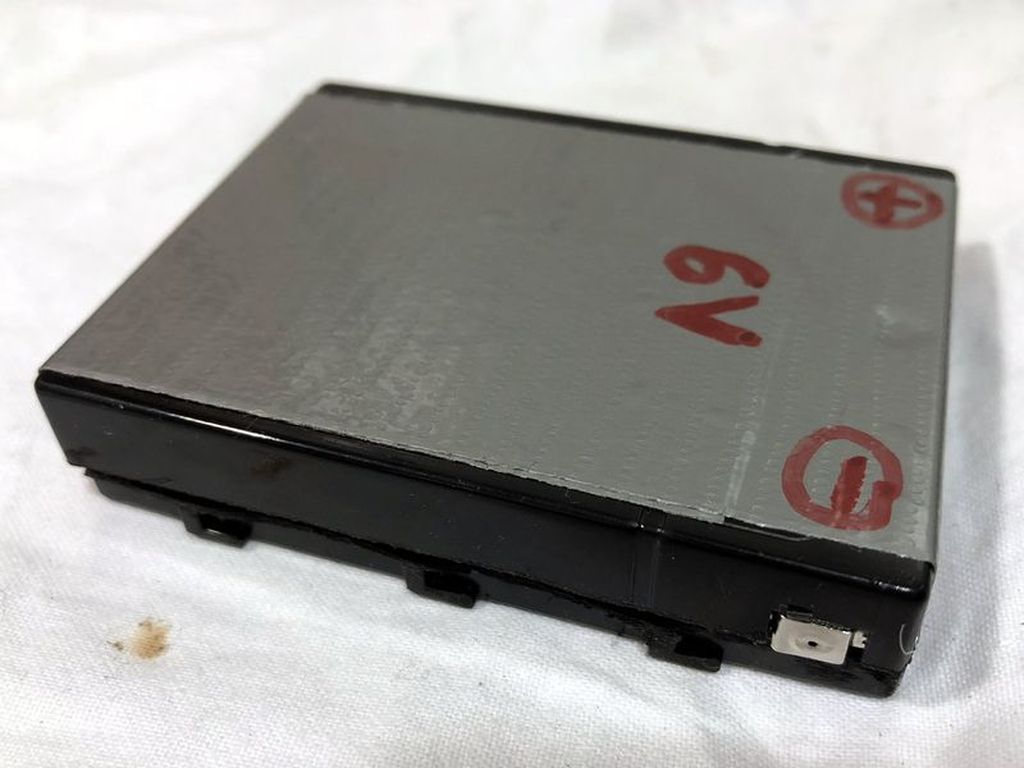
Ready to roll and recharge... ;)