Pioneer SA-5300 restoration: Part II. Recapping.
By isendev.
Posted on 2017/04/26 19:35.
Tagged as: audio, diy, vintage, pioneer.
This new blog entry gathers some information about recapping, or the dark art of replacing the capacitors in vintage audio gear. As I stated on my previous blog entry, the electrolytic capacitors tend to decrease its perfomance through the years, and it's a common practice to replace all of them in audio equipment with more than 20 years old. Nowadays, good quality capacitors have better electric characteristics and smaller footprint, and can be easily found on online shops.
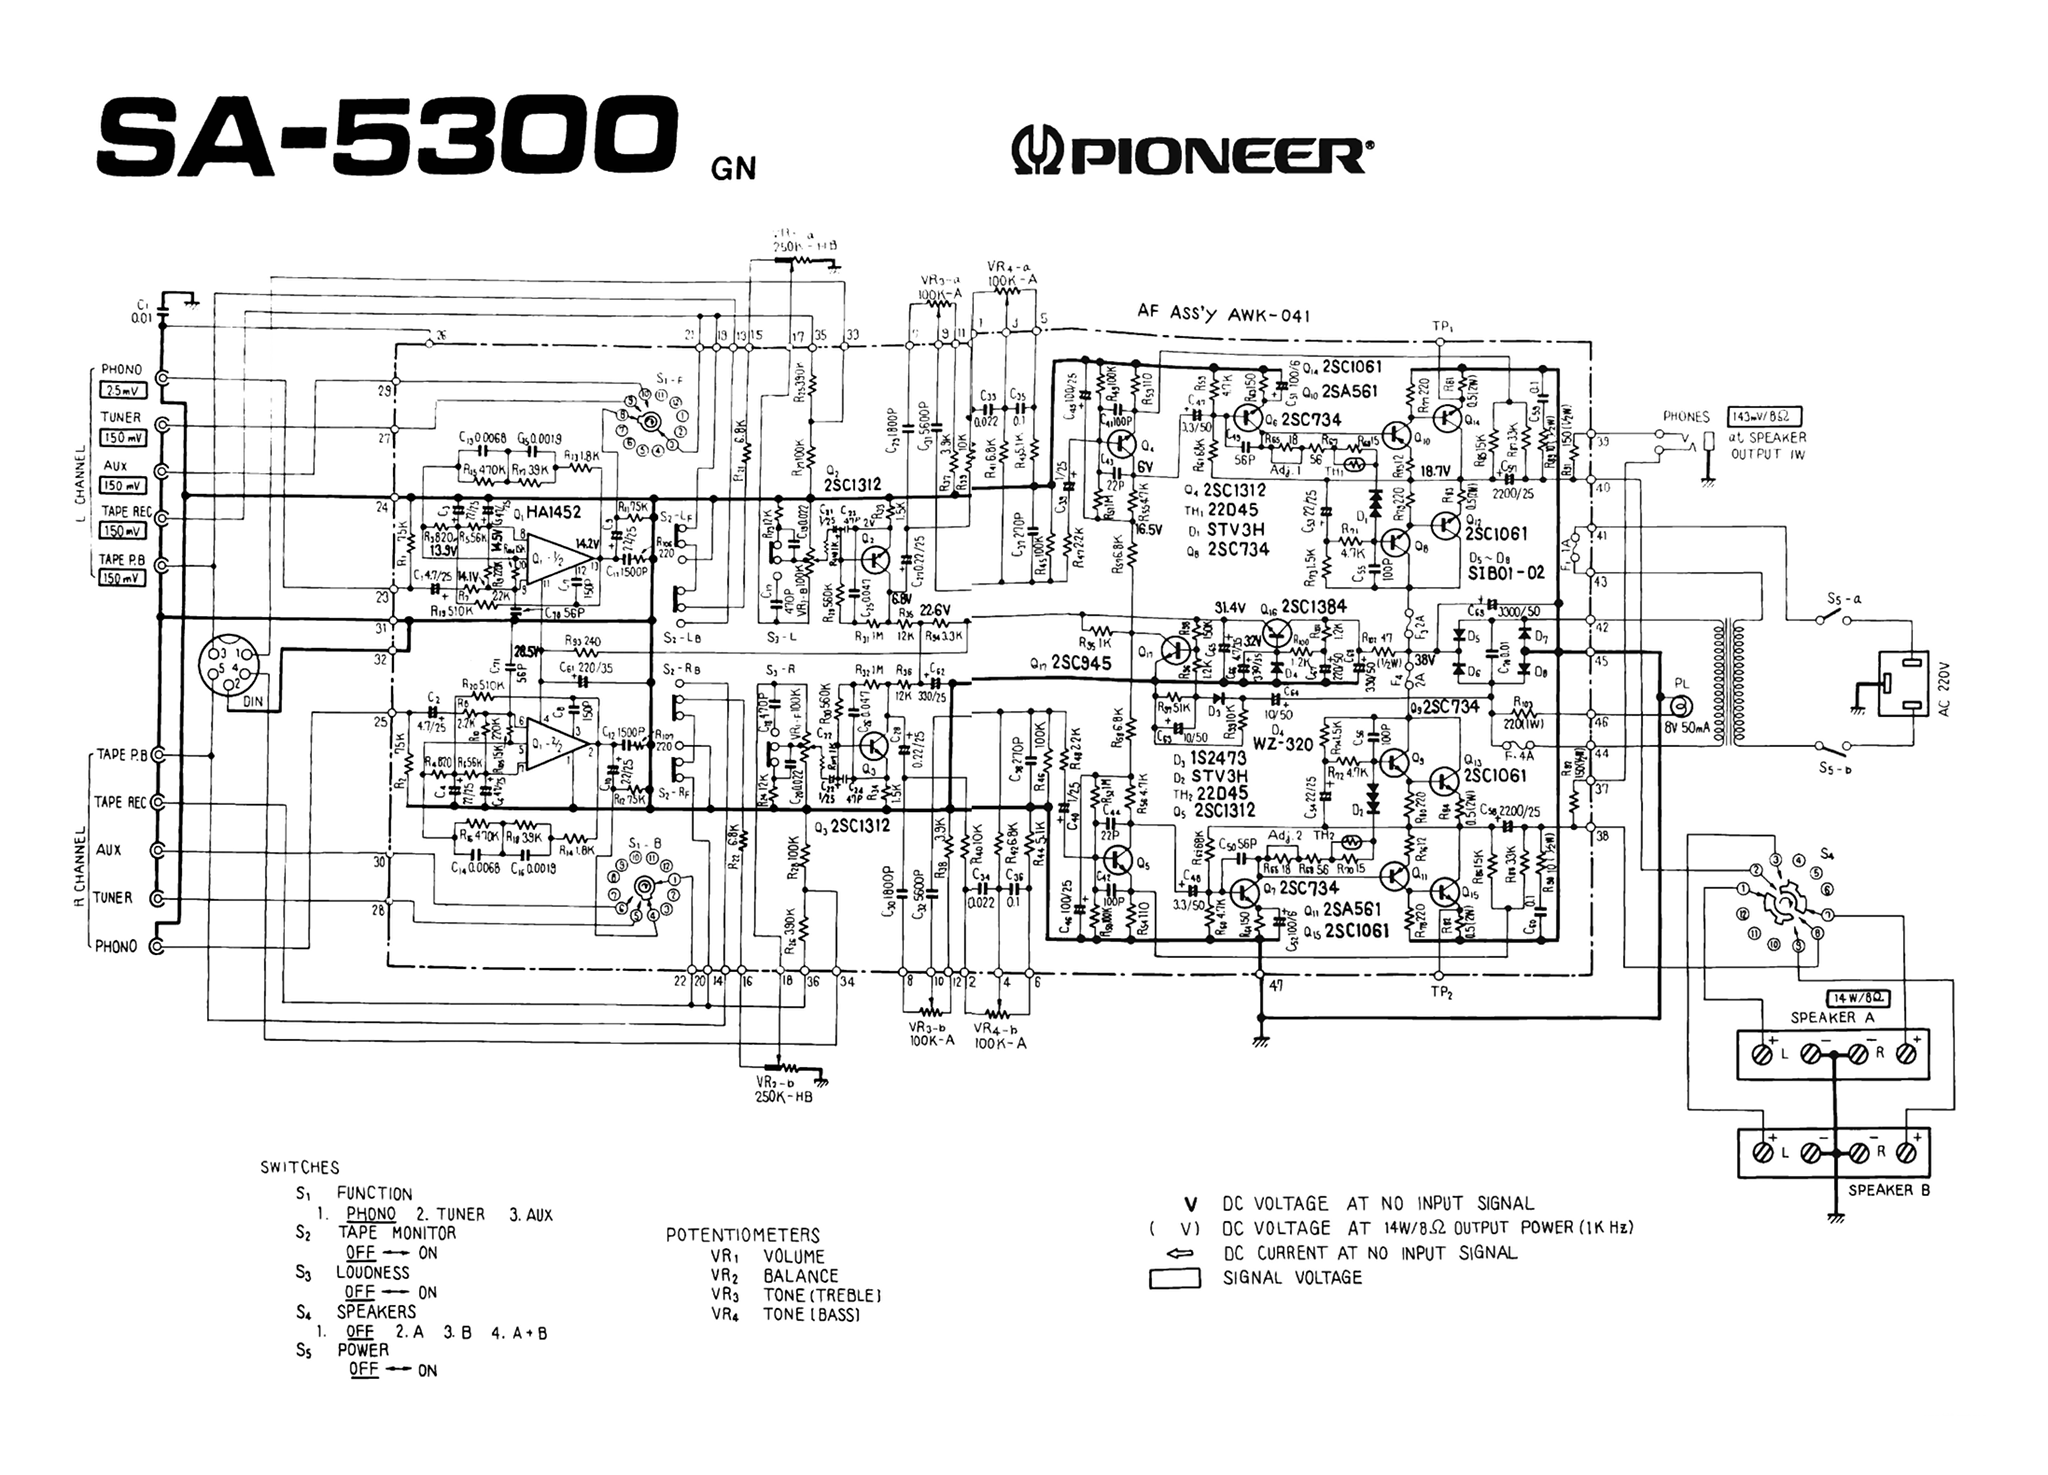
To make the task of replacing the caps easier, it's a good idea to grab a copy of the unit's service manual. Some small capacitor's values can be tricky to decode and a look to the schematic can help us a lot. Below you can find the complete Pioneer SA-5300 schematic that I've restored in one single image from various parts obtained browsing the net.
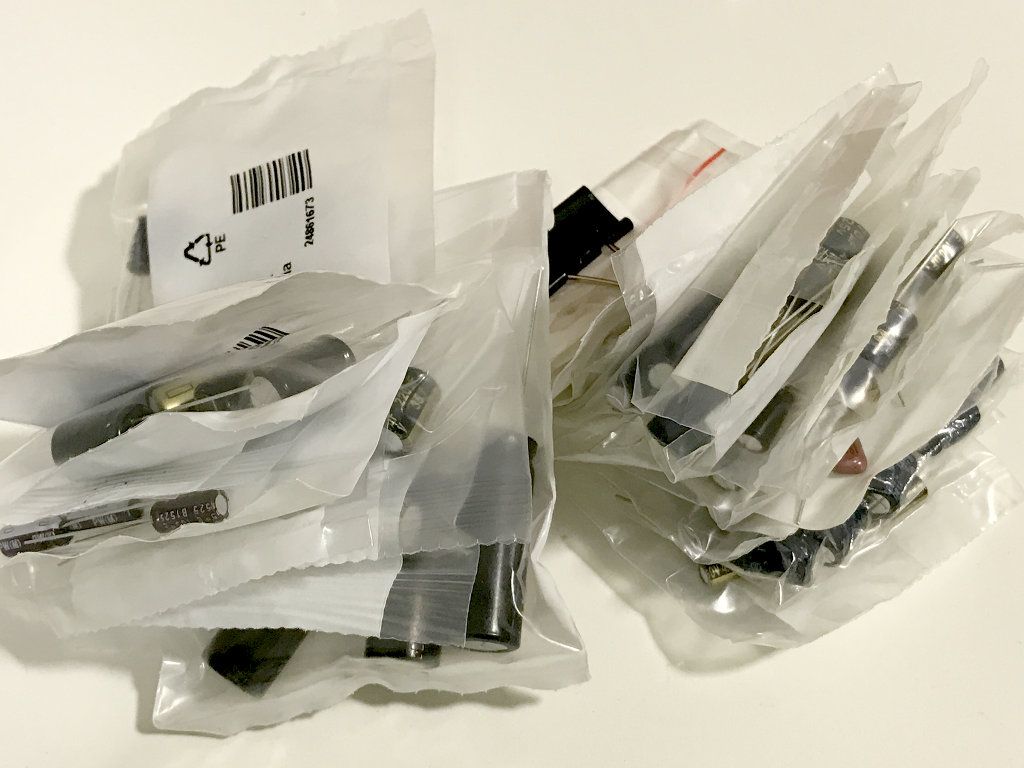
Once all capacitor values were identified, I ordered new parts using Panasonic low ESR references (FM and FC series) when available on RS Online, my shop of reference when searching for electronic components. The result: a lot of little plastic bags filled with shiny new caps ready to be installed.
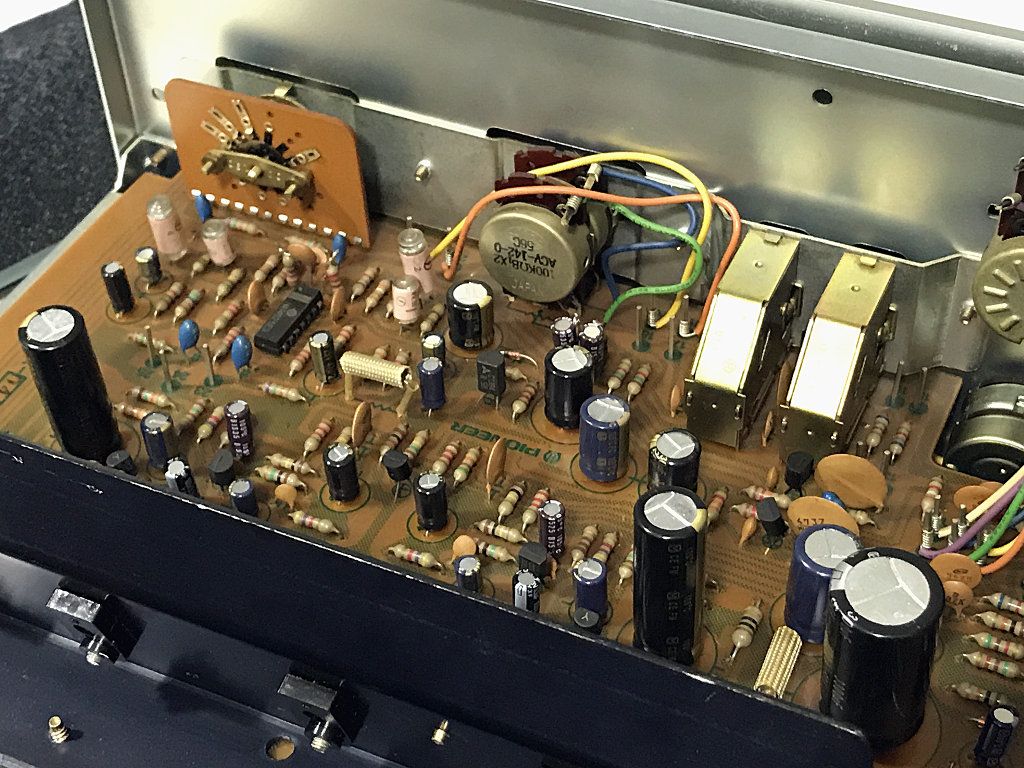
One by one, all old capacitors were removed from the PCB and replaced with its new Panasonic equivalents. This task is not complicated, given the simplicity of the amplifier's board PCB layout. All the capacitors are easily reached without removing the PCB from the chassis. Once all elements are replaced, the difference in size between components is easily visible.
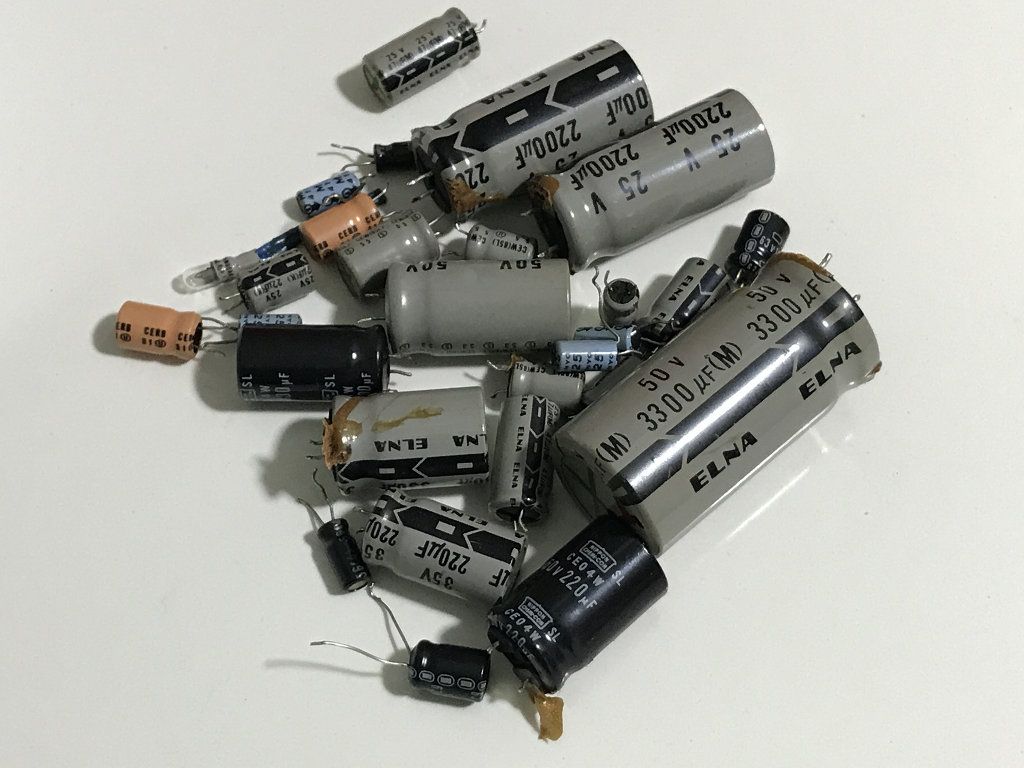
On the table, a bunch of old electrolytic capacitors, some of them with signs of leaking badly.
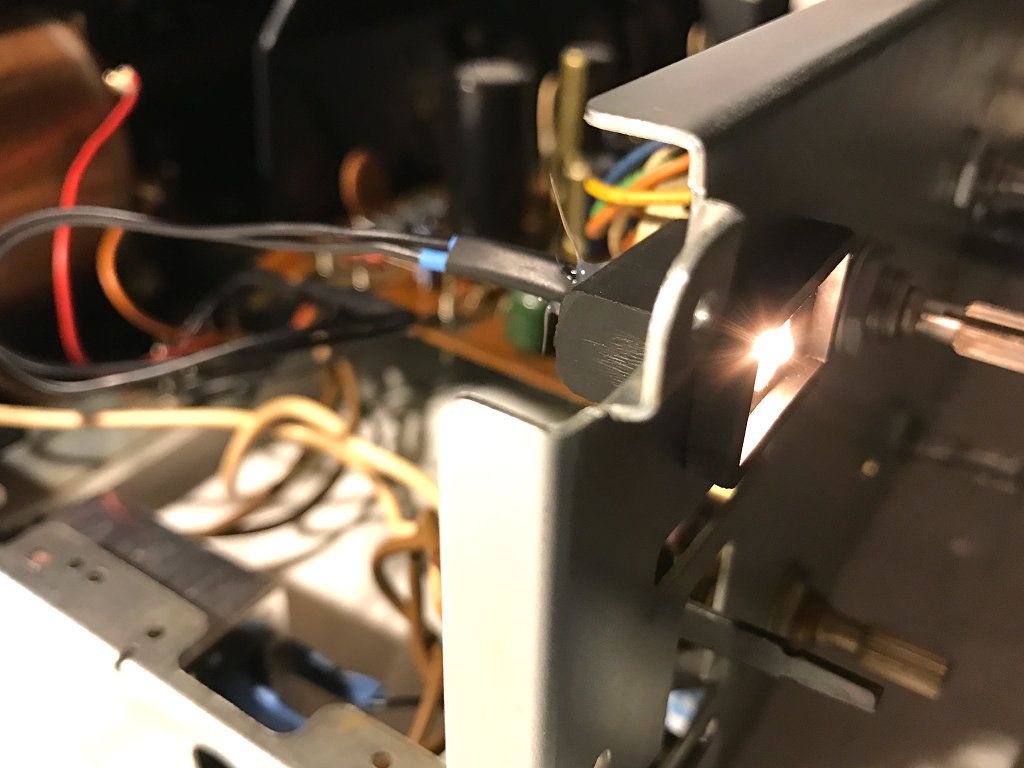
Bonus: The power indicator bulb was blown. At first I thought of replacing the bulb with a led connected to the amplifier's DC section, but fortunately I found a store in Madrid where these small bulbs were available. I desoldered the blown bulb from the AC supply wires and reconnected to the new bulb, insulated the joints and reattached to the holder using hot glue.
Next stop: cleaning and testing.