Using GoAccess web log analyzer with NGINX logs.
By isendev.
Posted on 2017/08/10 20:36.
Tagged as: raspberrypi, linux.
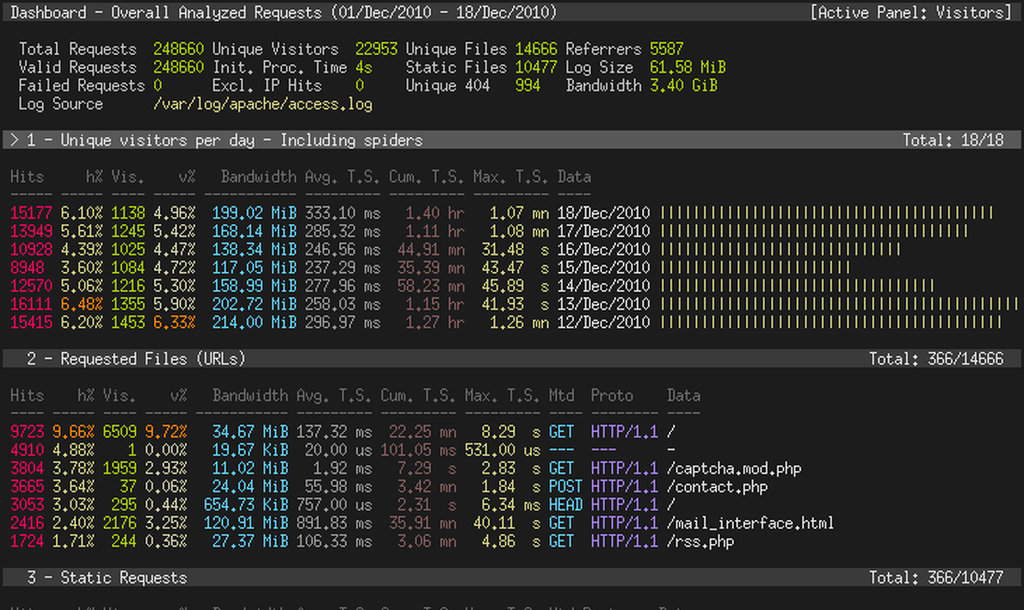
This is another quick note that shows how to install GoAccess web log analyzer with NGINX logs on Raspbian / Raspberry Pi.
What's GoAccess? Taken from its site:
GoAccess is an open source real-time web log analyzer and interactive viewer that runs in a terminal in *nix systems or through your browser. It provides fast and valuable HTTP statistics for system administrators that require a visual server report on the fly.
We will assume that an instance of NGINX is already running on your Raspberry Pi.
First of all, install GoAccess. It's avalaible through the Raspbian repositories.
apt-get install goaccess
Now uncomment the following lines from the GoAccess config file /etc/goaccess.conf, using your favourite text editor.
emacs /etc/goaccess.conf
date-format %d/%b/%Y
log-format %h %^[%d:%^] "%r" %s %b "%R" "%u"
These lines set the default date format to Apache format and the default log format to NCSA Combined Log Format, both used by the NGINX logs. Now, test GoAccess with current NGINX log file:
goaccess -f /var/log/nginx/access.log
And if you want to process all gzipped log archives (this may take a while), use this:
zcat -f /var/log/nginx/access.log* | goaccess
Important: Note that all commands are executed as root. If you do not have access to a root shell (by default you are not allowed to use it), use sudo to execute them (prefix all commands with "sudo").
How to update Oracle Java 8 on Raspbian / Raspberry Pi.
By isendev.
Posted on 2017/08/09 23:50.
Tagged as: java, raspberrypi, linux.
This is a quick note that shows how to update Oracle Java 8 on Raspbian / Raspberry Pi.
By default, Raspbian has the following Java 8 Oracle package:
root@rpi3server:~# dpkg --list | grep  oracle-java8-jdk
ii  oracle-java8-jdk 8u65 armhf Java™ Platform, Standard Edition 8 Development Kit
root@rpi3server:~ $ java -version
java version "1.8.0_65"
Java(TM) SE Runtime Environment (build 1.8.0_65-b17)
Java HotSpot(TM) Client VM (build 25.65-b01, mixed mode)
And the default Raspbian repositories do not regurarly update this package.
We need to use the Oracle Java Installer from https://launchpad.net/~webupd8team.
Install the repository key, from keyserver.ubuntu.com.
root@rpi3server:~# gpg --keyserver keyserver.ubuntu.com --recv EEA14886
root@rpi3server:~# gpg --export --armor EEA14886 | sudo apt-key add -
Add the repository URLs to the APT sources config file /etc/apt/sources.list, using your favourite text editor.
root@rpi3server:~# emacs /etc/apt/sources.list
deb http://ppa.launchpad.net/webupd8team/java/ubuntu trusty main
deb-src http://ppa.launchpad.net/webupd8team/java/ubuntu trusty main
Update the repositories.
root@rpi3server:~# apt-get update
Use the installer package to automatically update Oracle Java. You must accept the license messages and confirm the installation when prompted.
root@rpi3server:~# apt-get install oracle-java8-installer
Set the updated Oracle Java as default.
root@rpi3server:~# apt install oracle-java8-set-default
And finally, confirm that everything is fine.
root@rpi3server:~# java -version
java version "1.8.0_144"
Java(TM) SE Runtime Environment (build 1.8.0_144-b01)
Java HotSpot(TM) Client VM (build 25.144-b01, mixed mode)
Important: Note that all commands are executed as root. If you do not have access to a root shell (by default you are not allowed to use it), use sudo to execute them (prefix all commands with "sudo").
Pioneer SA-5300 restoration: Part IV. Other modifications.
By isendev.
Posted on 2017/08/03 22:44.
Tagged as: audio, diy, vintage, pioneer.
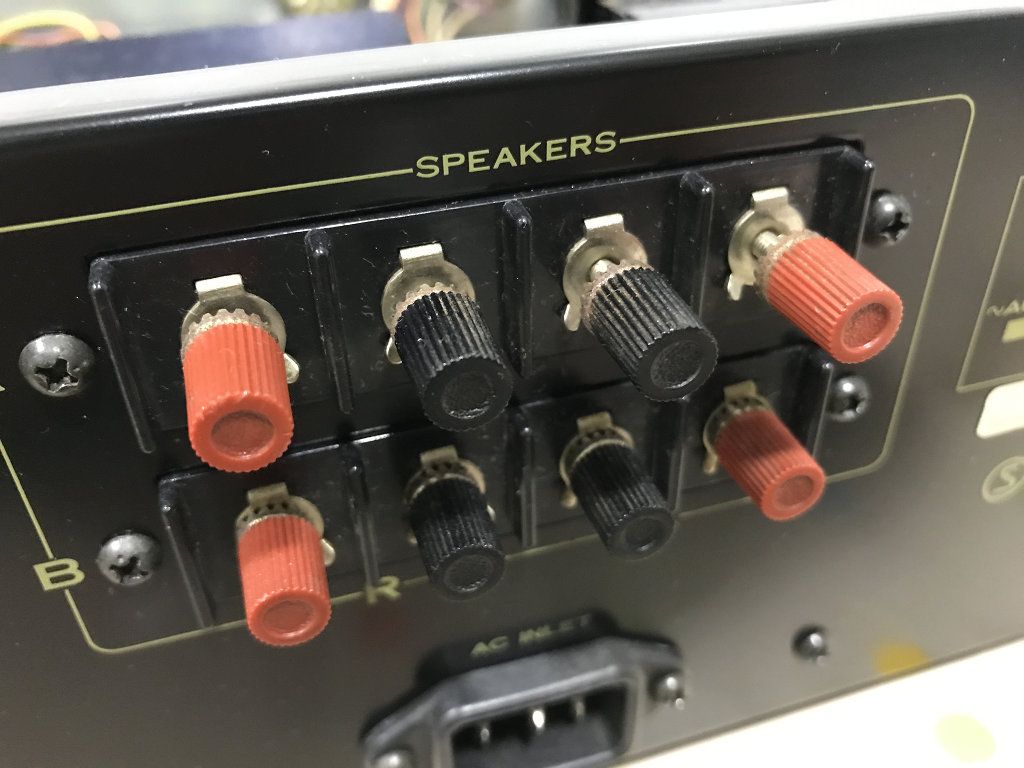
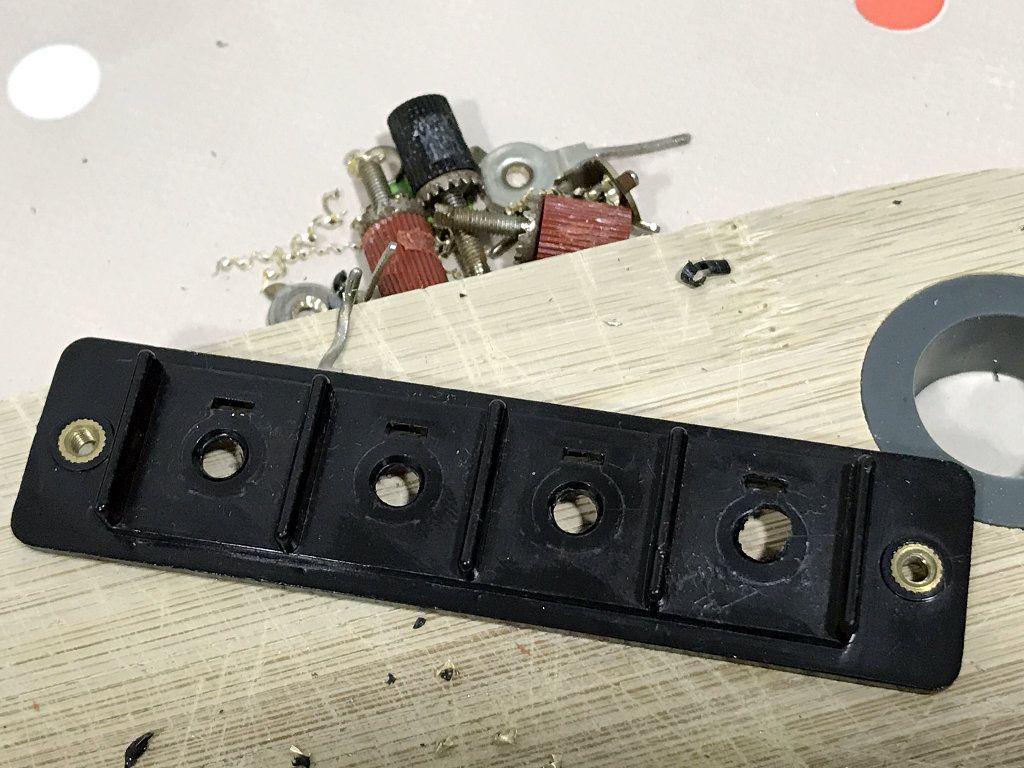
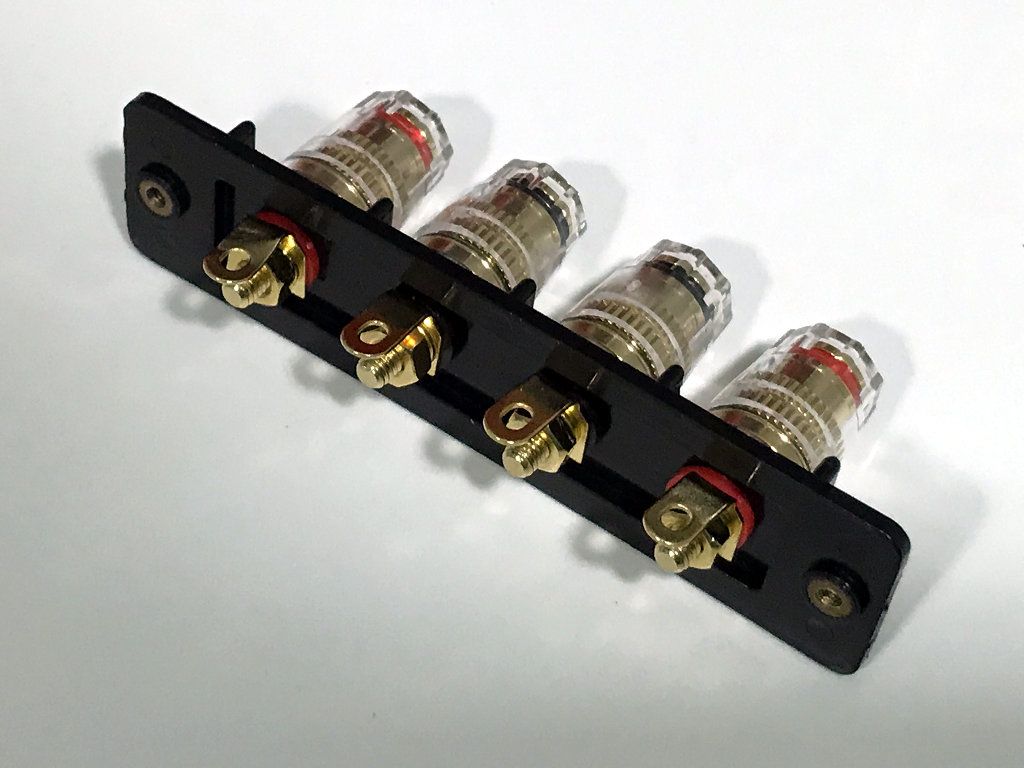
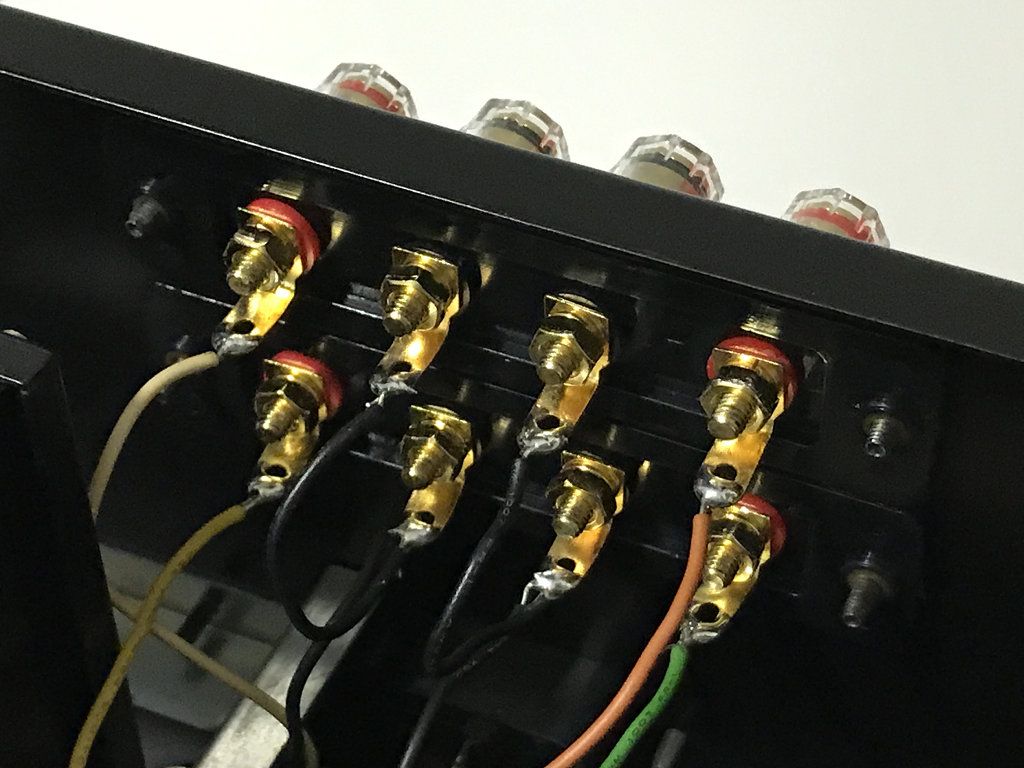
Here are some photos of two modifications I've made to improve the amplifier.
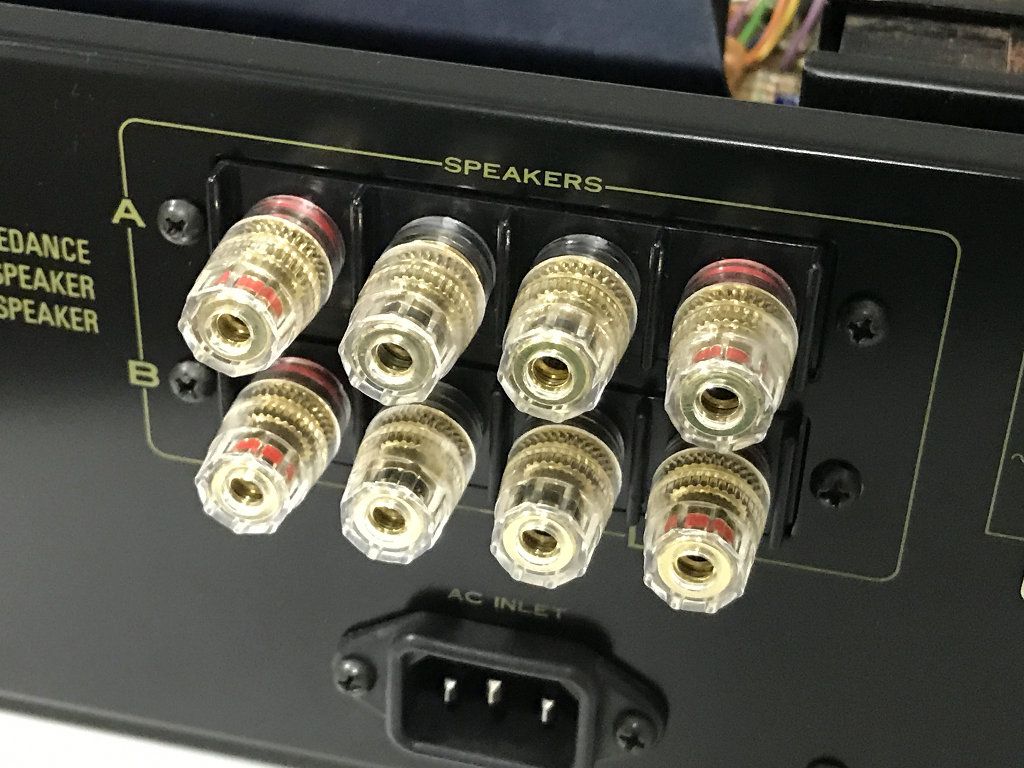
I've replaced the old and rusty speaker terminals with some new golden plated banana plug terminals:
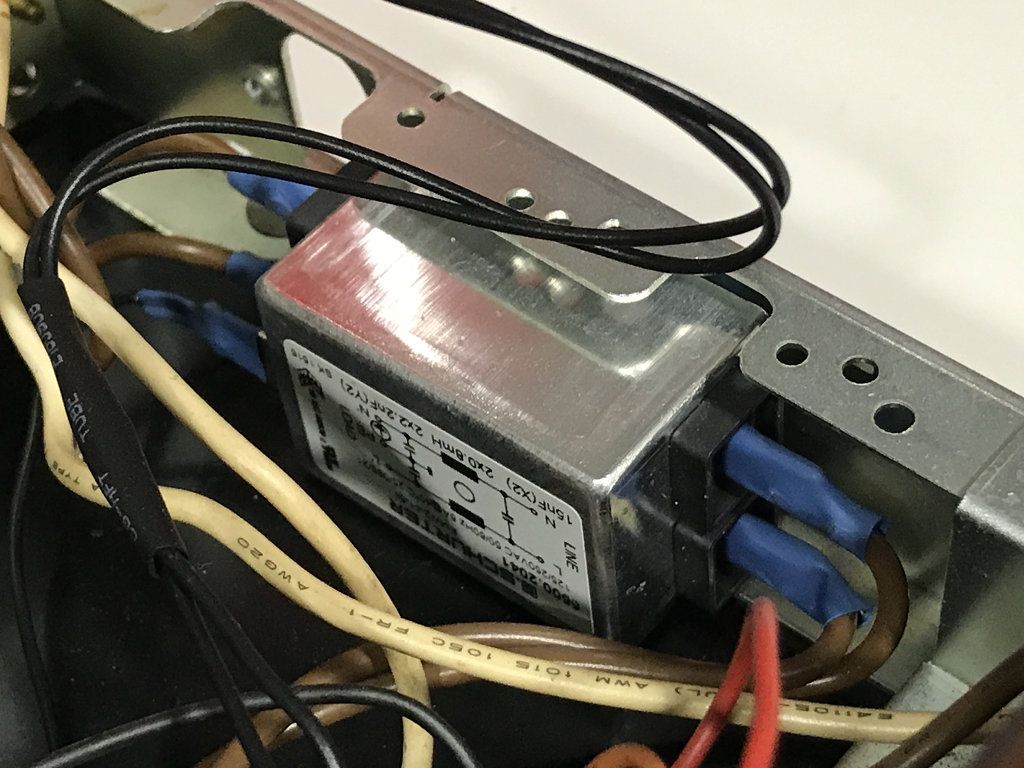
This amplifier do not have an AC input EMI filter, so I've installed one to reduce power-line interference problems.
Pioneer SA-5300 restoration: Part III. Cleaning and testing.
By isendev.
Posted on 2017/06/25 20:10.
Tagged as: audio, diy, vintage, pioneer.
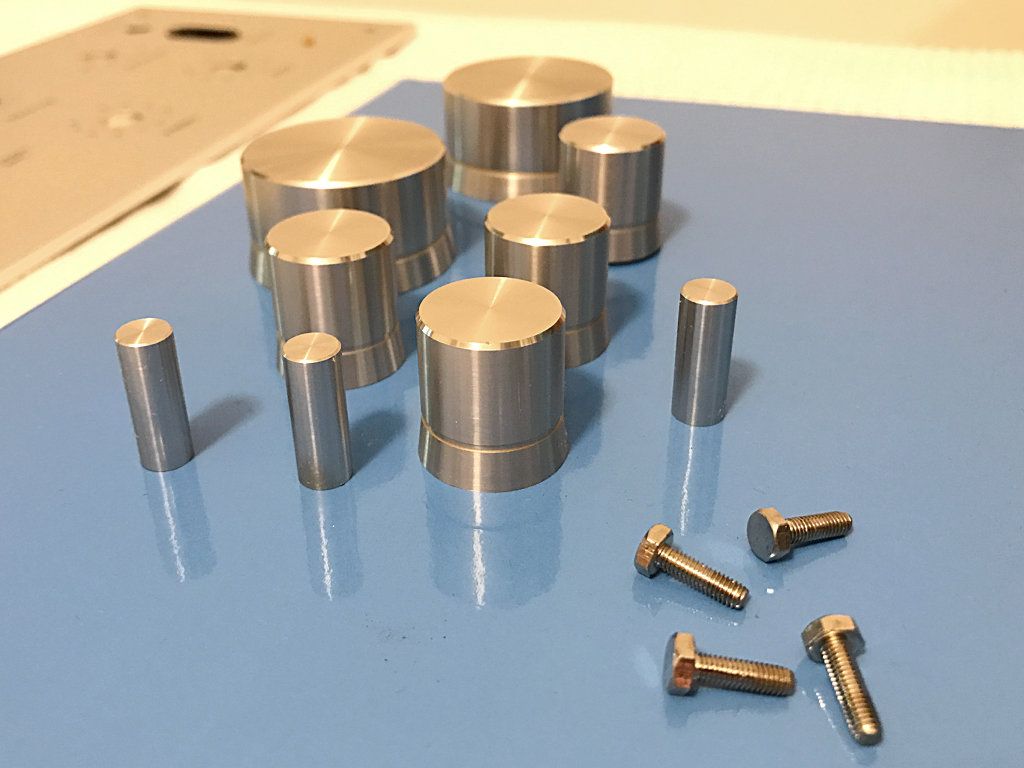
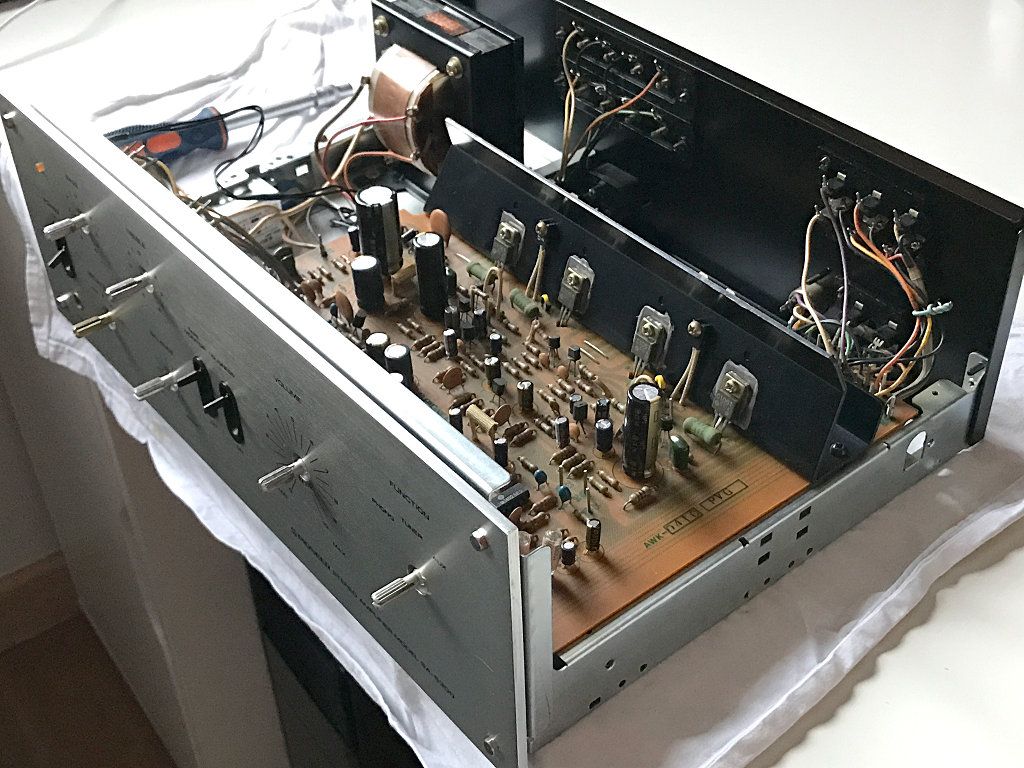
Previously, I've removed the top cover and the aluminium front panel and knobs to access the inners of the amplifier. Over the many years of use, control knobs and front panel tend to accumulate a lot of grime and grease. To make the aluminium parts shine again, nothing better than wash the surfaces gently with hot water and neutral soap. Carefully wipe with a wet microfiber cloth, to avoid damaging the front panel lettering.
Remounting ...
... and testing.
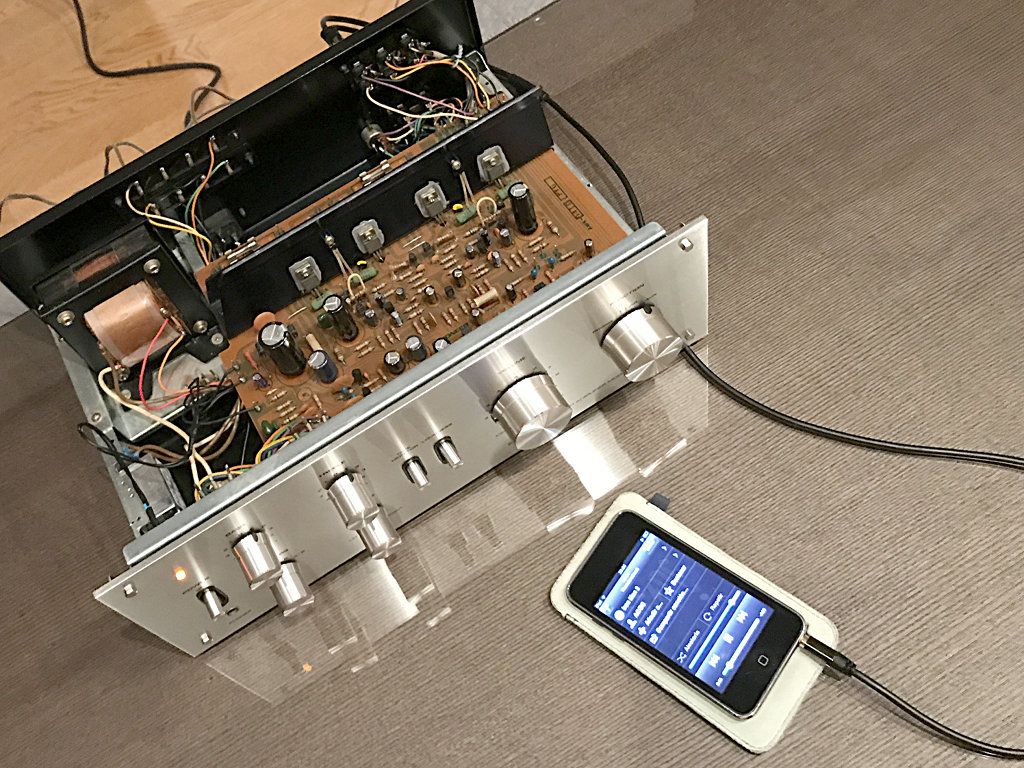
After recapping, the sound stage has improved considerably. This little amplifier sounds really, really good.
