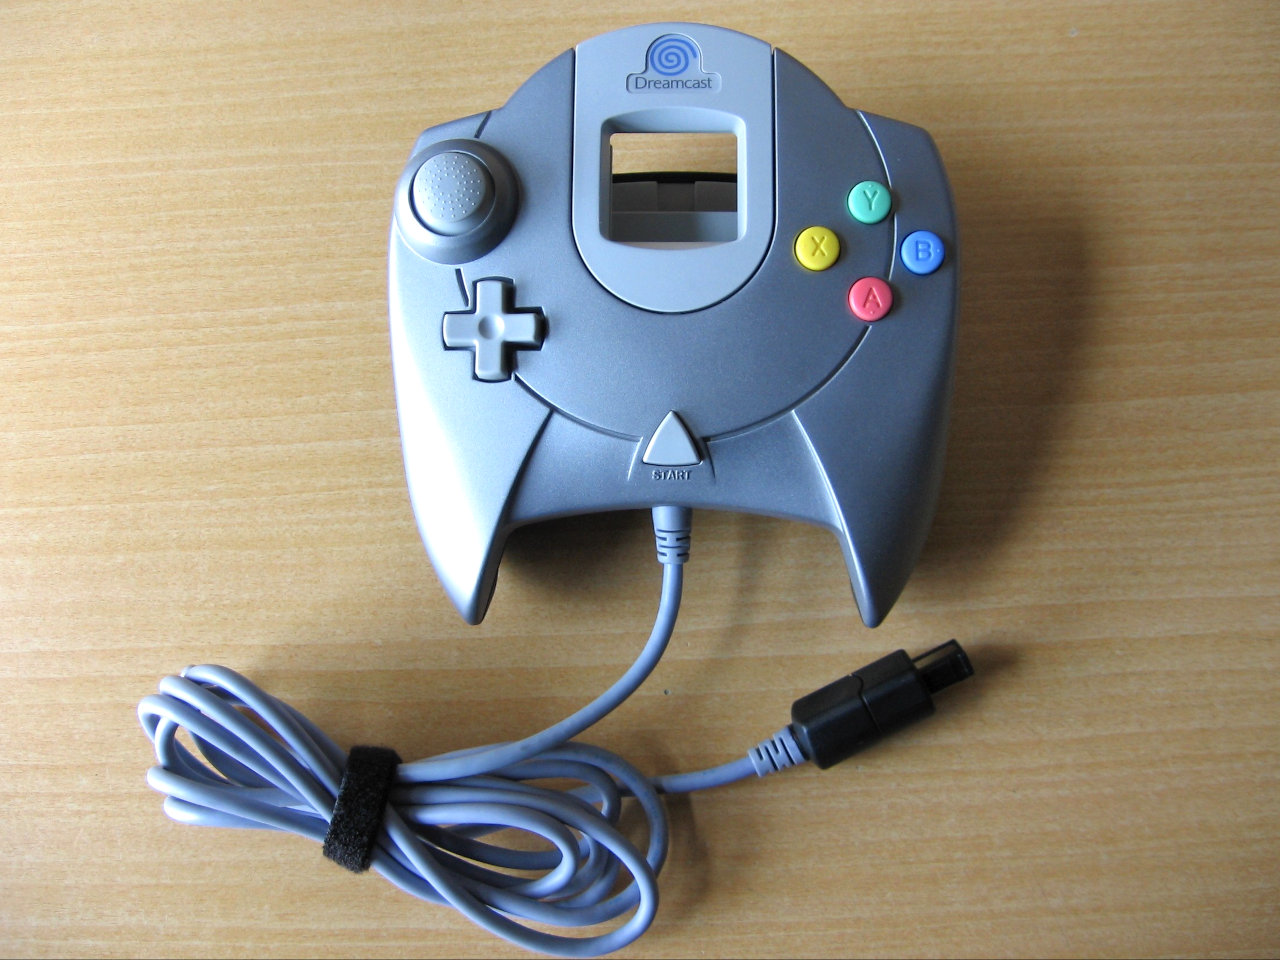
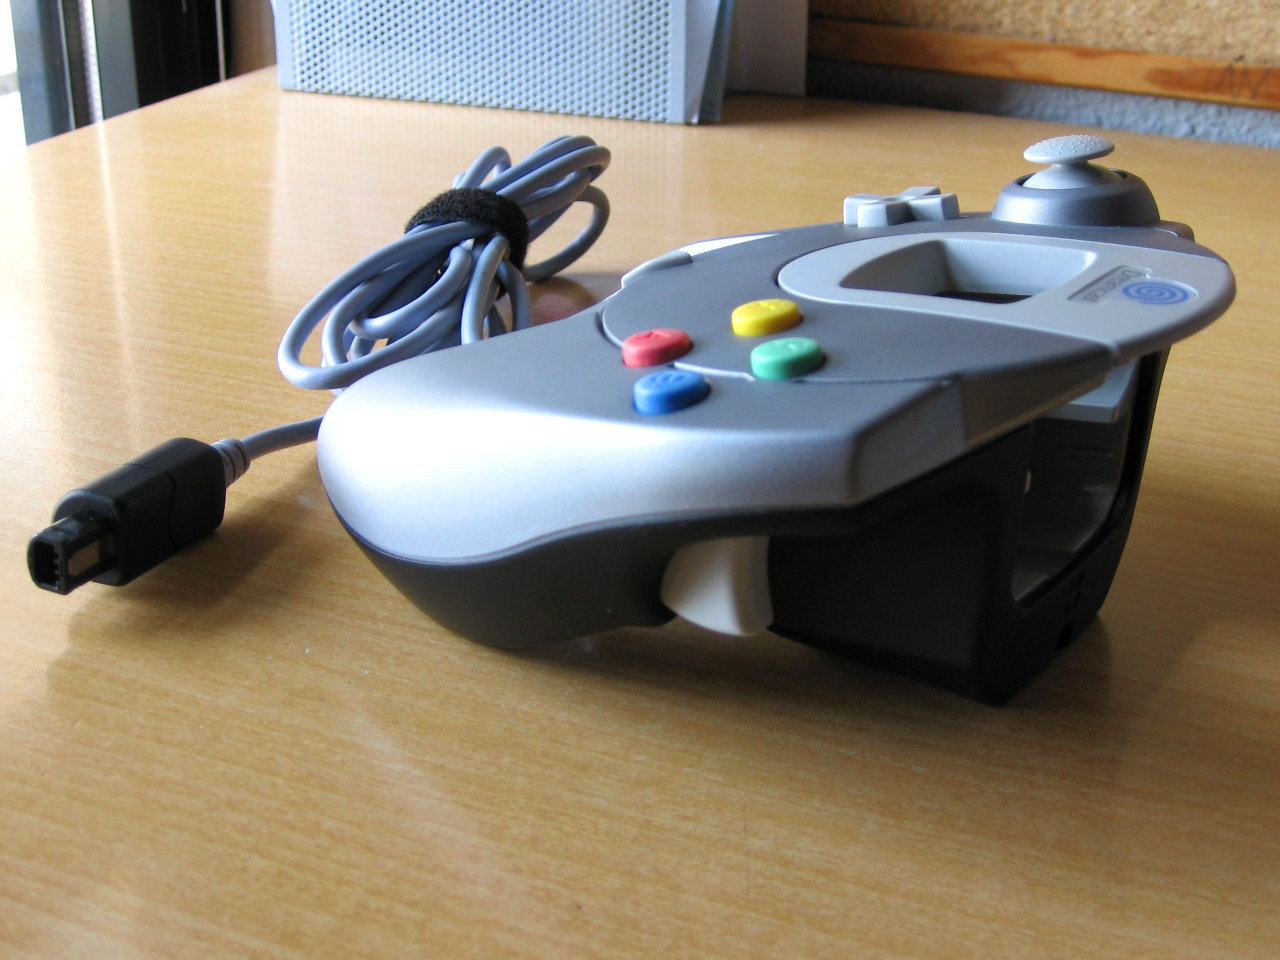
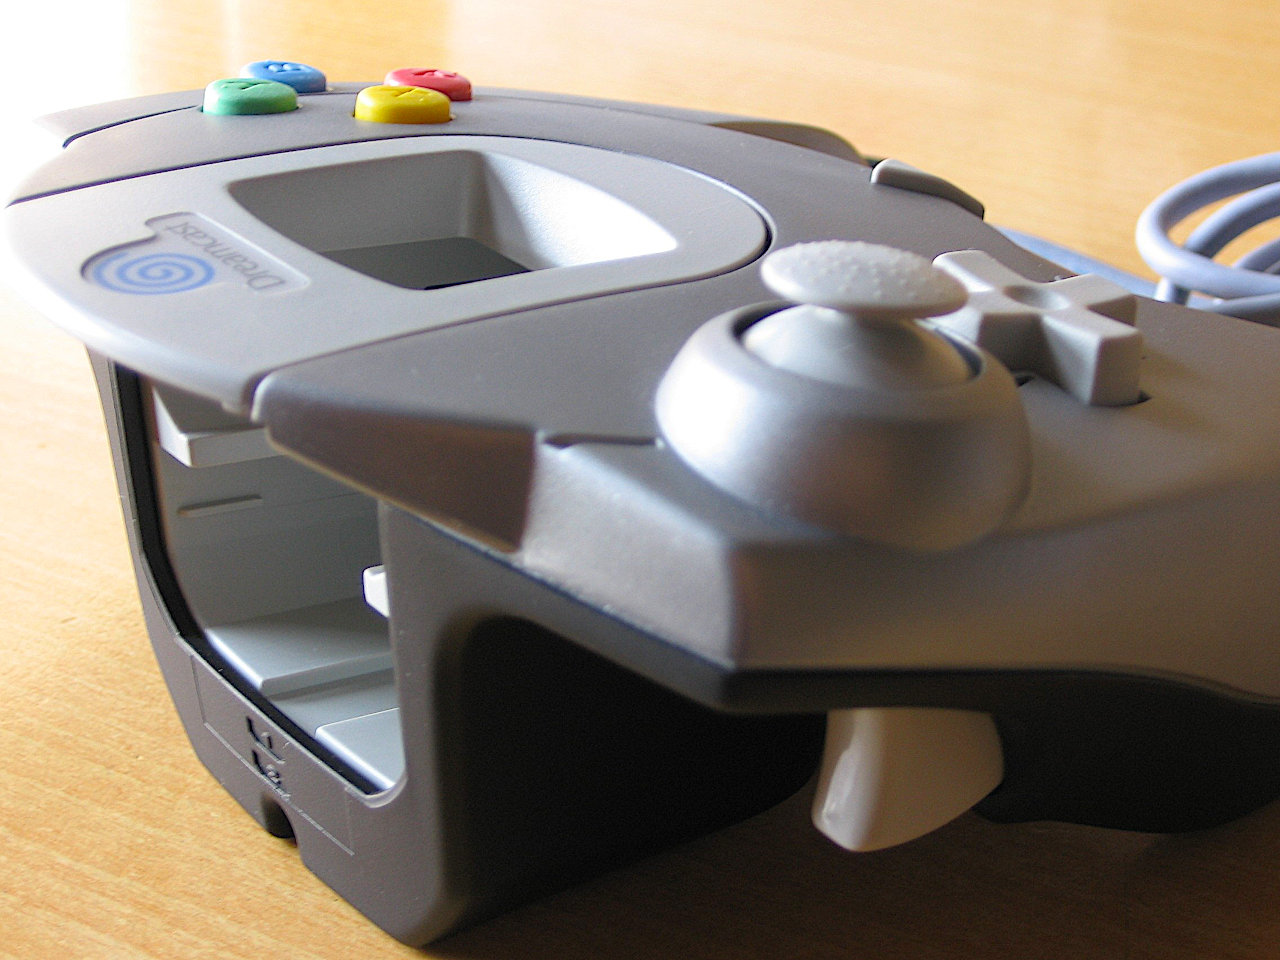
Old projects: Airbrushed Sega Dreamcast controller.
By isendev.
Posted on 2020/12/01 22:56.
Tagged as: videogames, diy.
I found some photos of an old project and they made me smile. This is an airbrushed Sega Dreamcast controller, using the color scheme from the Limited Edition Resident Evil Nintendo Gamecube as inspiration. Being self-teached, I'm very proud from my first steps in airbrushing, 15 years ago!

Nintendo Switch Joy-Con stick replacement.
By isendev.
Posted on 2019/10/14 23:10.
Tagged as: videogames, diy.
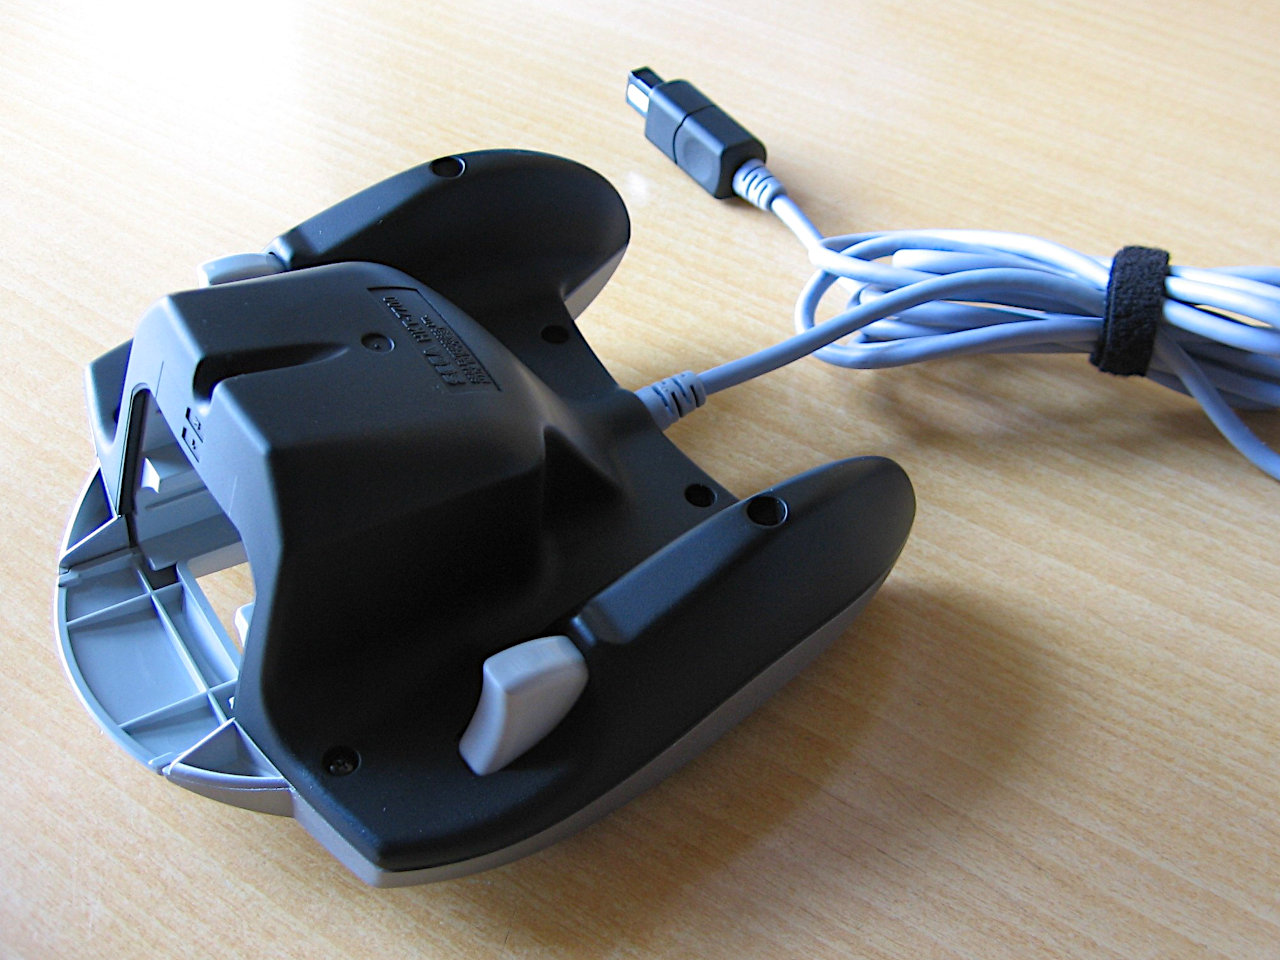
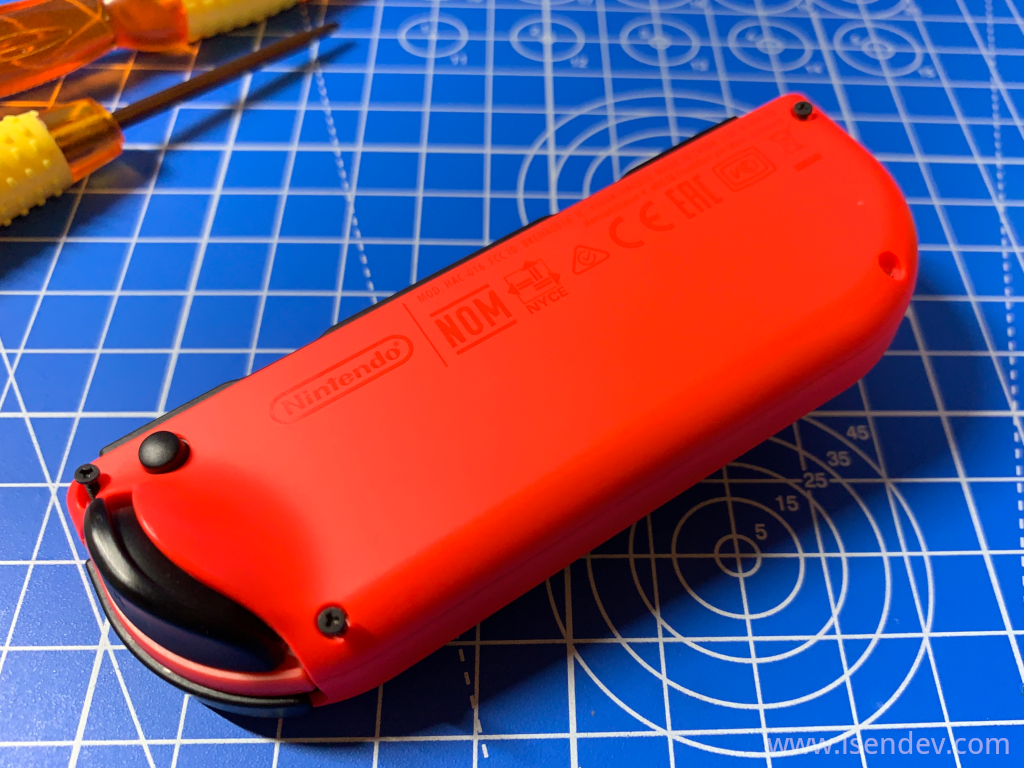
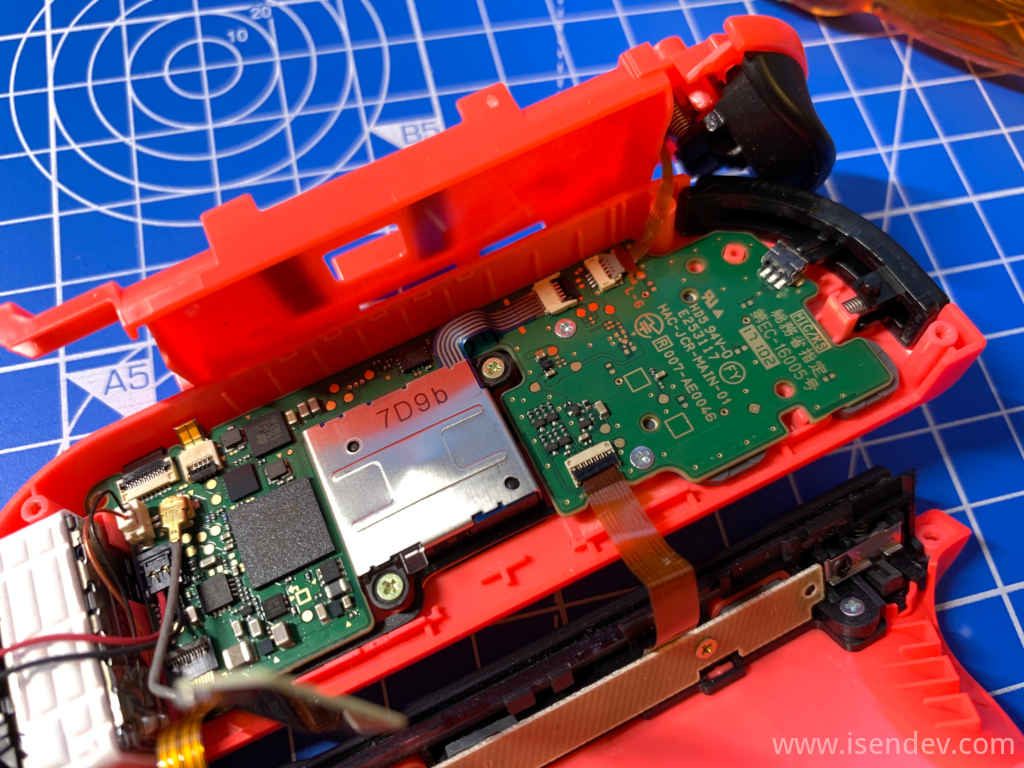
This is a small photo walkthrough about how to replace a Nintendo Switch Joy-Con stick. Seems to be a kind of a necessary thing when you step on your Switch's Joy-Con unintentionally and break the damn small thing... ;)
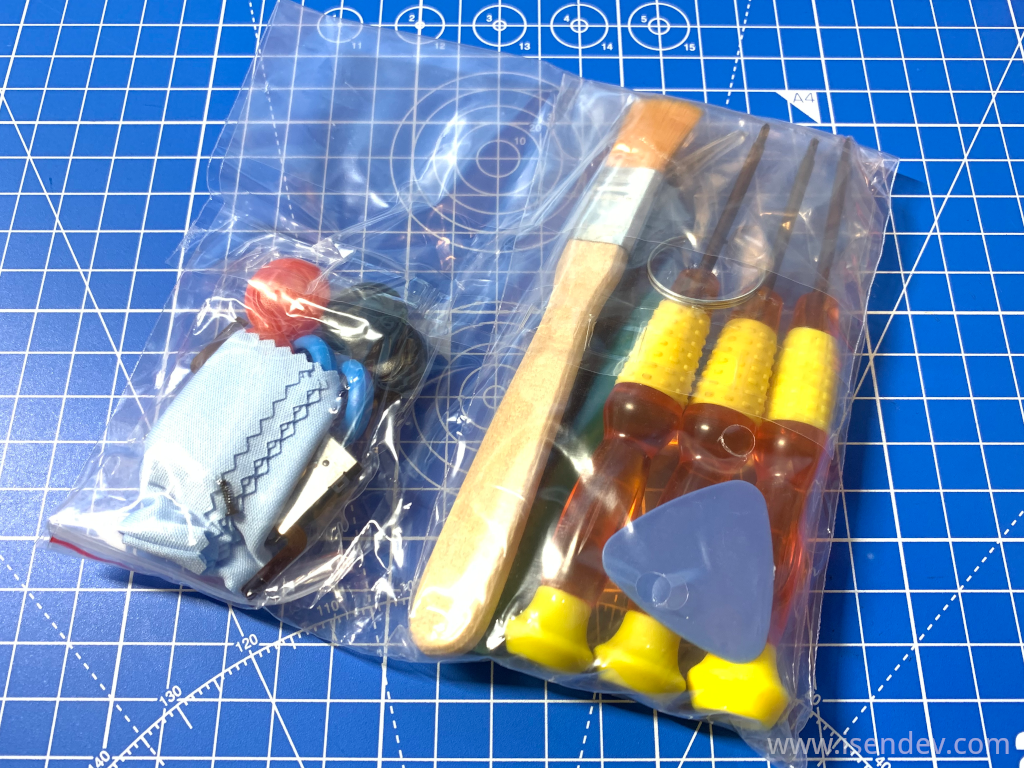
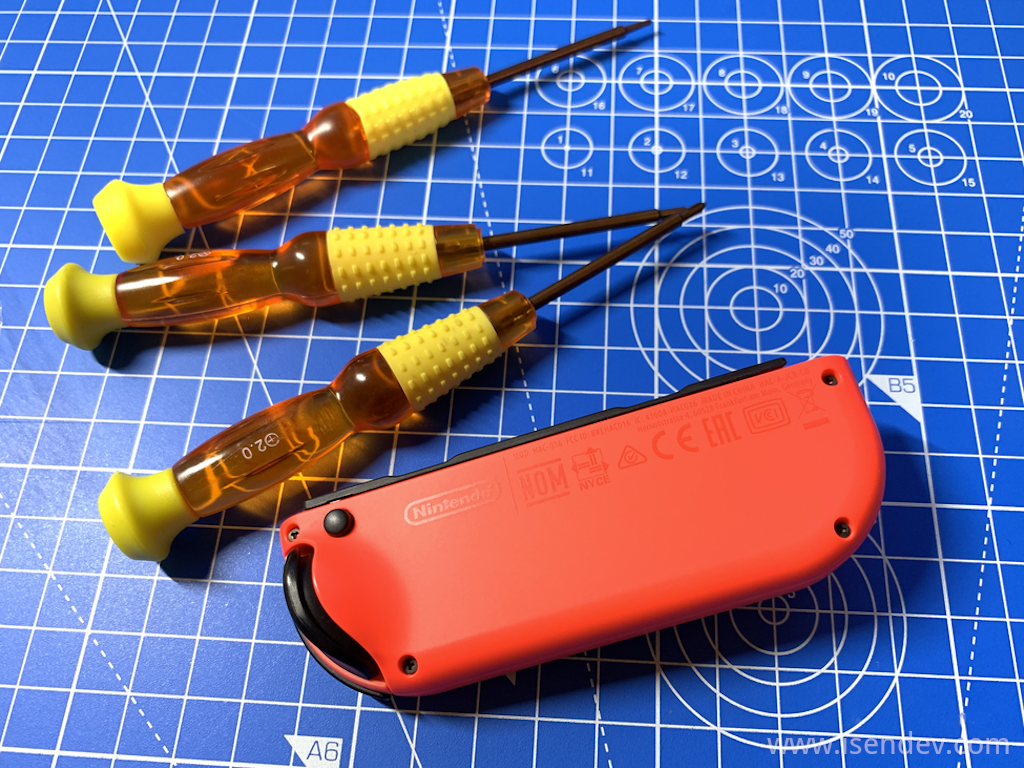
First of all, I bought a Joy-Con stick repair kit from Amazon. It comes with two new "non OEM but OK" sticks and an assortment of good quality tools to make the Joy-Con disassembly process an easy affair.
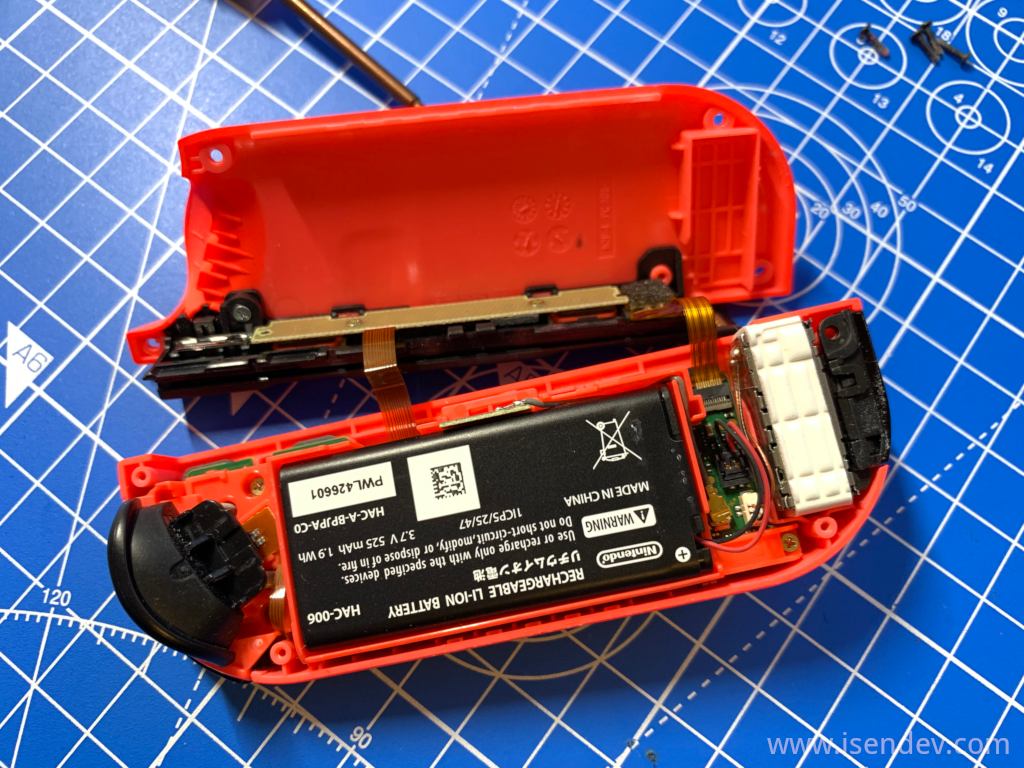
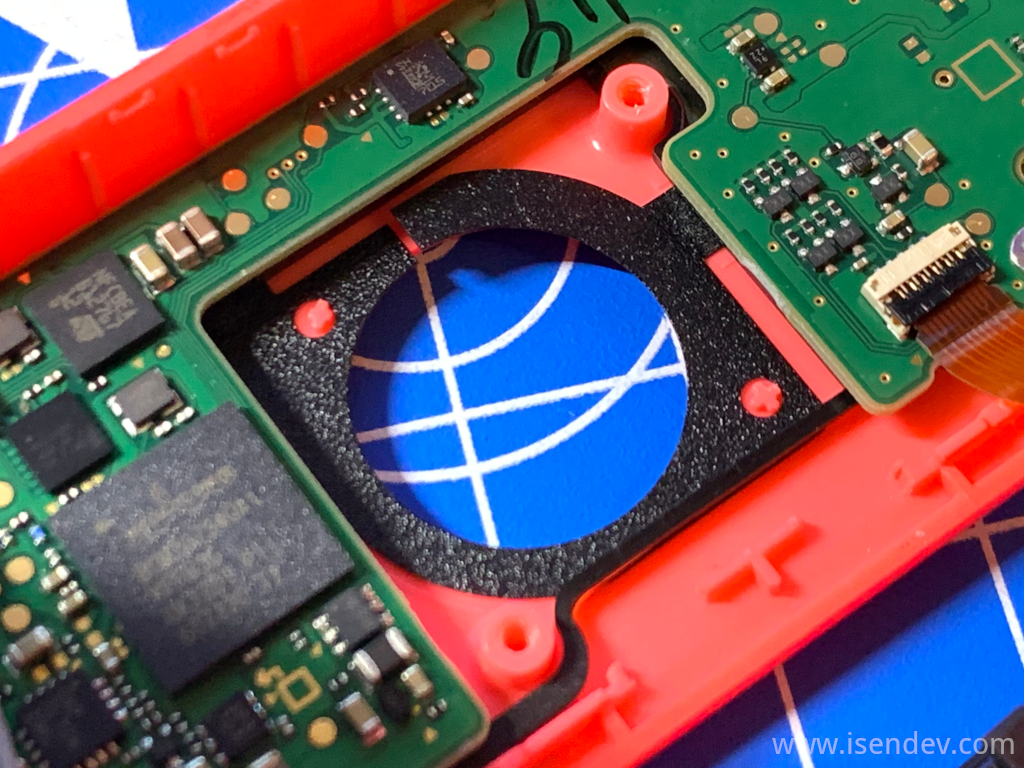
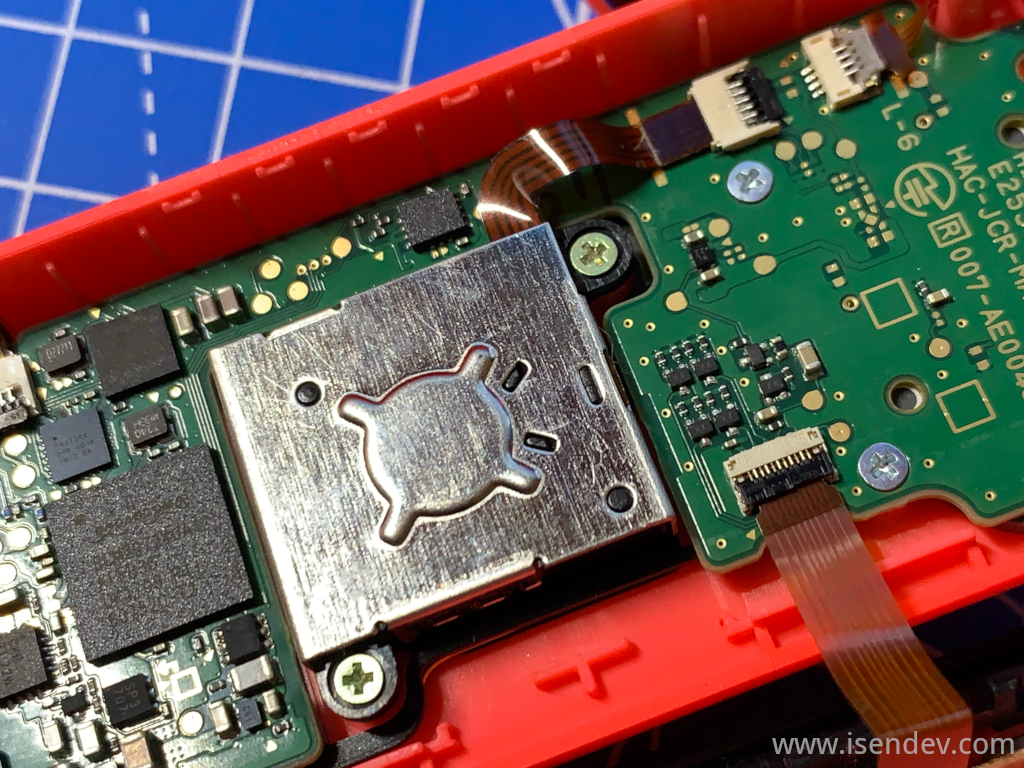
We have to open the Joy-Con and remove the four screws on the Joy-Con's back using the tri-wing bit. Then pry open the Joy-Con with the help of the plastic nail tool. Be extremely careful with the small ribbon cables that run from one side to another.
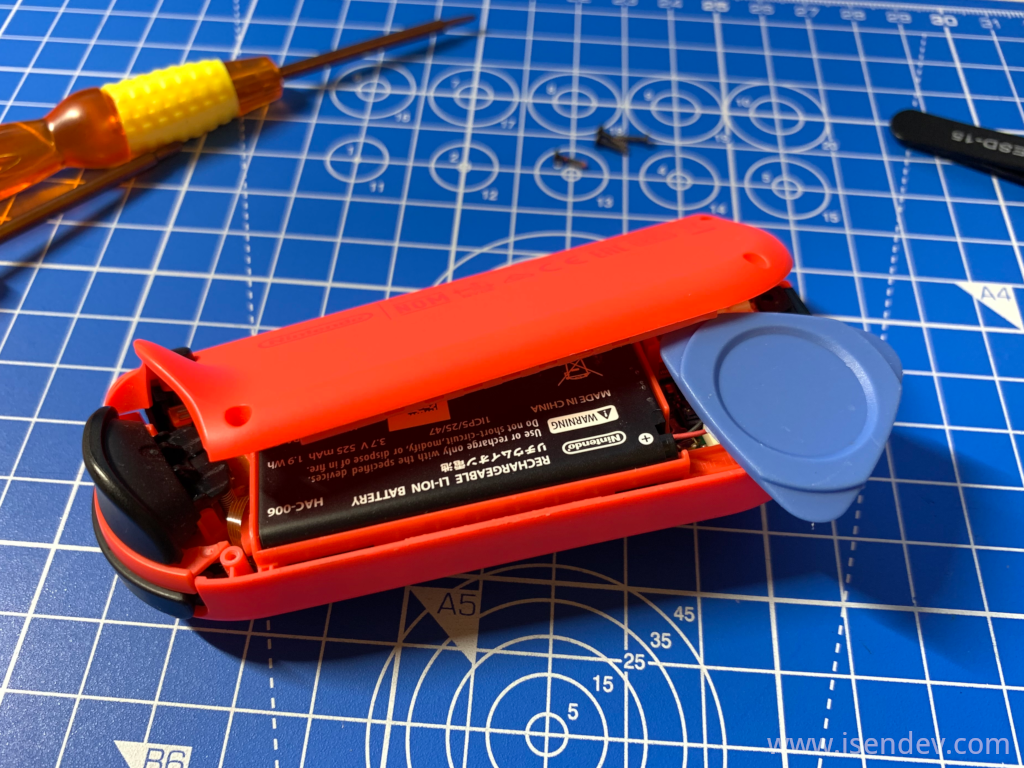
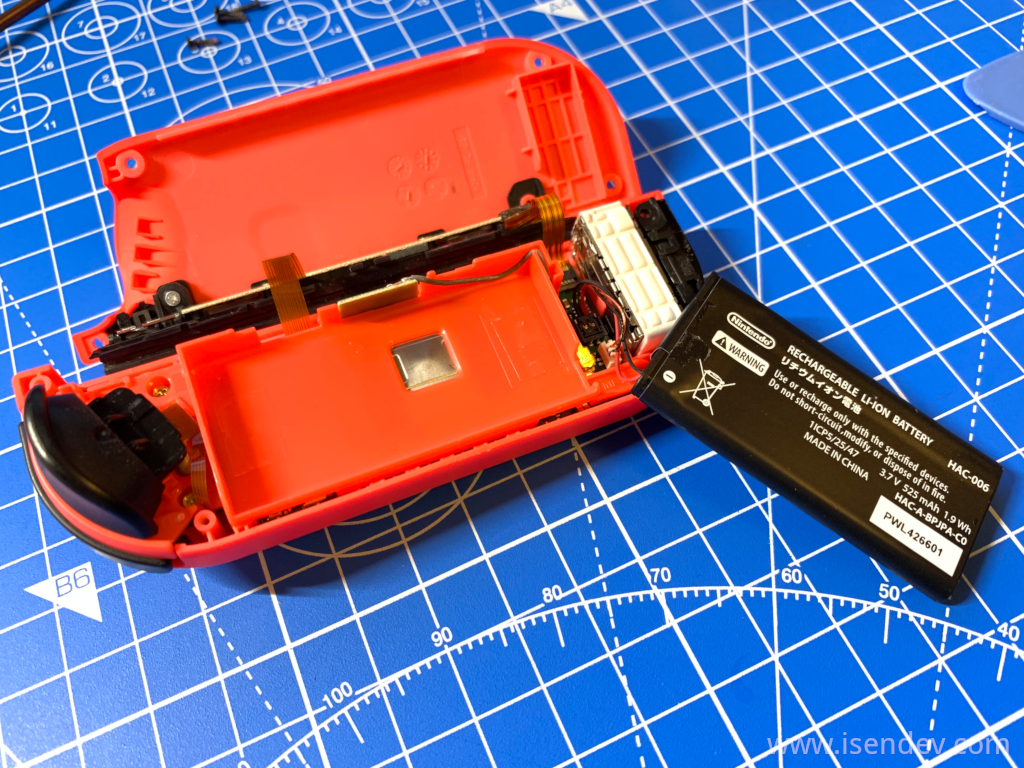
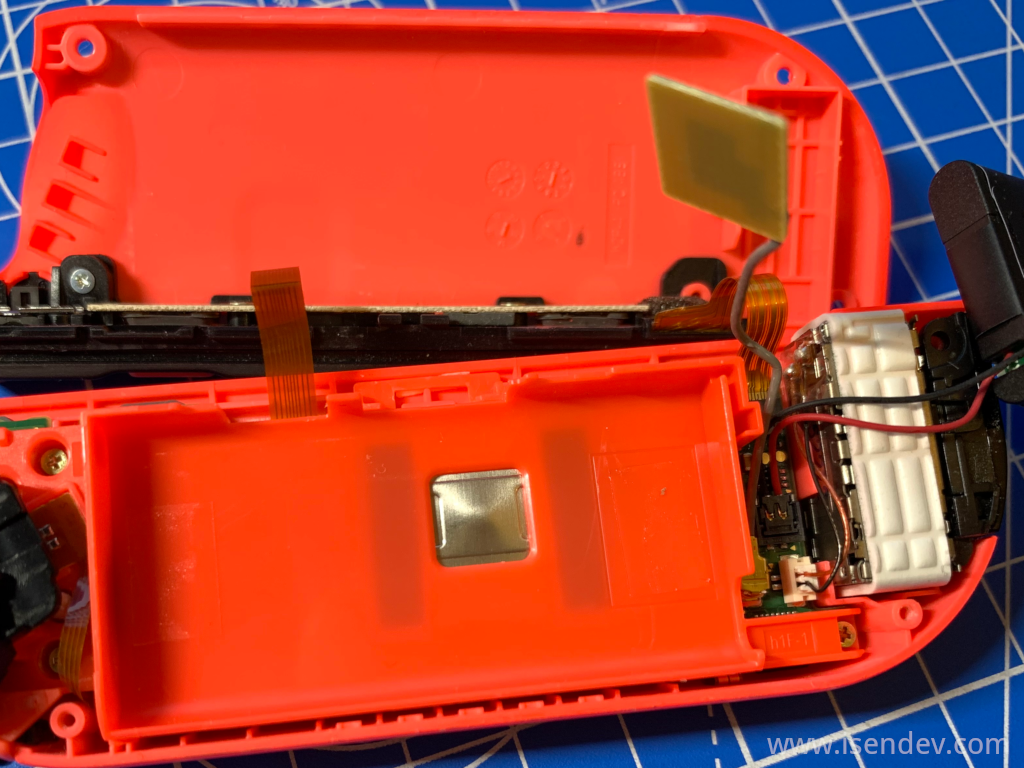
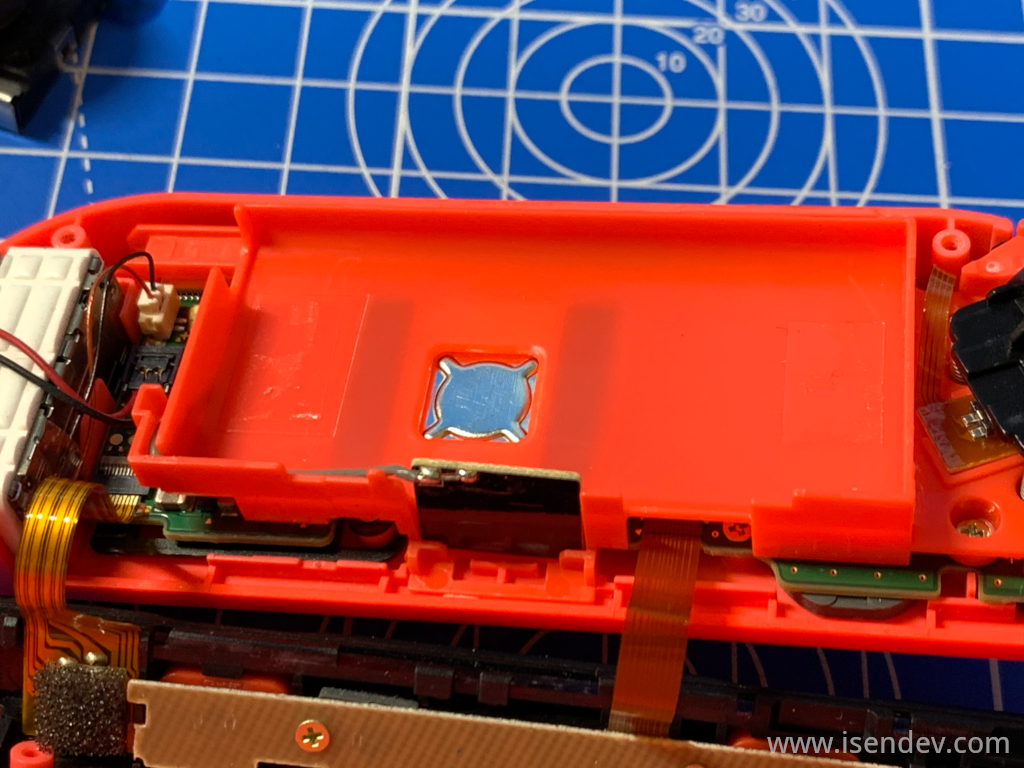
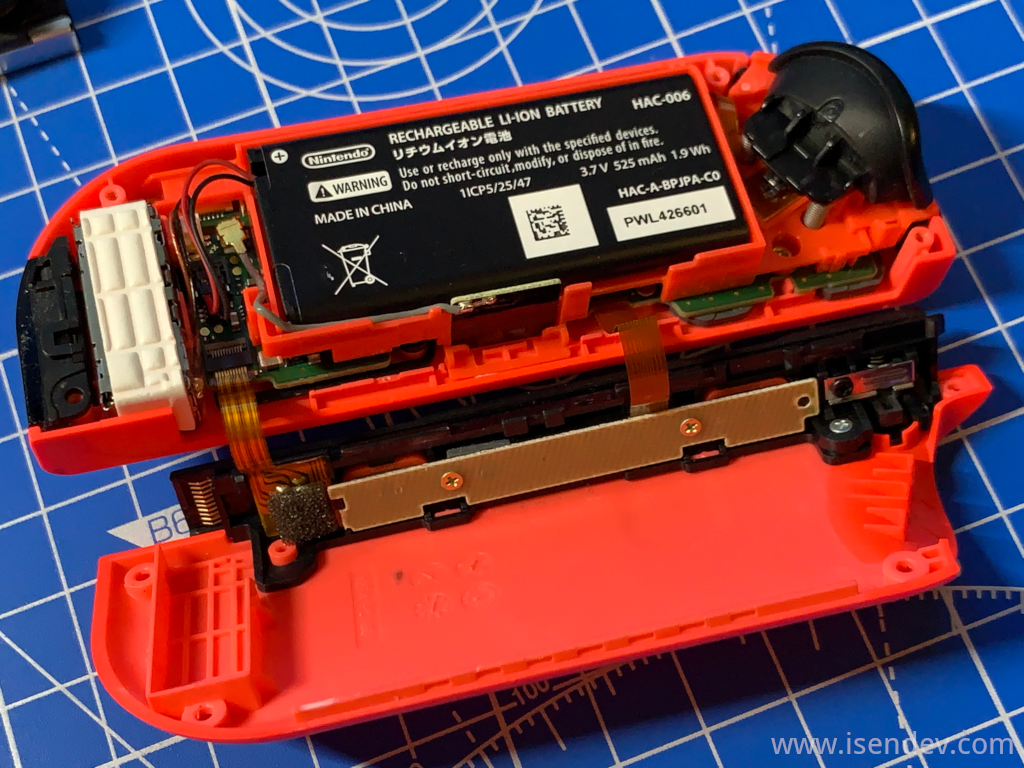
Once the Joy-Con is opened, we have to move apart the battery (attached to chassis using a small adhesive pad) and the antenna board. Next step is to lift the battery chassis by removing two screws located at each side of it. After that, we 're able to reach the backside of the damaged stick.
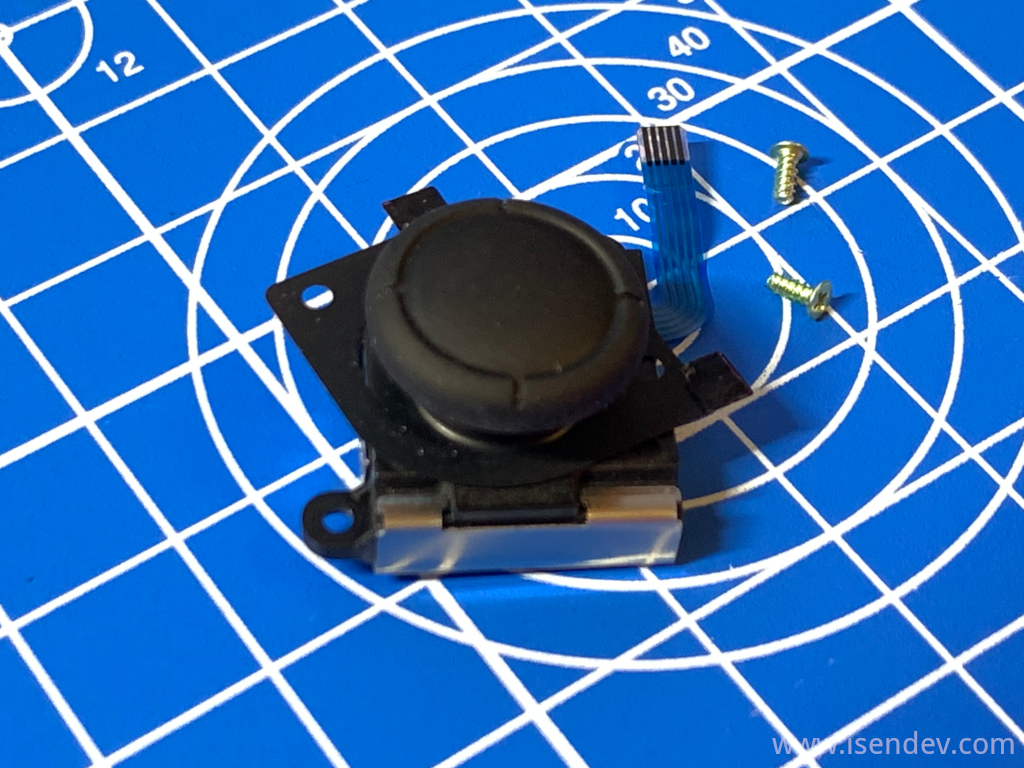
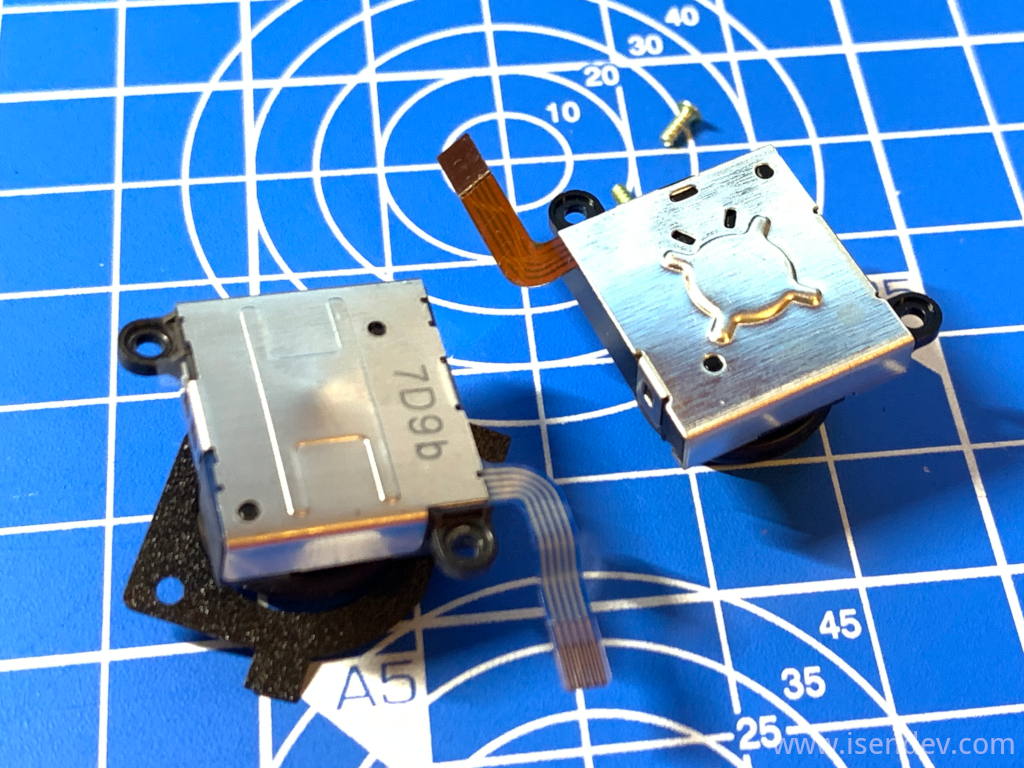
Now, to extract the stick we have only to remove two screws more and release the small ribbon data cable from its connector (using a pair of electronics tweezers). The sticks can now be swapped. It's necessary to reattach the small plastic shield from the old stick to the new one.
Remount the Joy-Con following all steps in backwards order.
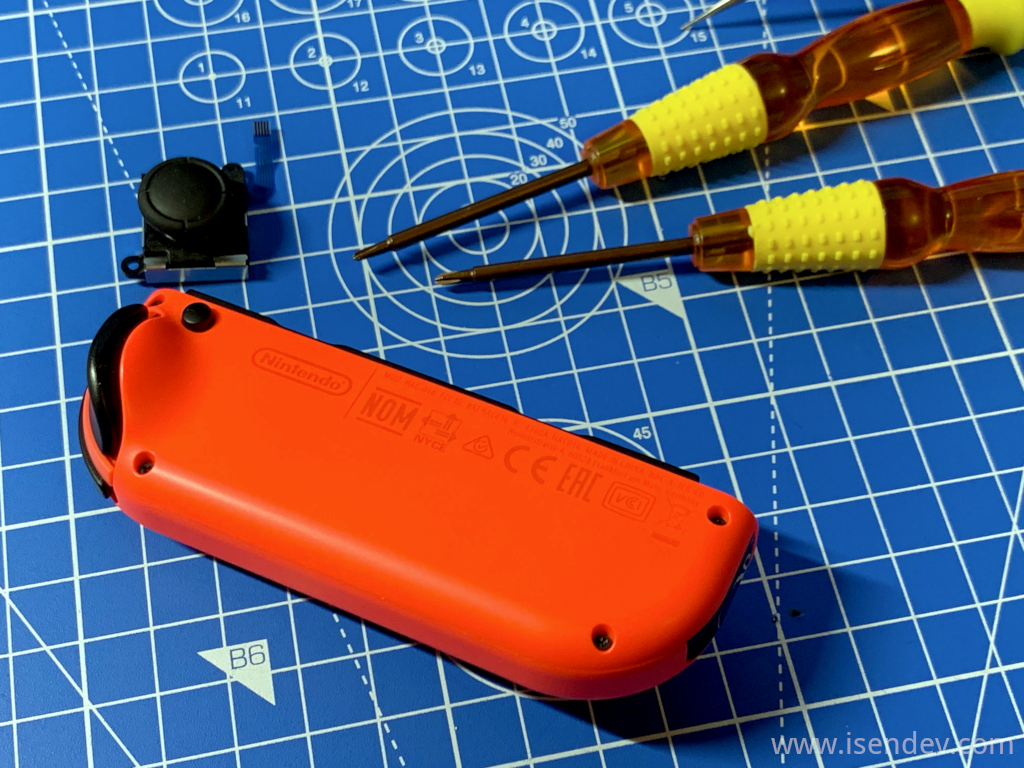
To finish, check that the new stick works properly. It may be necessary to recalibrate the stick using the Nintendo Switch system menu.

Lesson learned today: Do not leave your Nintendo Switch Joy-Cons laying on the floor.
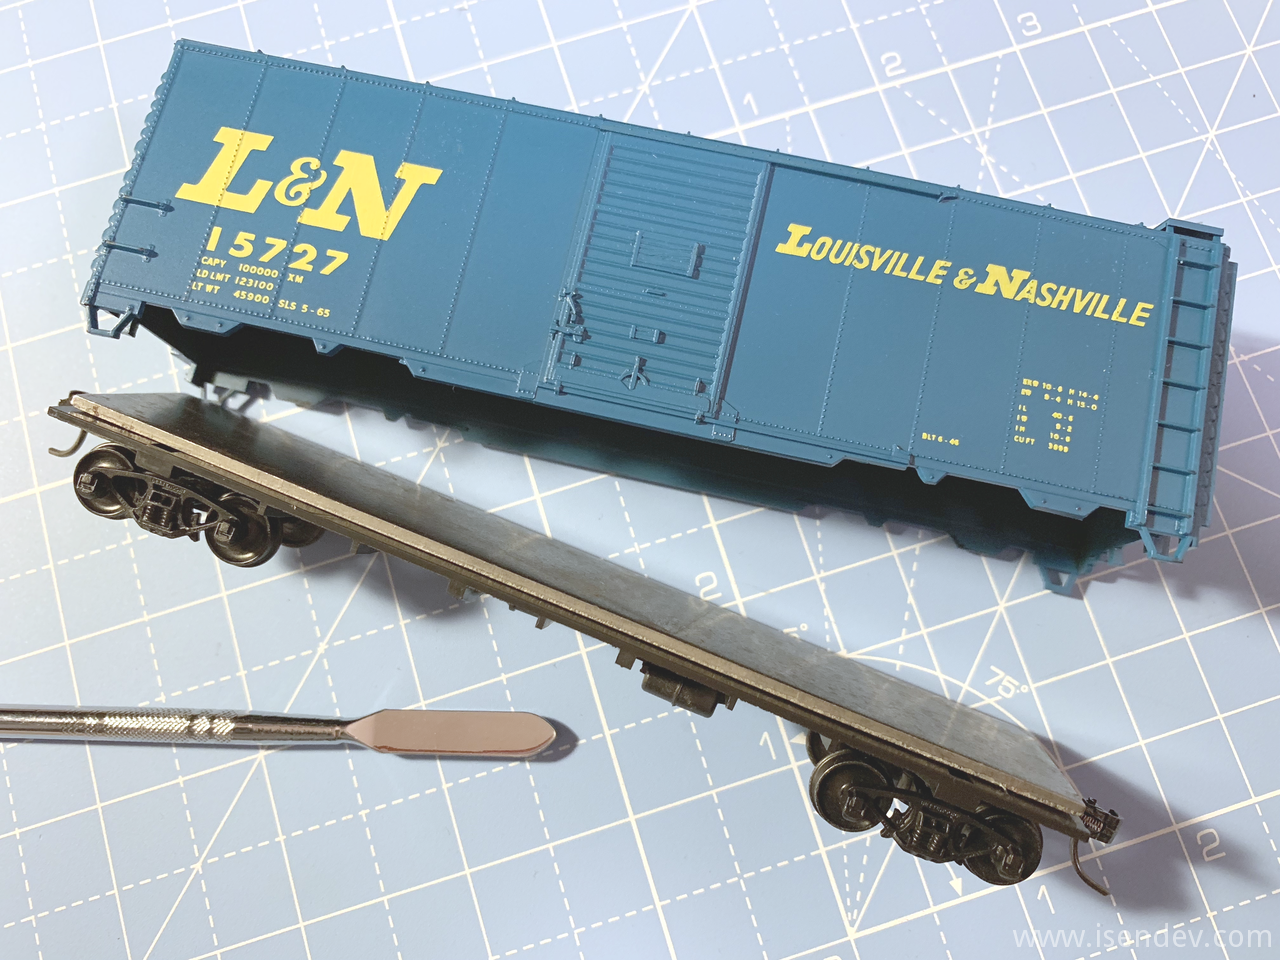
Building an Accurail kit: 40' L&N AAR Steel Box Car.
By isendev.
Posted on 2019/06/04 23:18.
Tagged as: vintage, railwaymodelling.
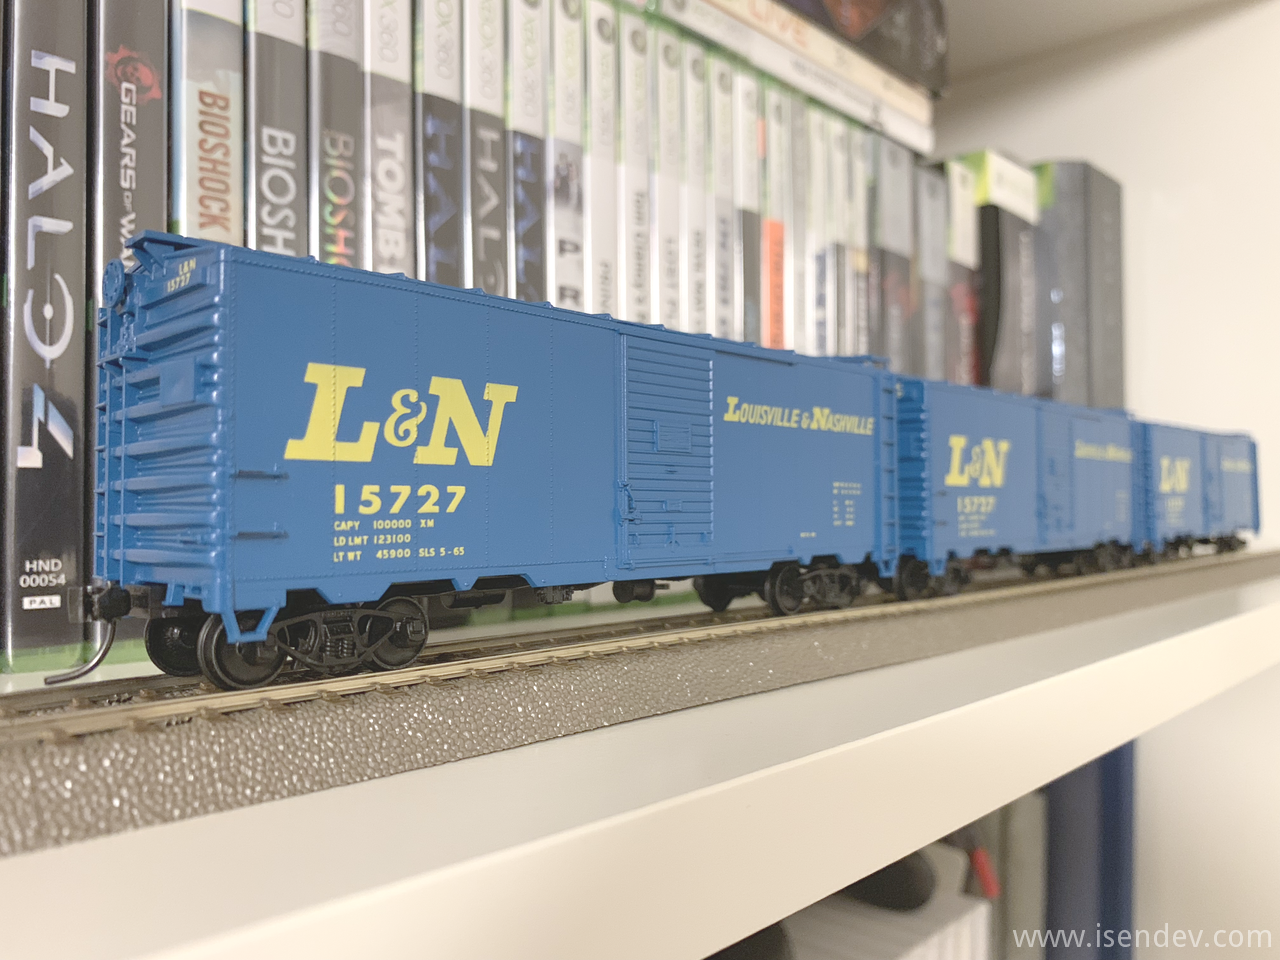
After a long time, I've returned back to my old hobby of railway modelling. When I was young, I spent countless hours playing with my dad's collection and now, in my forties, I would like to start my own collection with some american model trains.
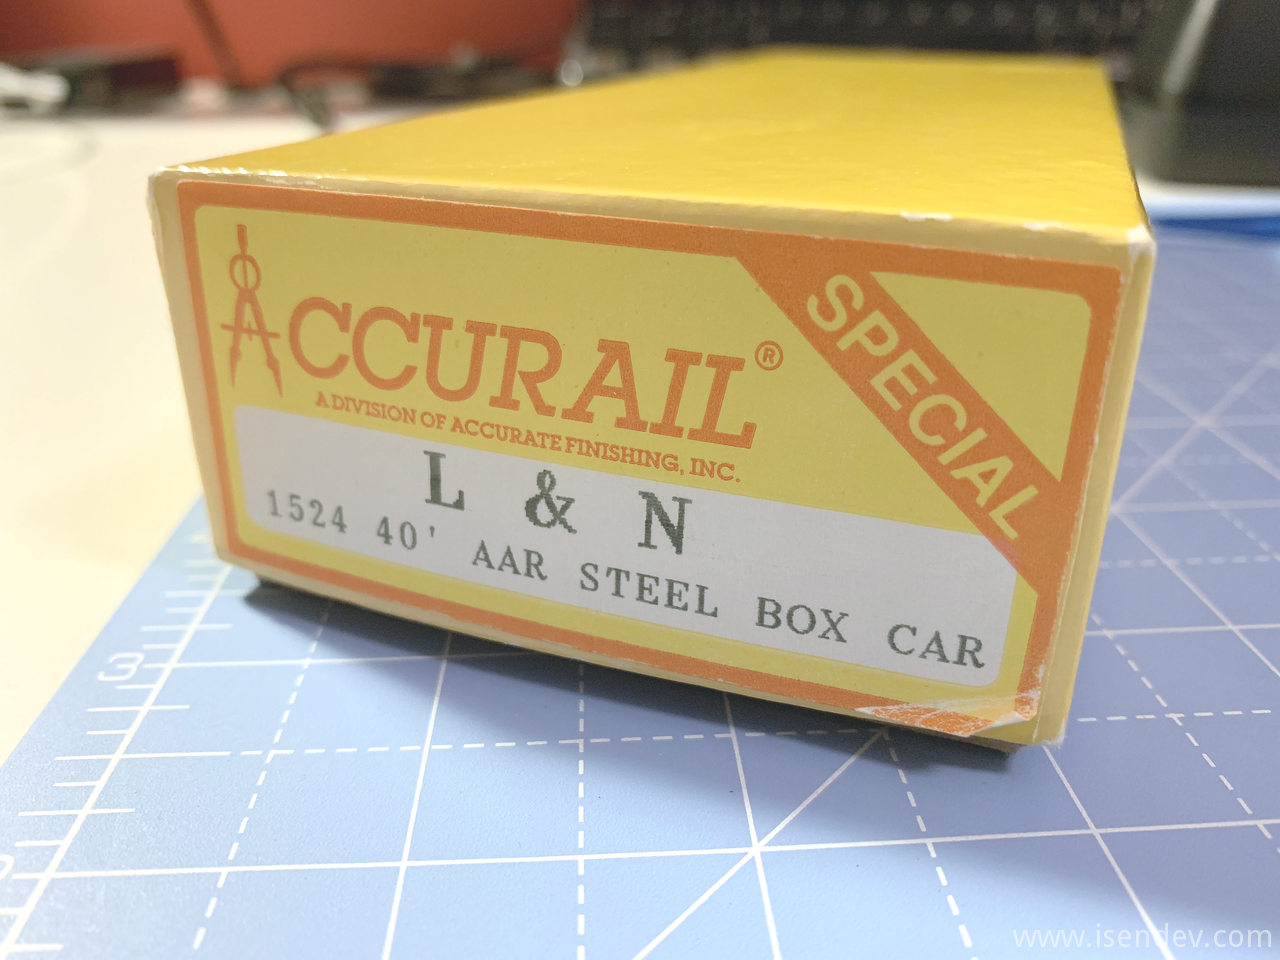
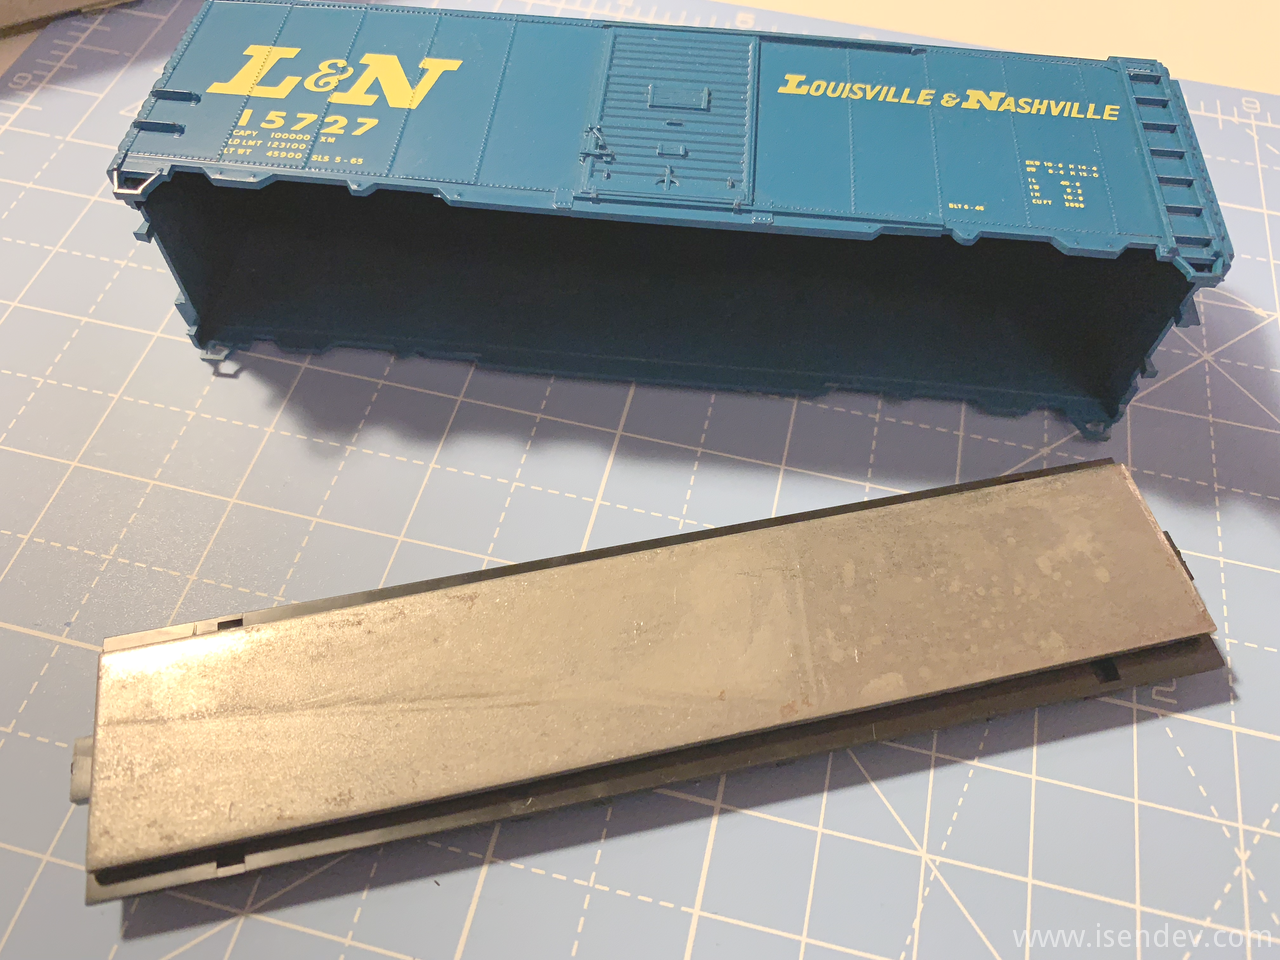
It is difficult to find such models for sale in Spain, but looking from time to time on auction sites, you sometimes get an offer that is worthwhile. Back in January, I found a set of 6 x 40' AAR (Association of American Railroads) standard box car kits. These kits were made in 1995 by Accurail (Ref. 1524) and decorated with the L&N (Louisville & Nashville Railroad) colors. They are easy to assemble and should not take more than half an hour to complete each of them.
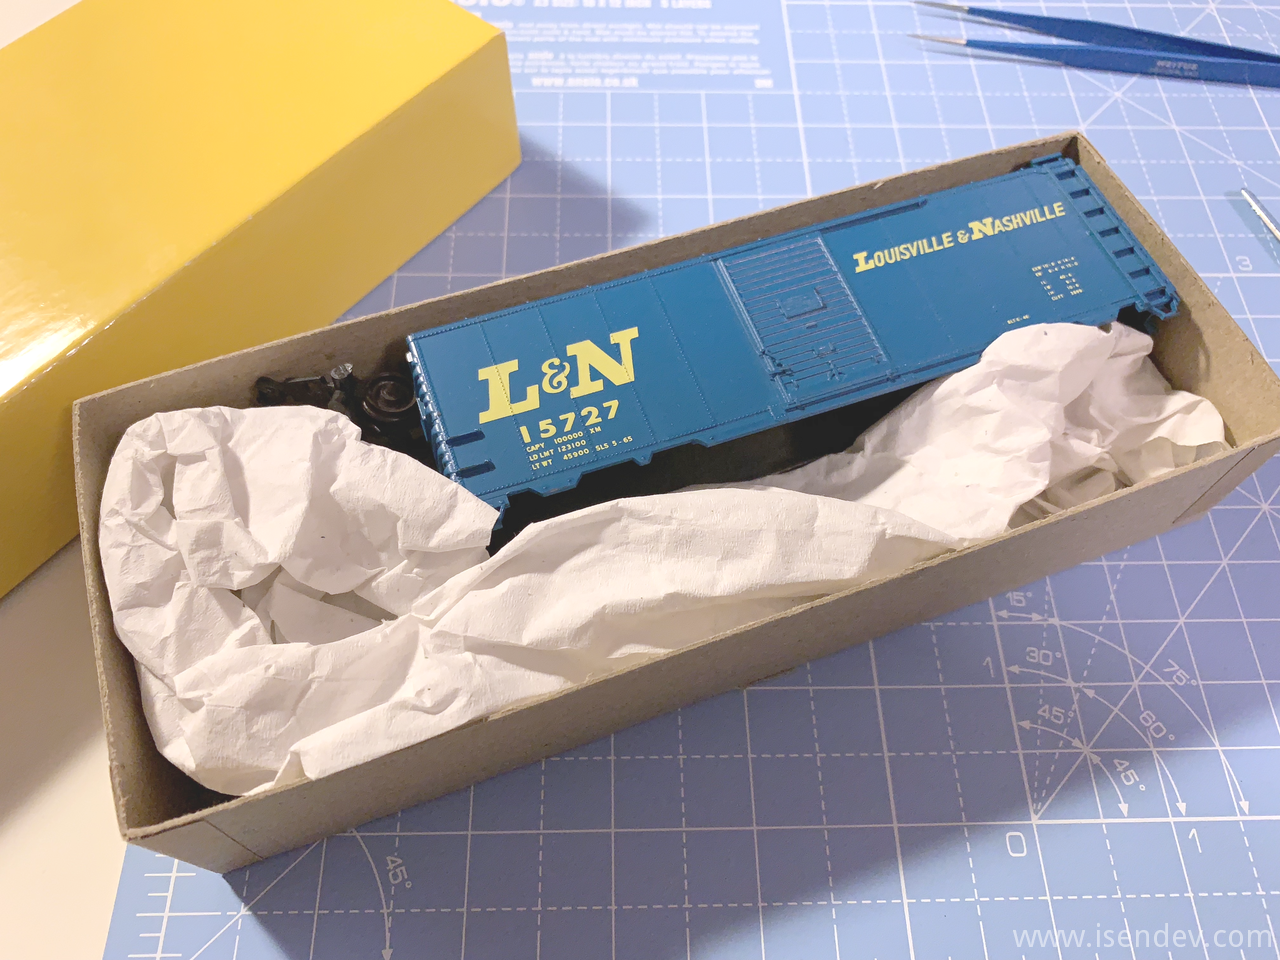
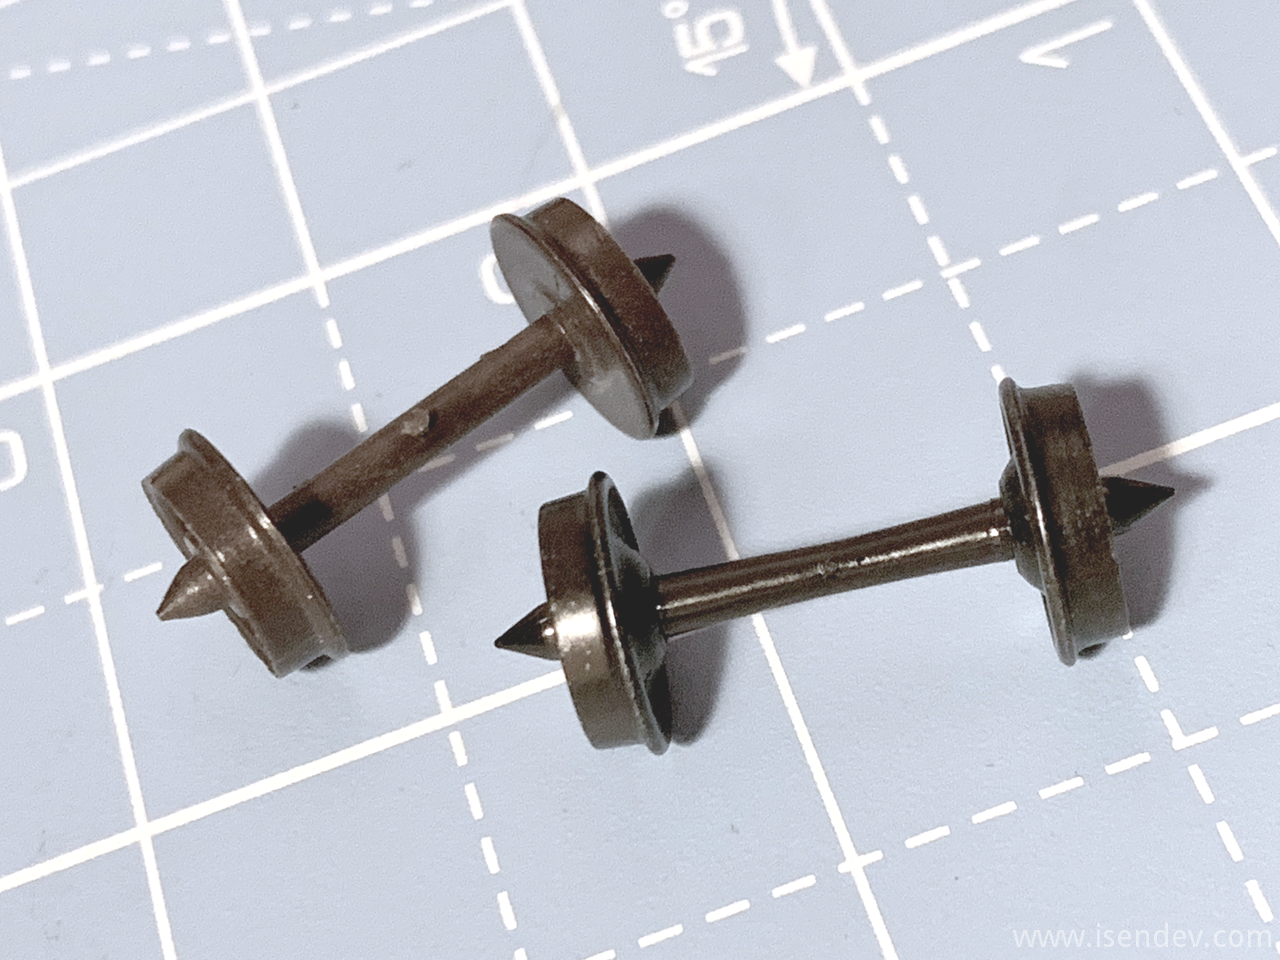
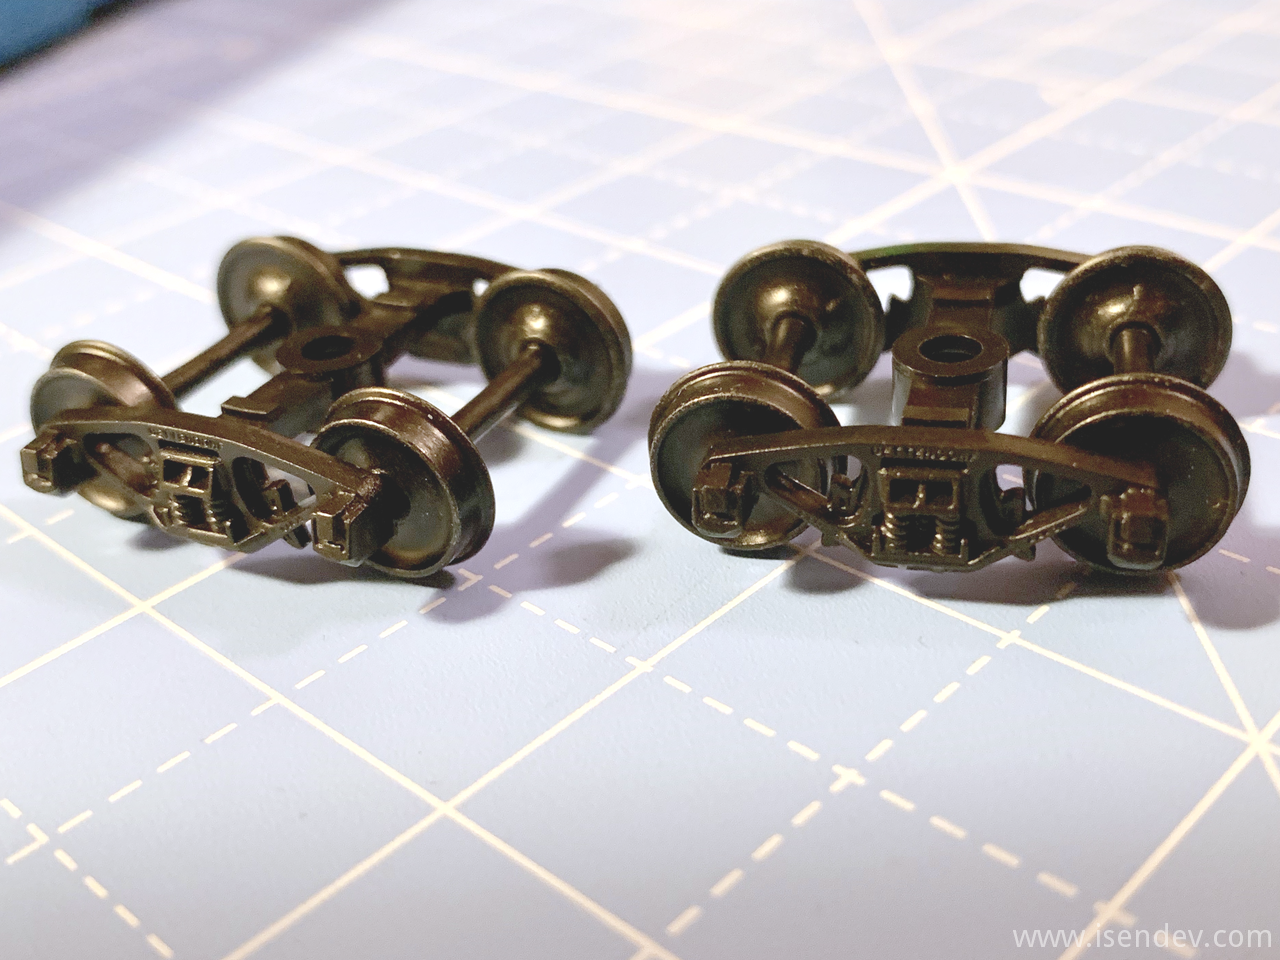
Here are some photos and information about the building process of one of this Accurail box car kits. Note that wheelsets and couplers have been upgraded to Kadee parts.
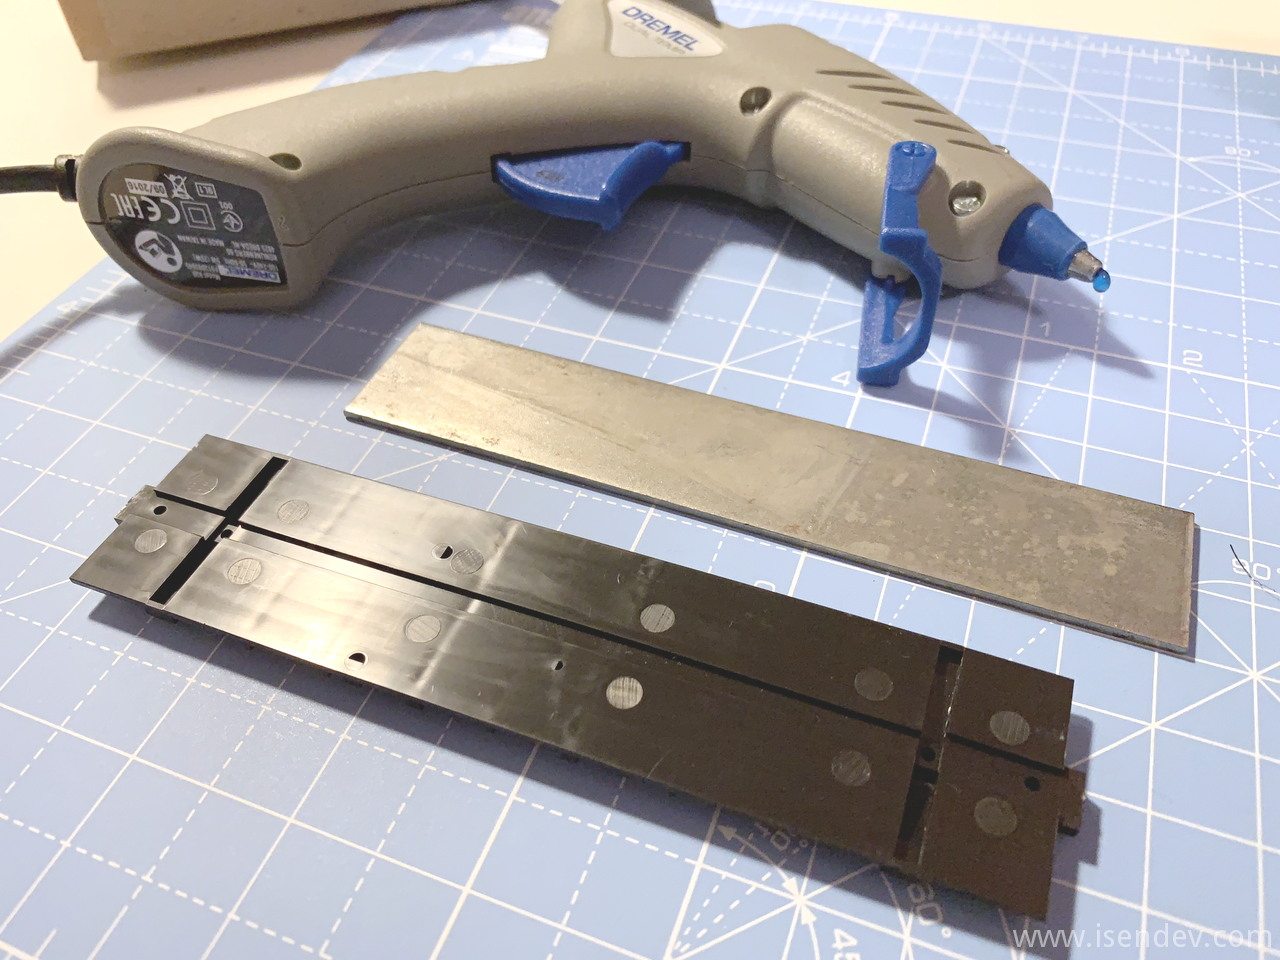
All kits came in its original box and with all its contents intact. Time to prepare glue and tooling for building one of them.
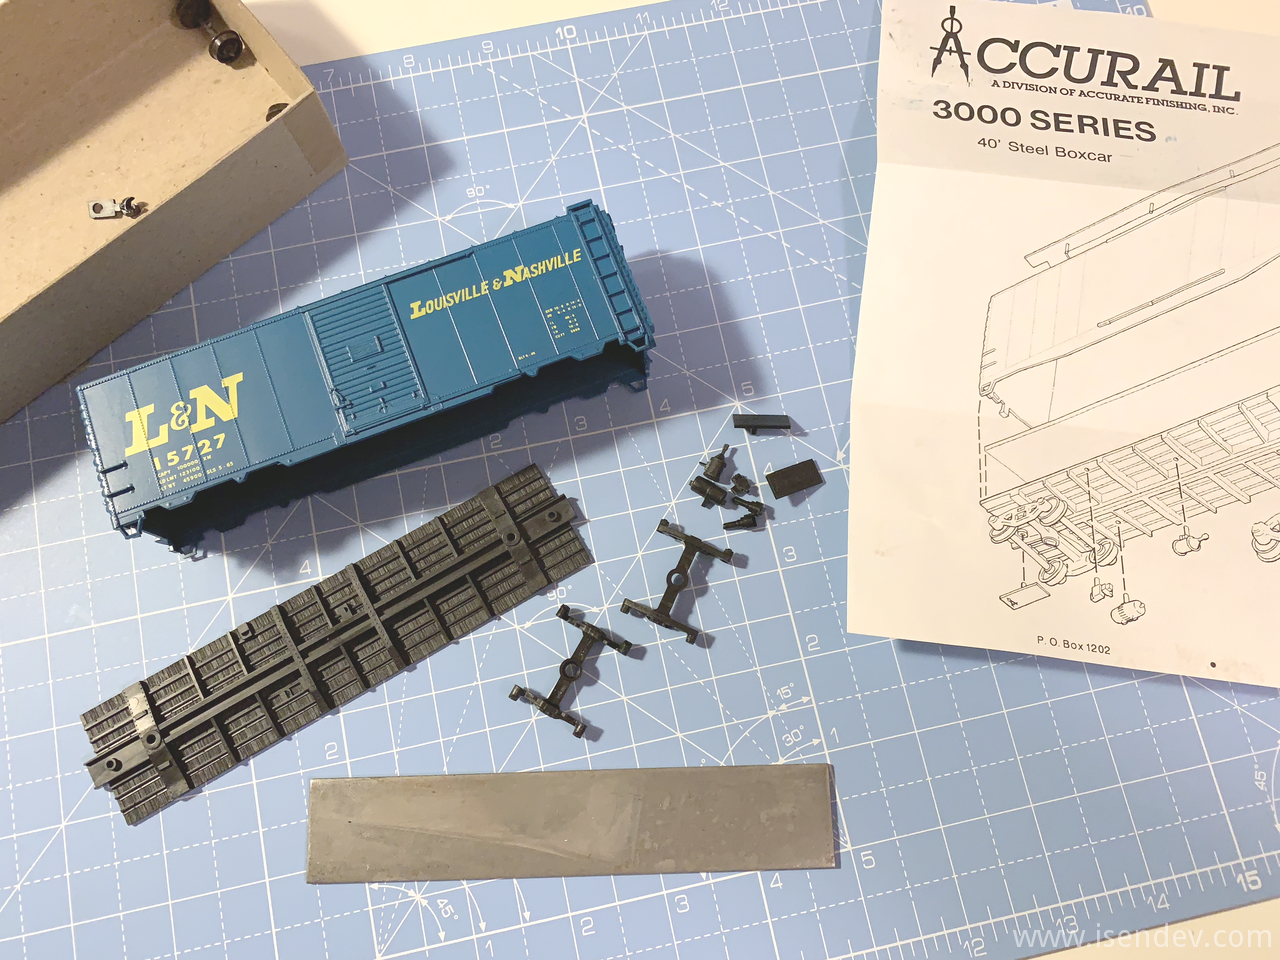
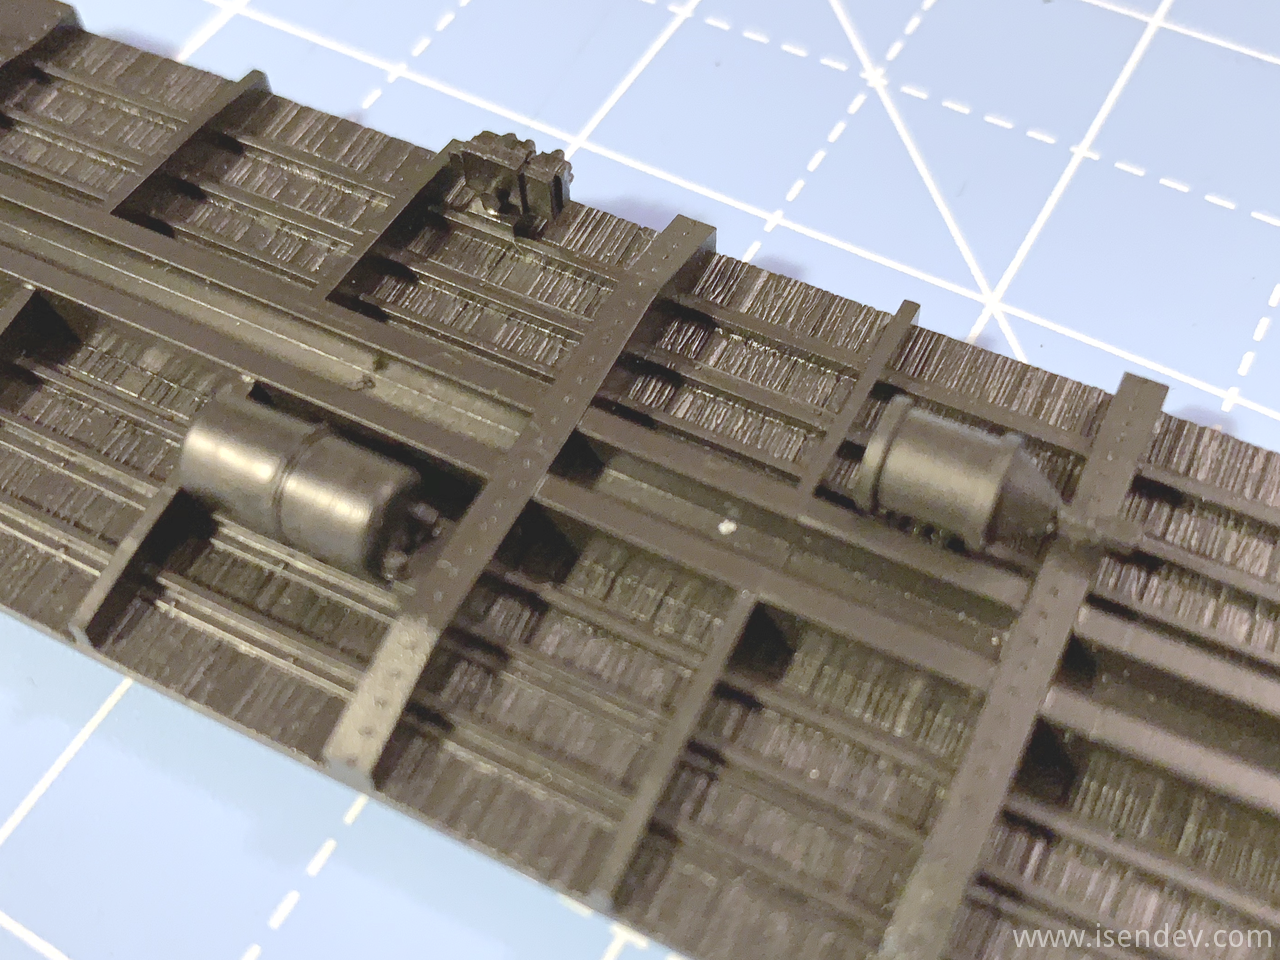
I've attached the weight to the car box chassis using hot glue and the additional under frame accesories using Tamiya extra thin cement.
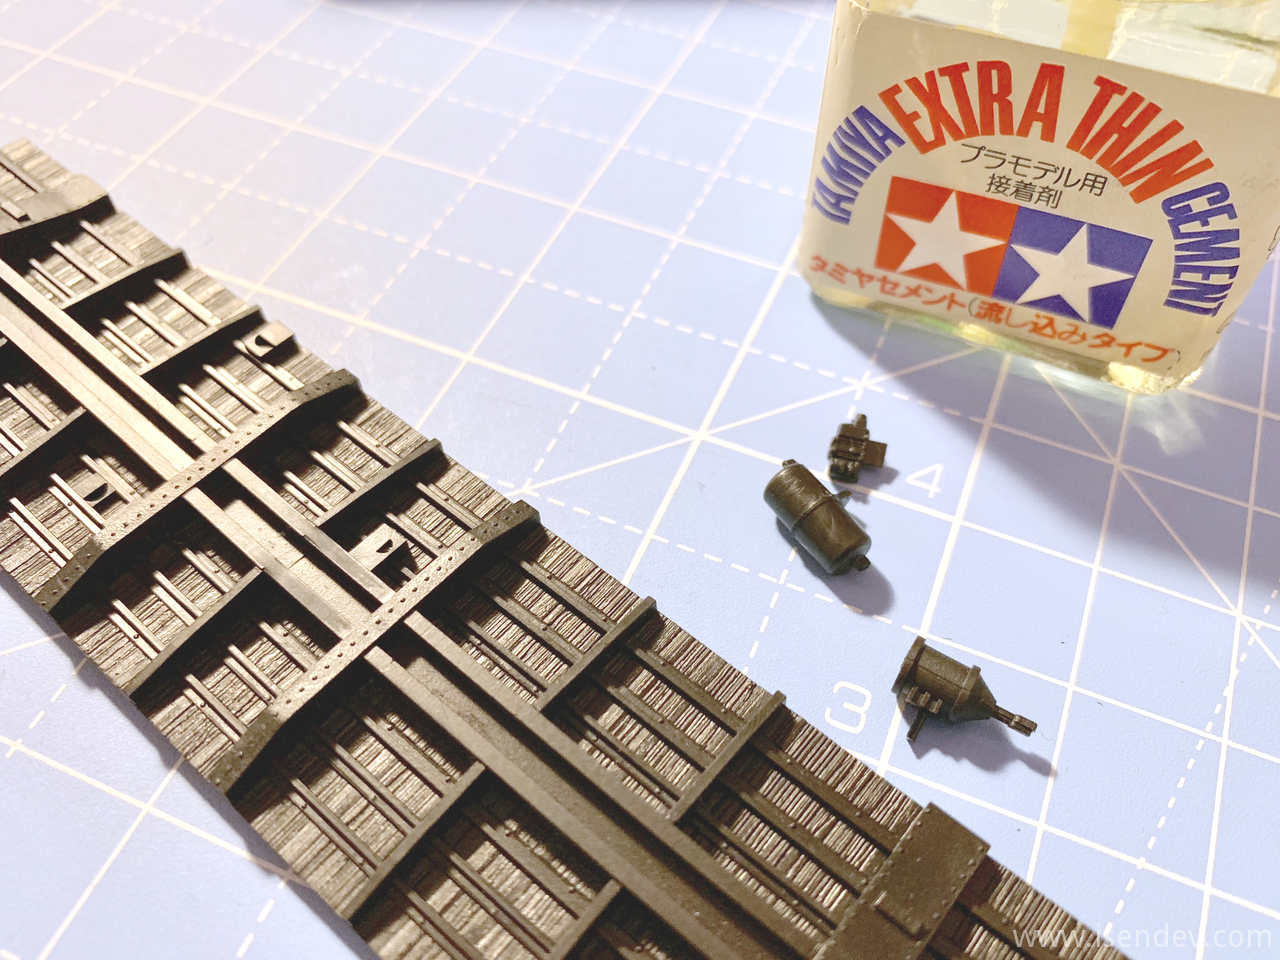
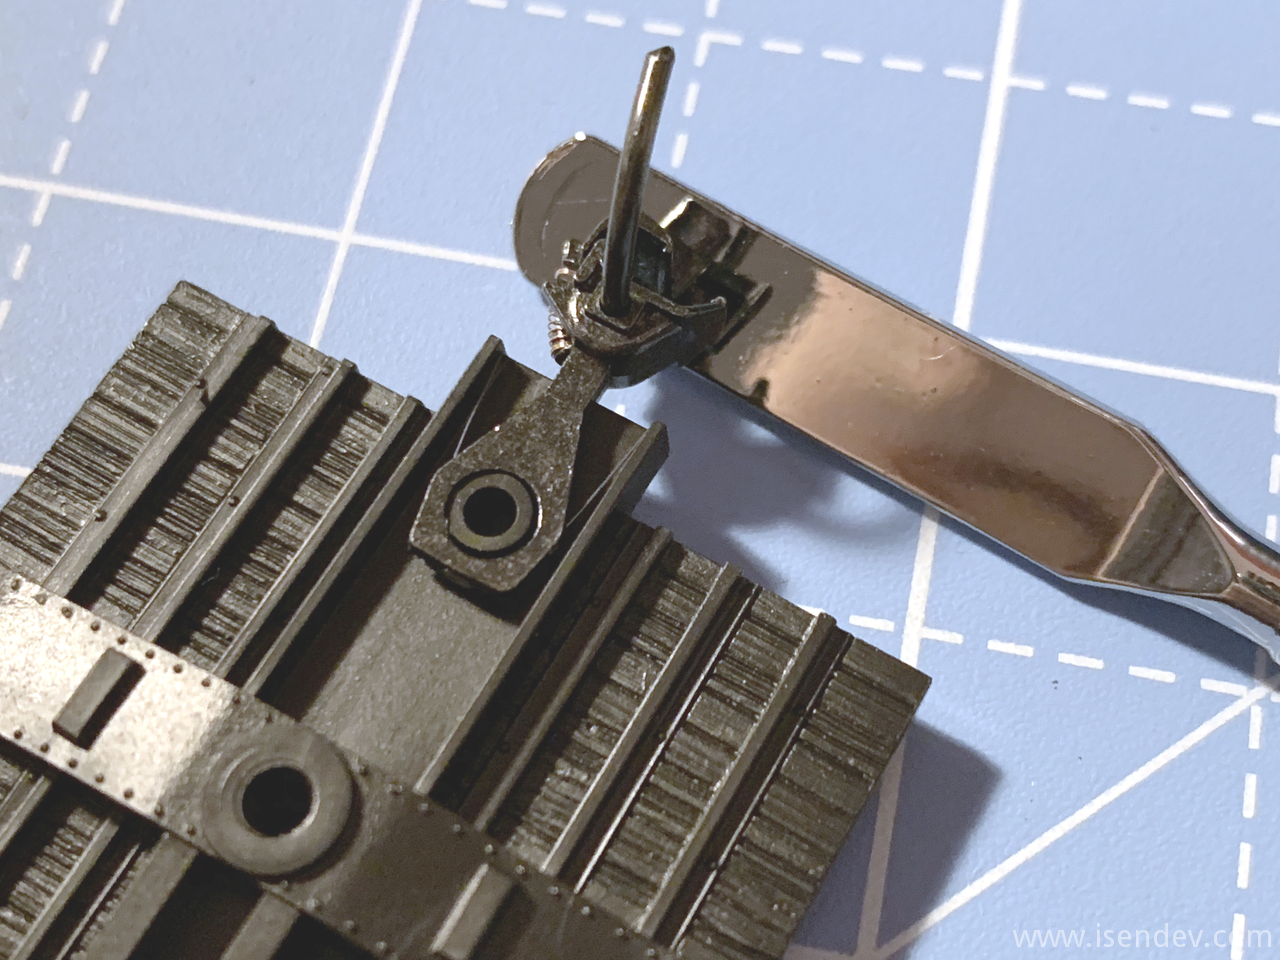
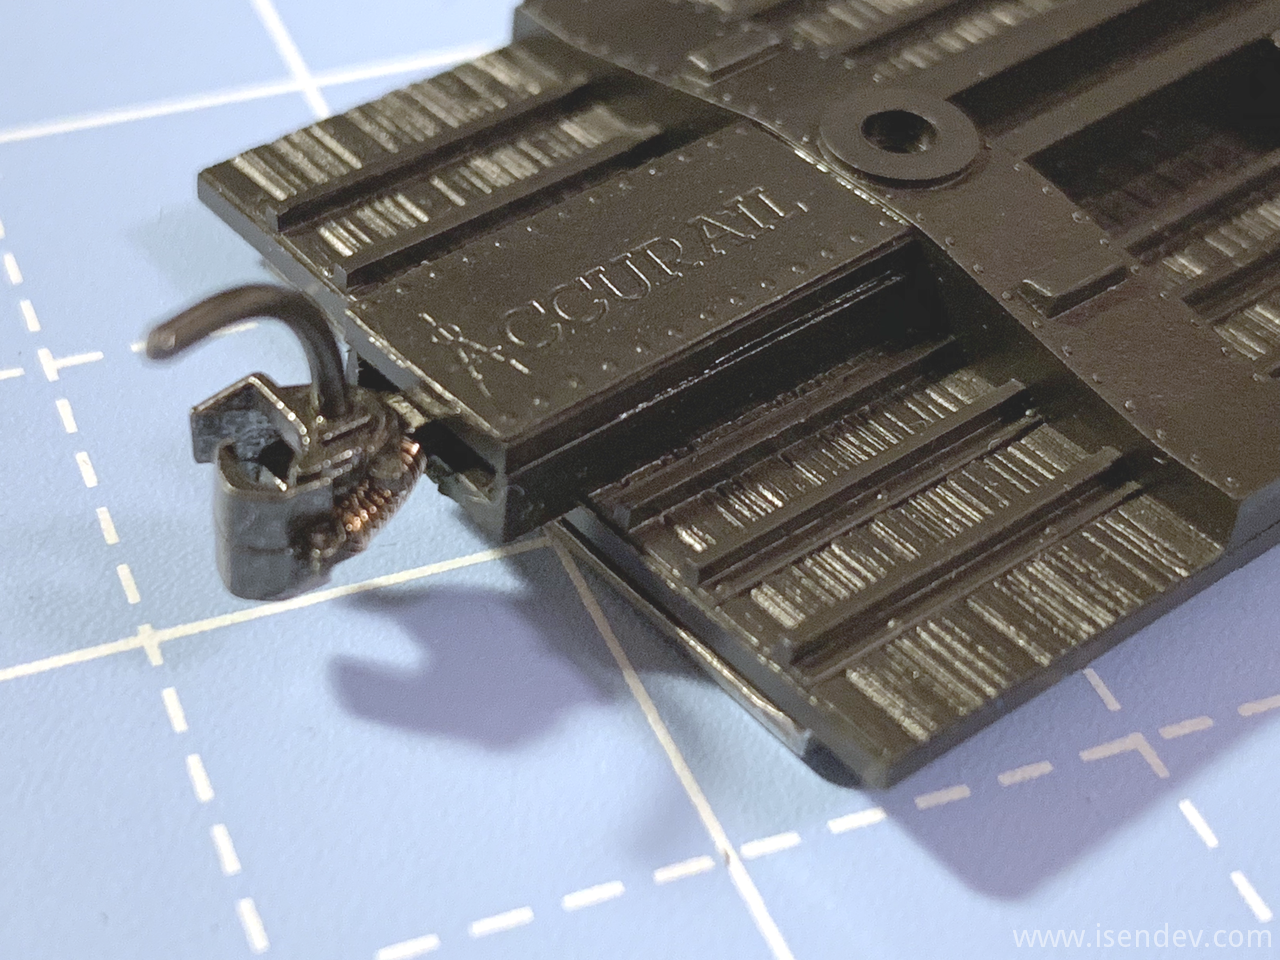
Old Accurail kits came with nearly non-funcional plastic couplers (newer kits came with much better Accumate couplers), so I've replaced them with some Kadee #148 Magne-Matic couplers.
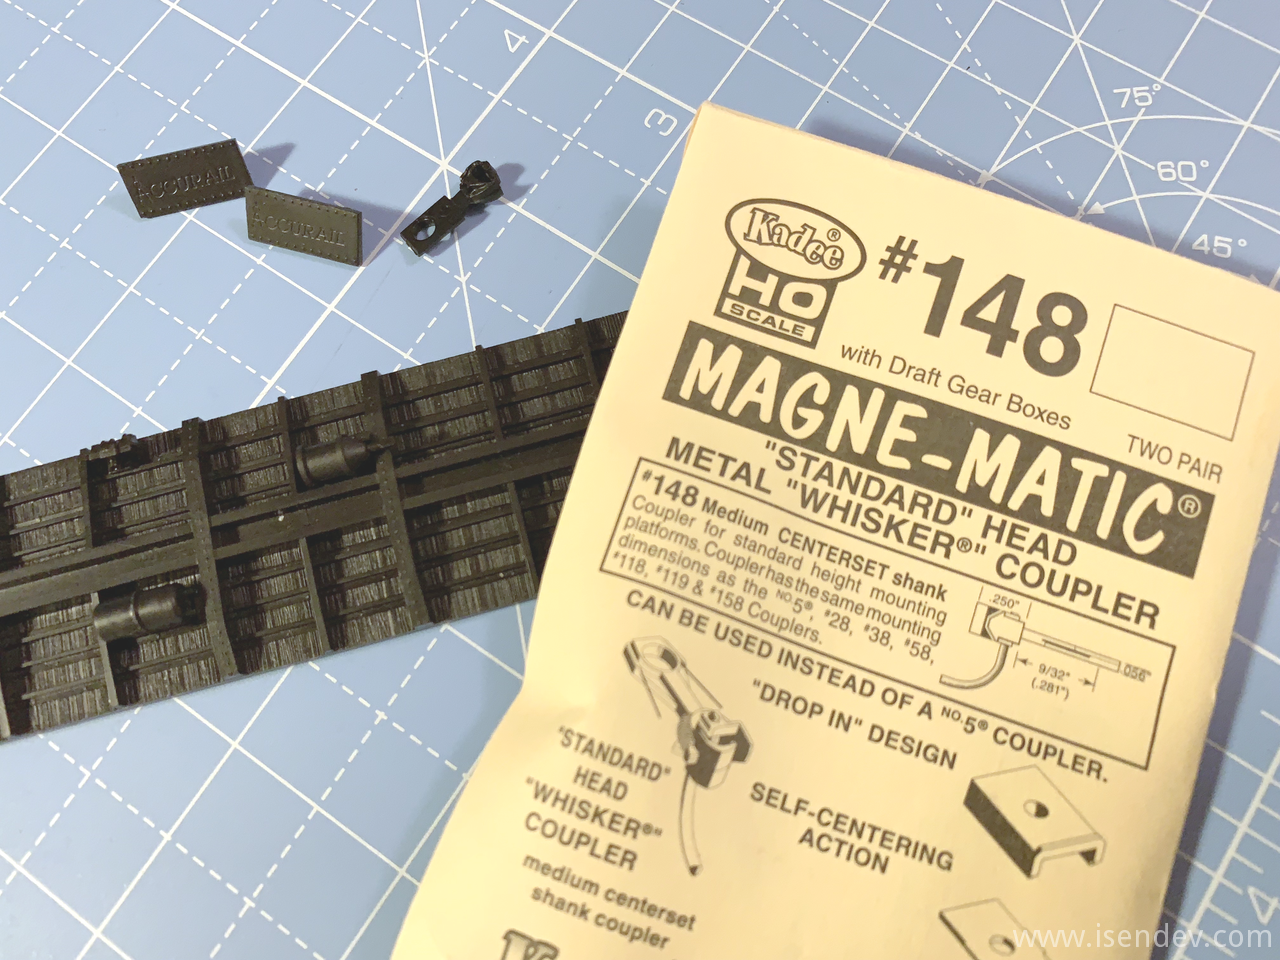

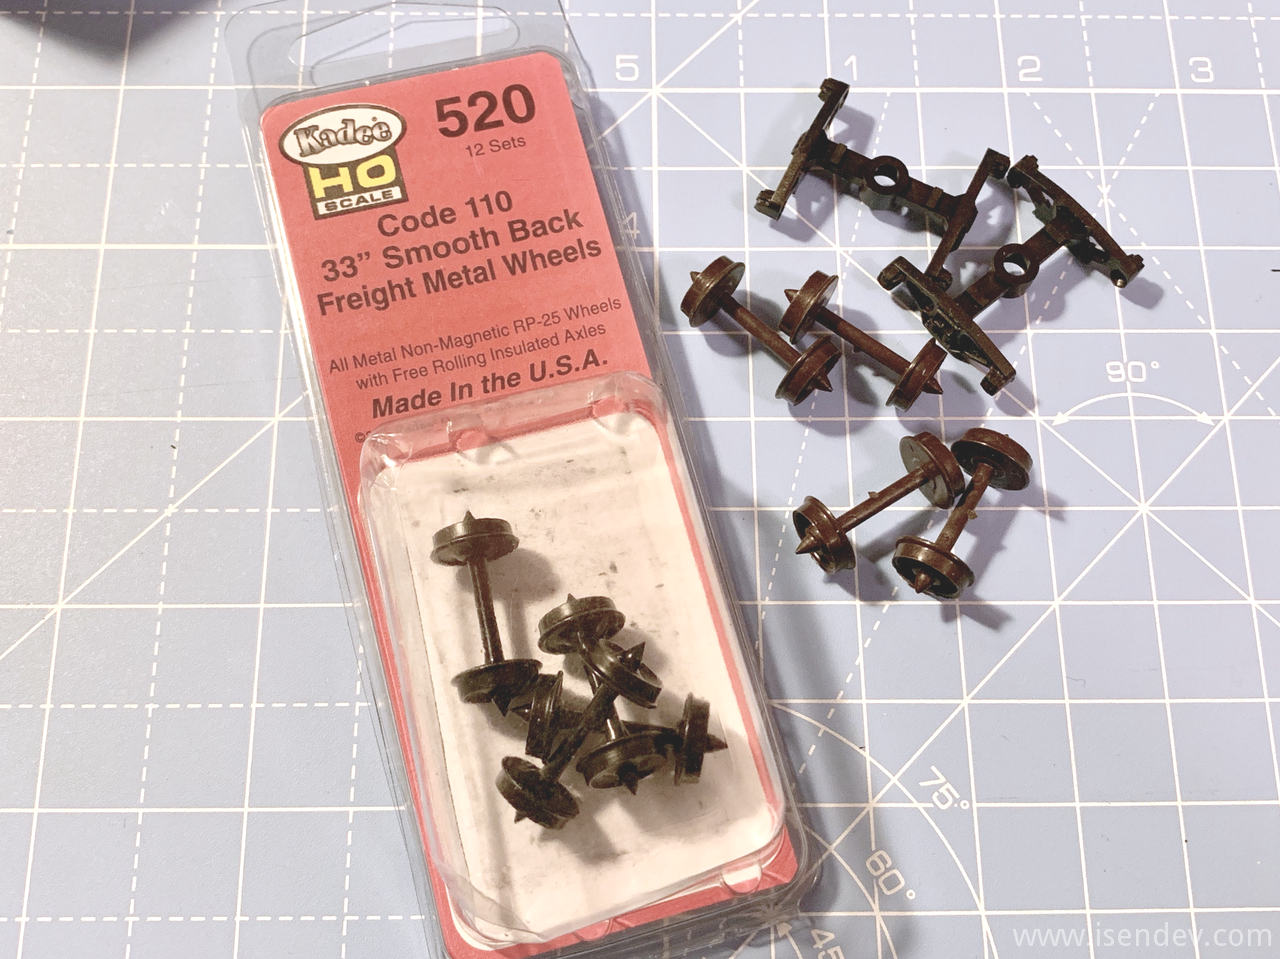
Another upgrade: Stock plastic wheelsets were replaced with Kadee 33" diameter smooth backed wheelsets (Kadee reference #520). These new wheelsets come with NMRA Code 110 profile (US National Model Railroad Association standard H0 gauge) and are compatible with my Trix C-Track layout.
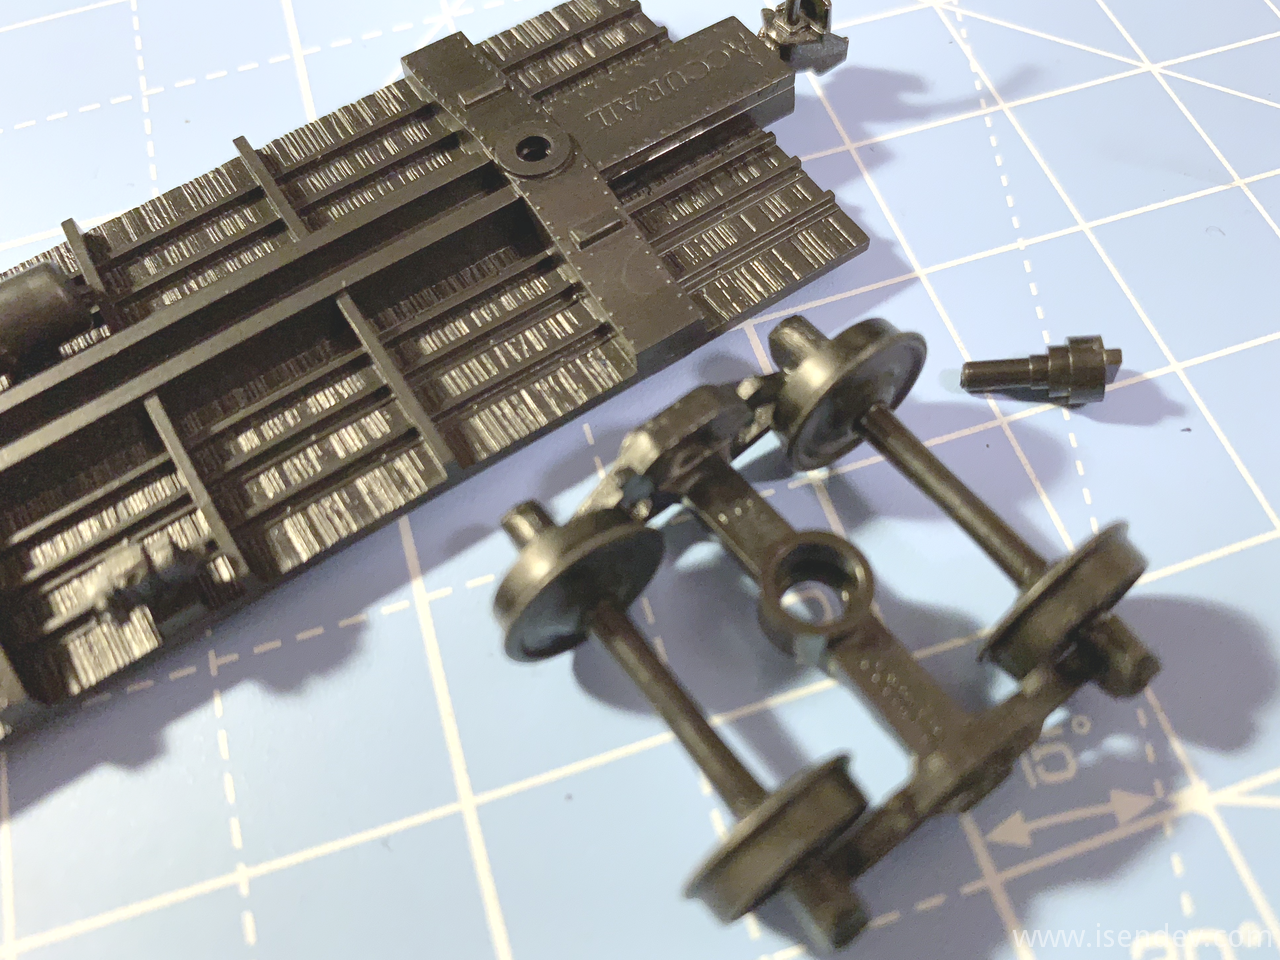
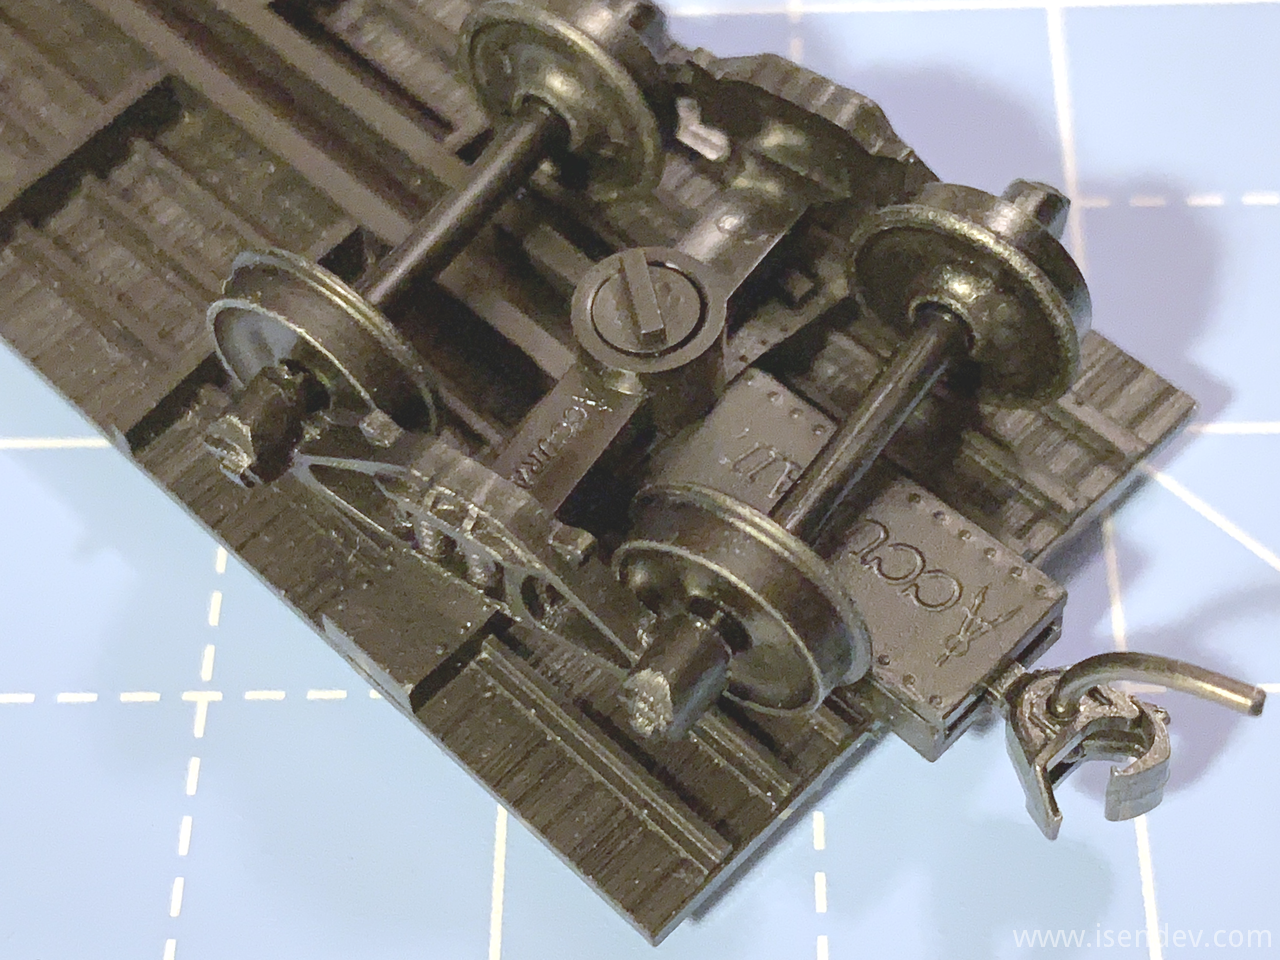
Once the trucks were installed, I only had to join the box to the chassis to finish the car.

I think that I'm going to buy some decal paper and try to renumber the box cars. I don't like that all of them have the same road number...
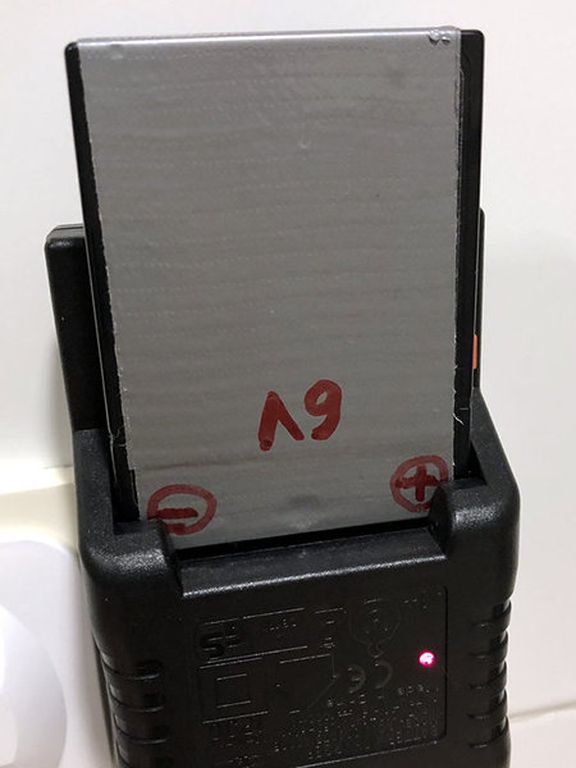
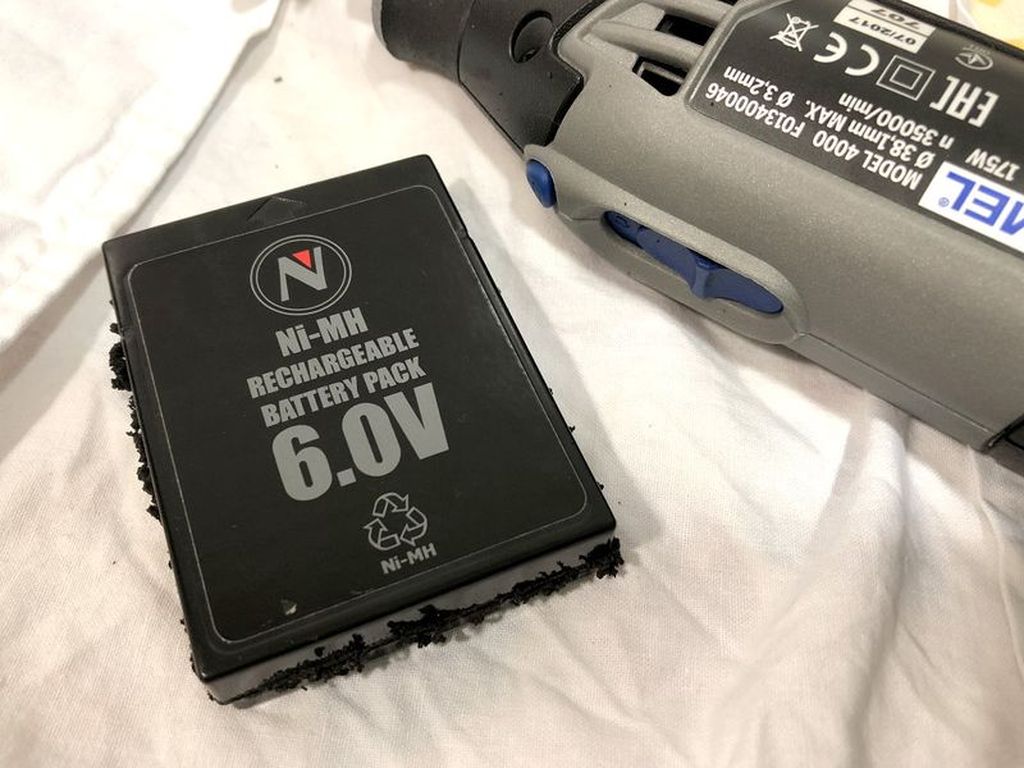
Nikko RC 6V battery pack rebuild.
By isendev.
Posted on 2017/12/10 13:13.
Tagged as: diy.
Here are some photos and tips of the rebuild process of a Nikko RC 6V battery pack.
Beware! Do not try to do this if you don't know what you're doing. Batteries are not a joke. Wrong polarity mistakes and short circuits can lead to a fire or an explosion. Take the following information at your own risk.
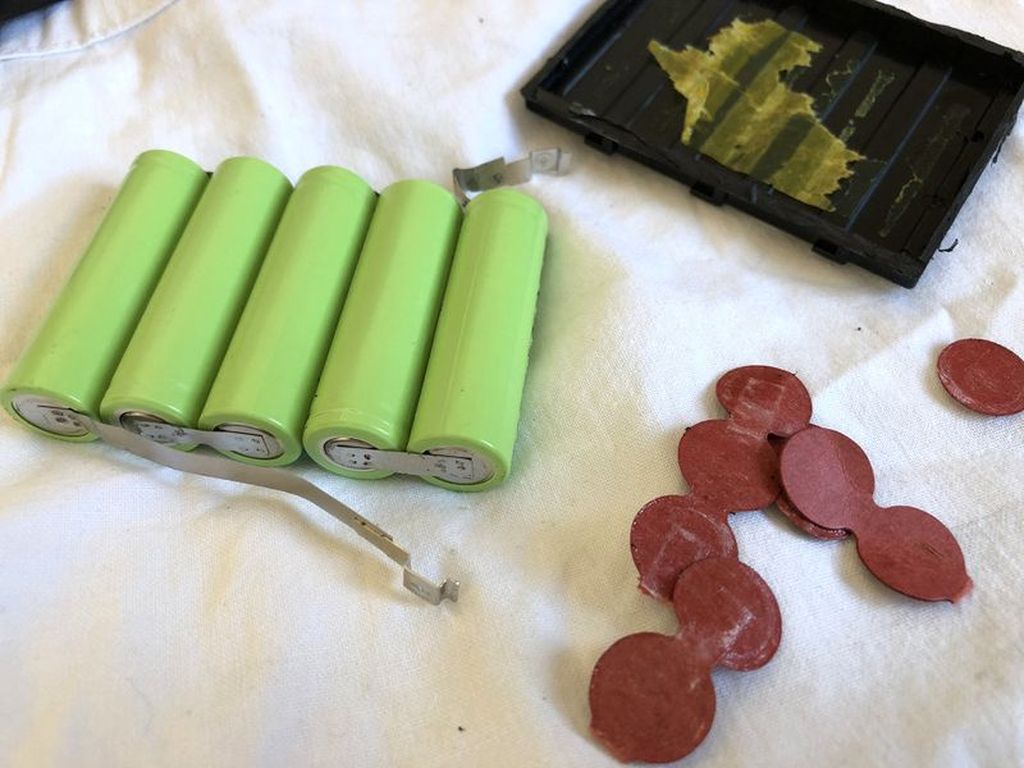
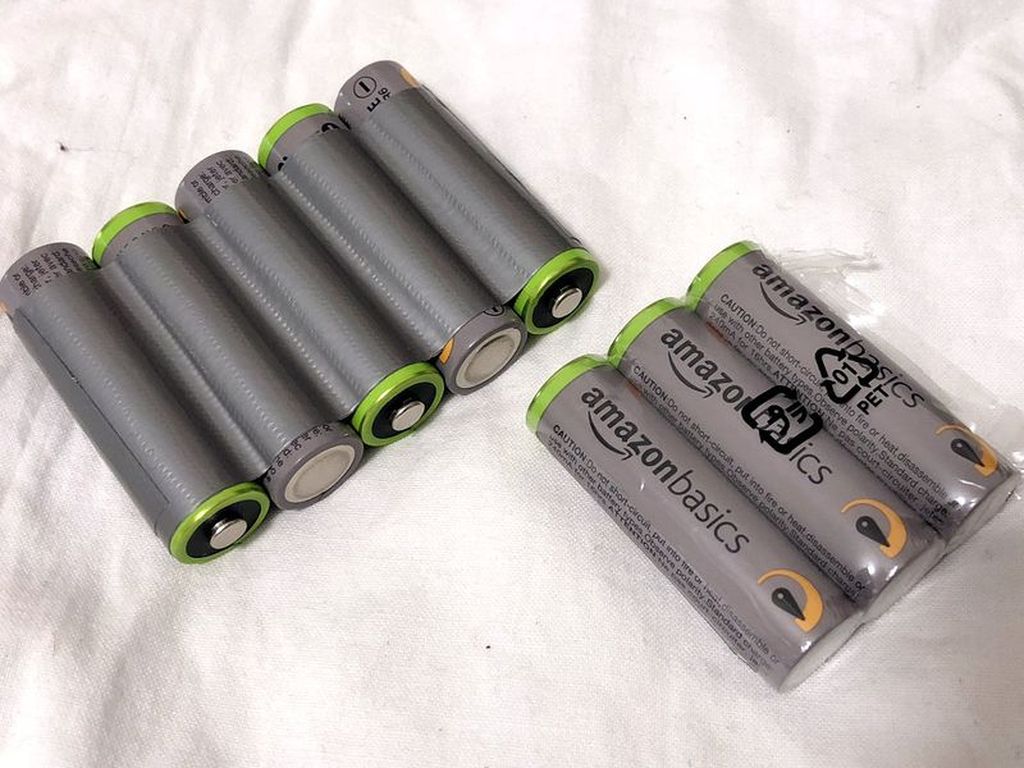
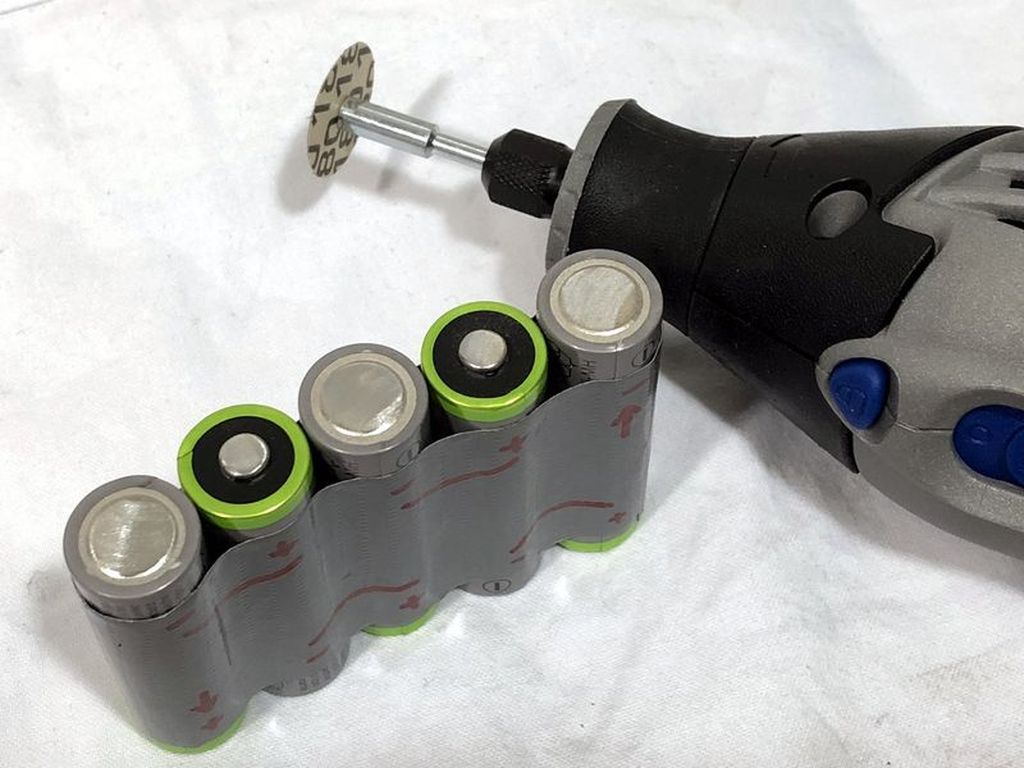
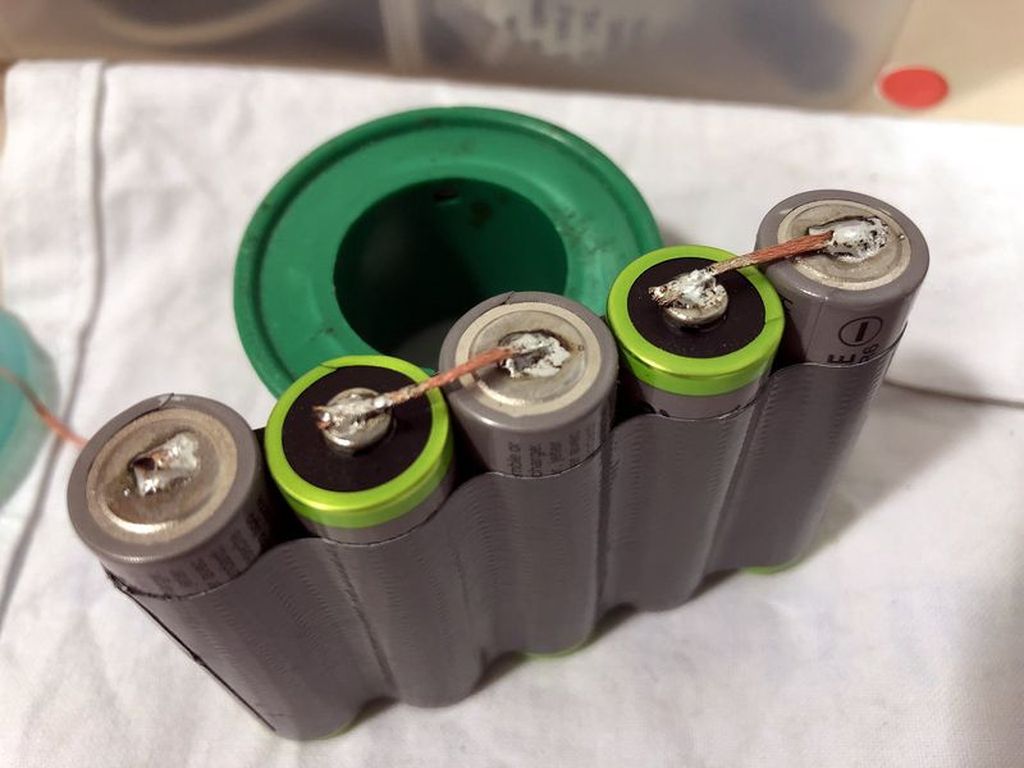
I've opened the sealed battery case with the help of a Dremel multitool and a cutting disc. It is necessary to be very careful not to damage the battery cells when cutting the sides of the sealed battery case. Inside whe can found five 1.2V AA NiMh regular batteries tied together in series to get the required 6V.
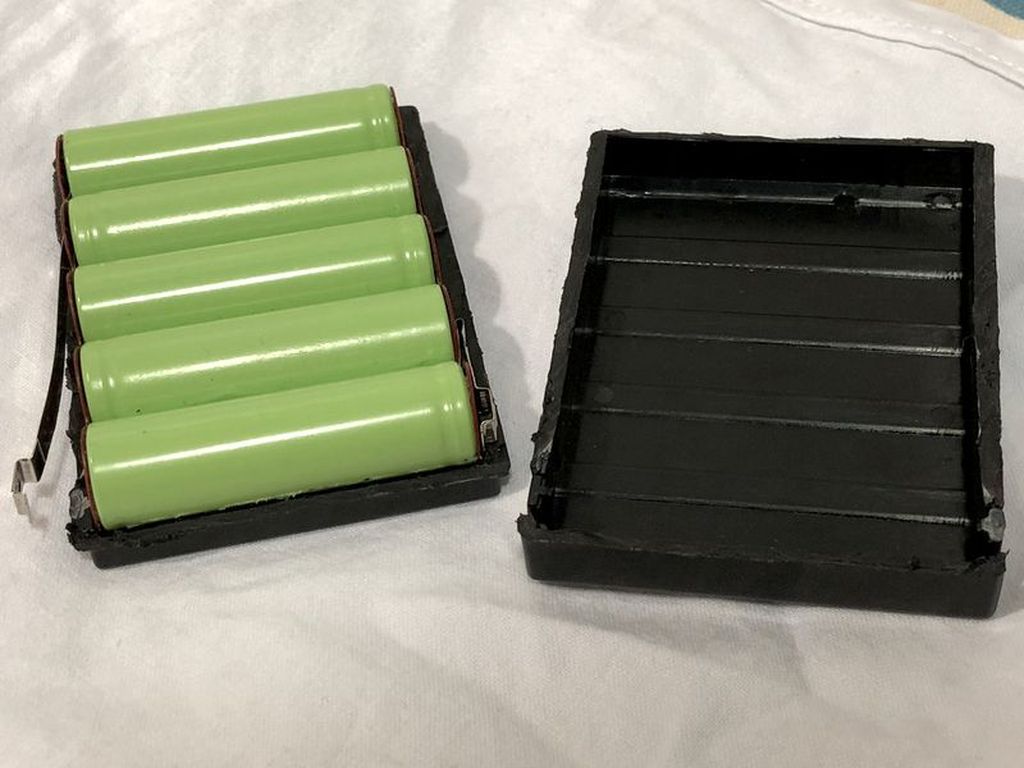
Using strong tape and 5 brand new Amazon's 1.2V AA NiMh 2500mAh rechargeable batteries, I've set up the new battery pack (carefully taking account of original cell's polarity).
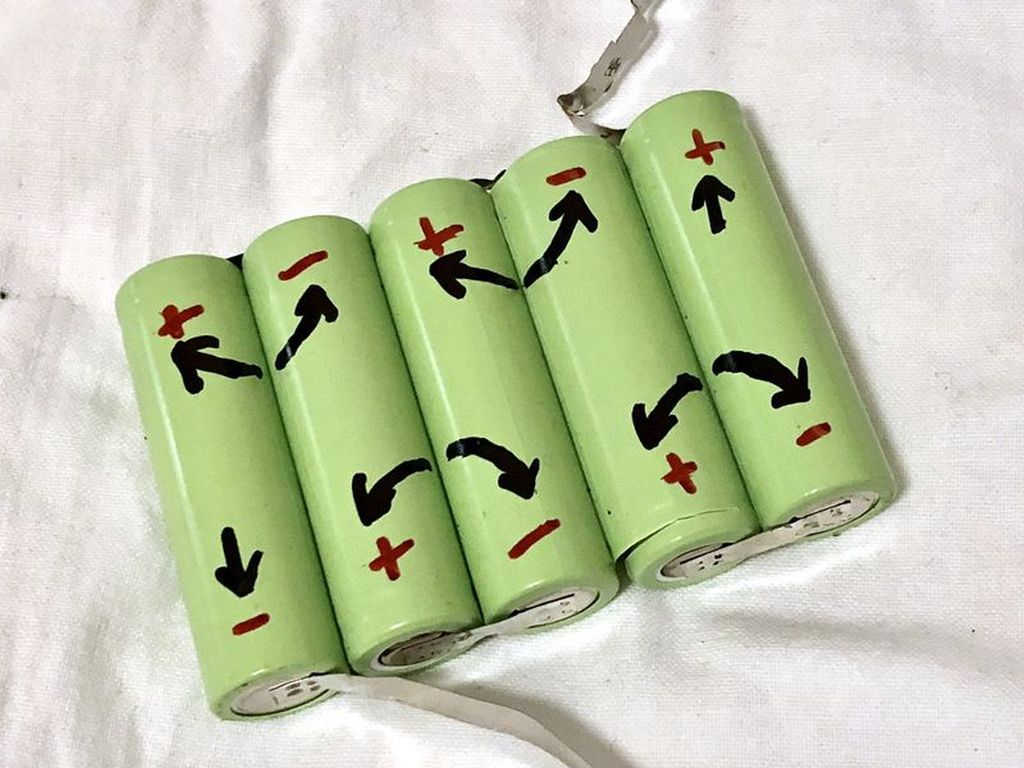
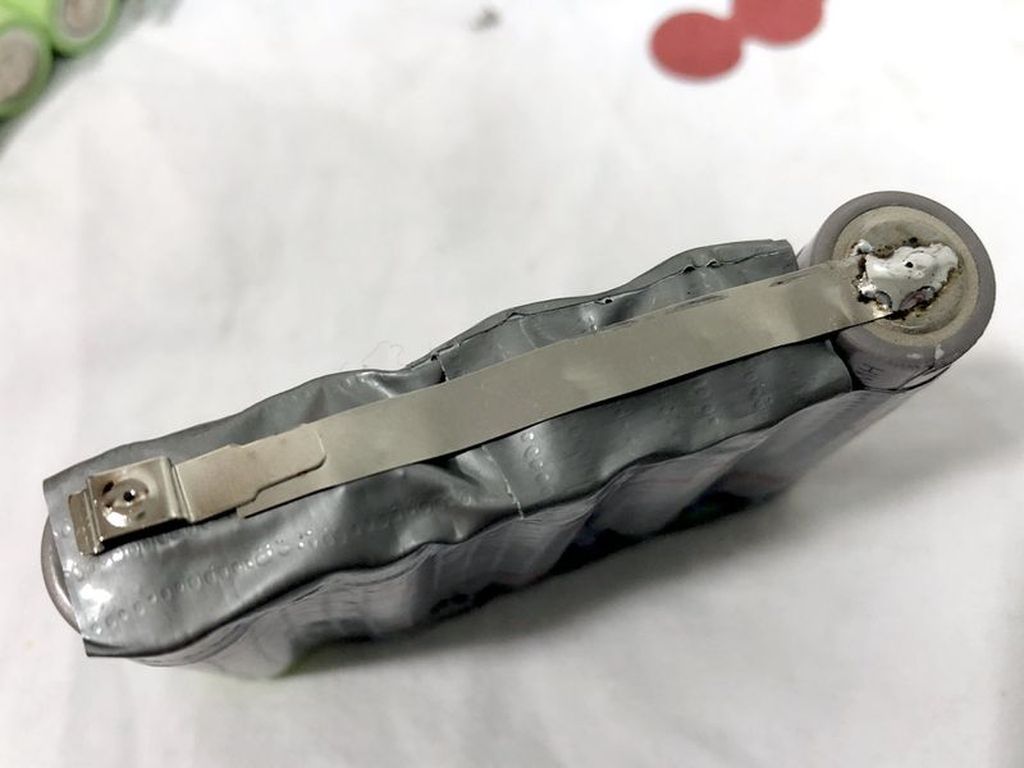
To make the cell links, I've used copper braid. Before welding the new links, I've prepared the surface of the poles by gently sanding and tinning them.
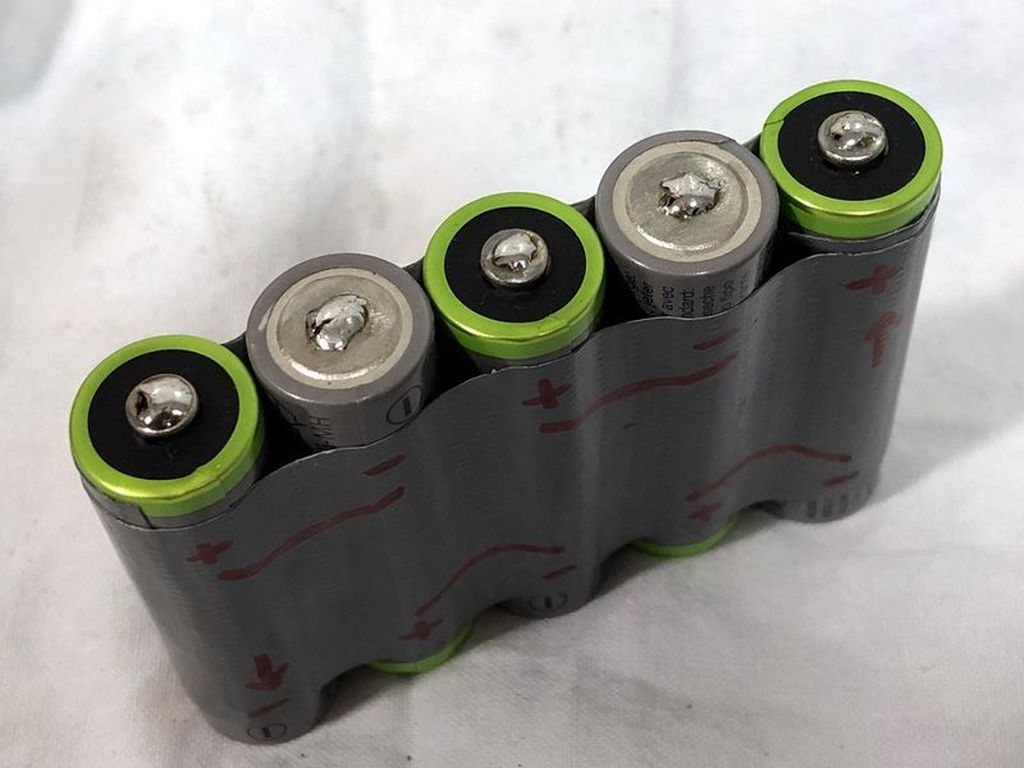
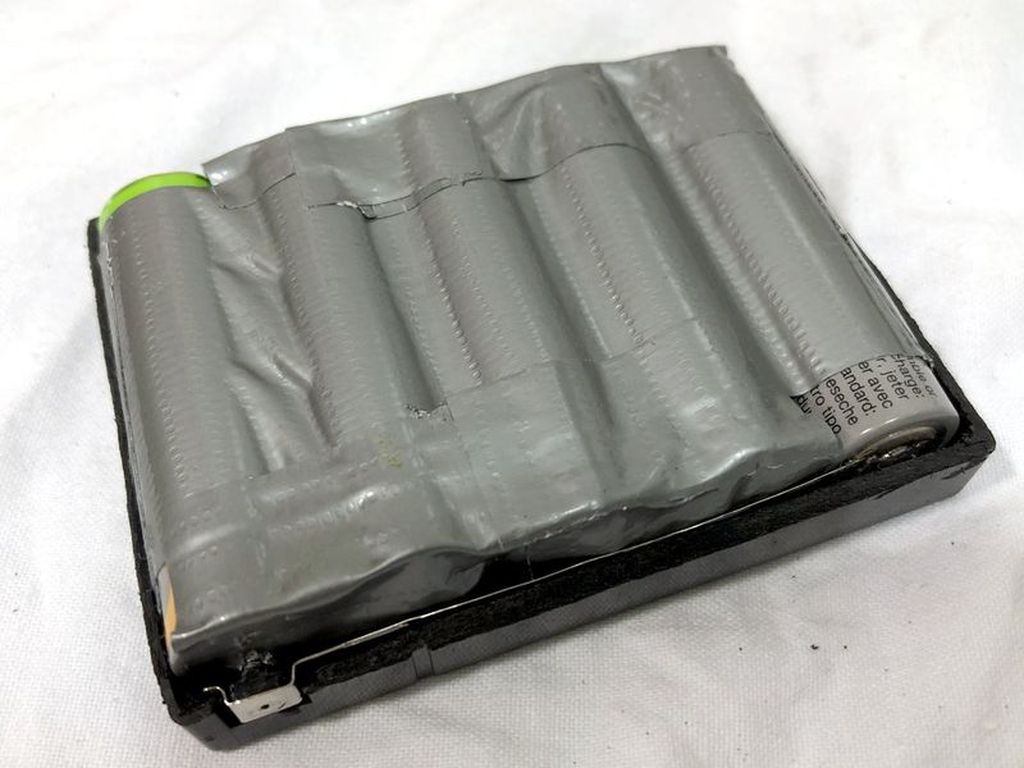
Protect the cell links with tape and weld the battery pads from the original pack. Be careful to not make shorts with other cell poles. Remount all in the original battery pack case. I've used more tape to secure all.
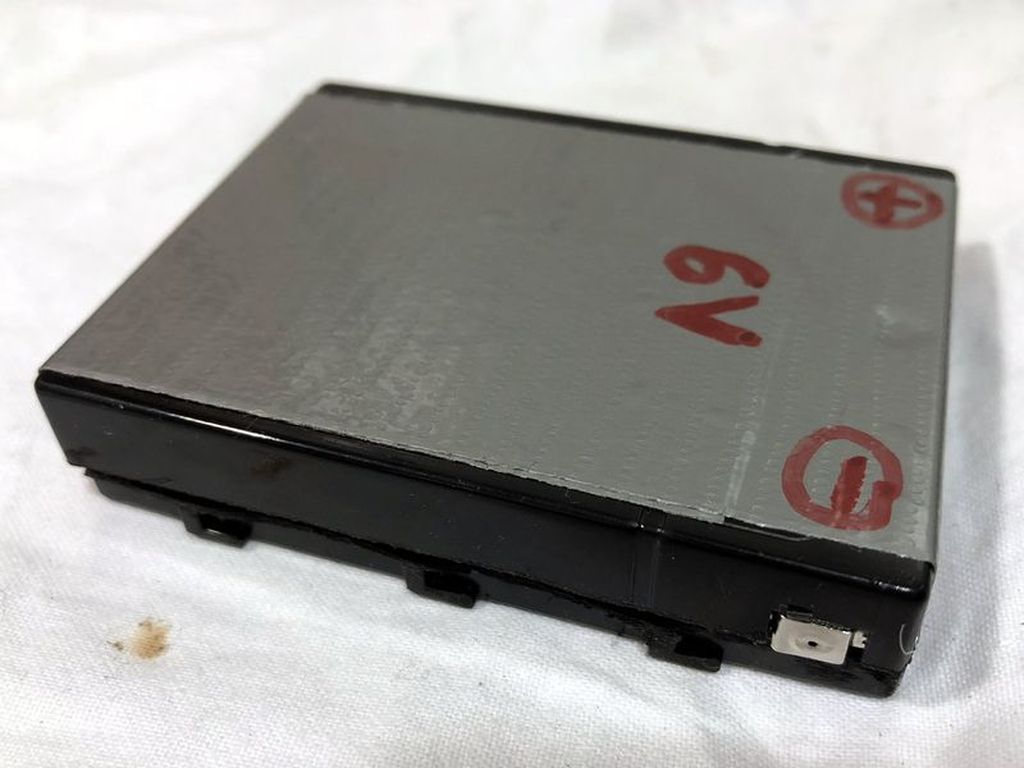
Ready to roll and recharge... ;)